


How to use a table vice?
How to use a table vice |
||||
|
|
||||
Before you begin |
||||
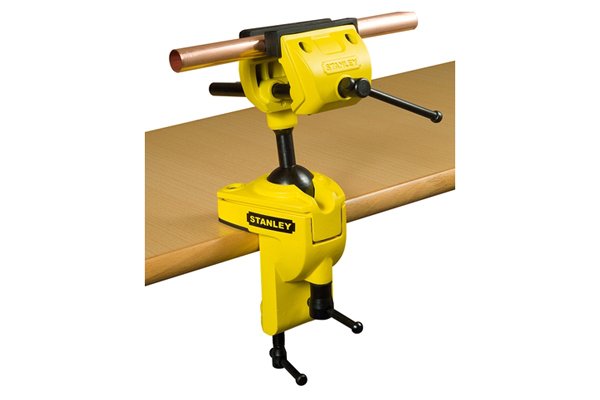 |
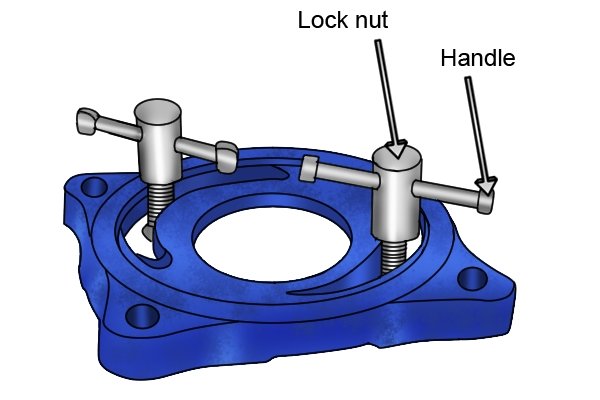
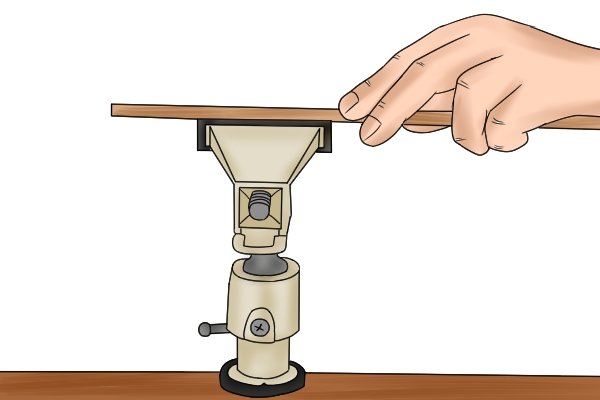
Step 1 – Mount viceBefore using your vice, make sure it is securely mounted onto a stable surface, such as a workbench. For more information on mounting, visit . |
|||
Using your vice |
||||
Step 2 – Open vice jawsTo open the vice jaws, turn the handle in an anti-clockwise direction. |
||||
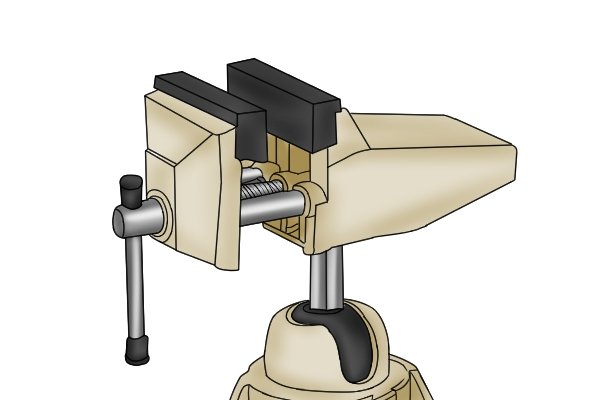 |
Keep turning the handle until the jaws are wide enough to fit the workpiece within them. | |||
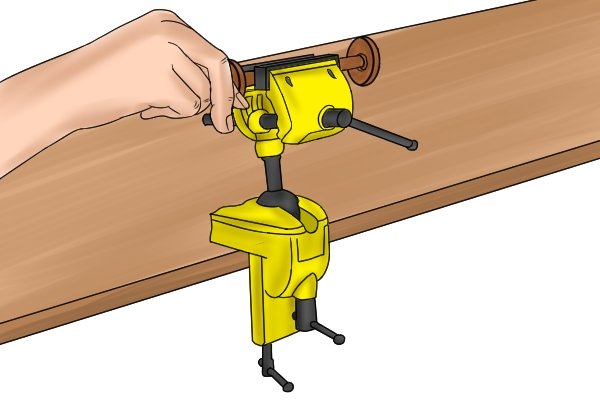 |
Step 3 – Place workpiecePlace your workpiece within the jaws of the vice, with the back of the workpiece resting on the stationary jaw’s surface. |
|||
 |
Ensure that the area to be worked on is as close to the edge of the jaws as possible. This will avoid any unwanted vibrations when completing tasks, such as cutting, gluing or painting. | |||
Step 4 – Close vice jawsTurn the handle in a clockwise direction to move the sliding jaw inwards, thus closing the vice jaws around the workpiece. |
||||
 |
Keep rotating the handle until the jaws have a firm grip on the workpiece. | |||
 |
The workpiece is now securely clamped and ready to be worked on! | |||
How to use the ball joint on a table vice |
||||
 |
Some table vices are equipped with a rotating ball joint to allow the vice head to rotate and be used at multiple angles. The types that often have this extra feature are jeweller’s and multi-angle vices. | |||
 |
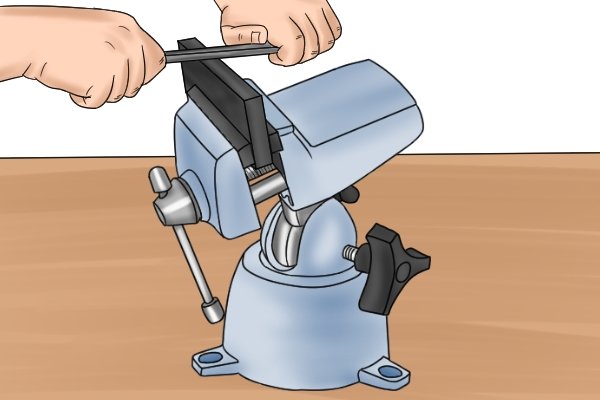
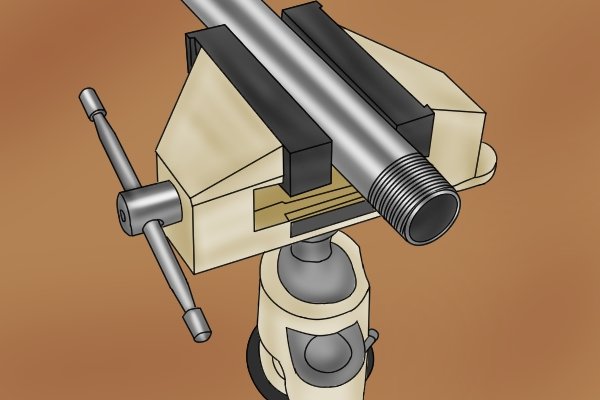
Step 1 – Place workpiece in jawsPlace the workpiece within the jaws, making sure the vice has a firm and secure grip on it. |
|||
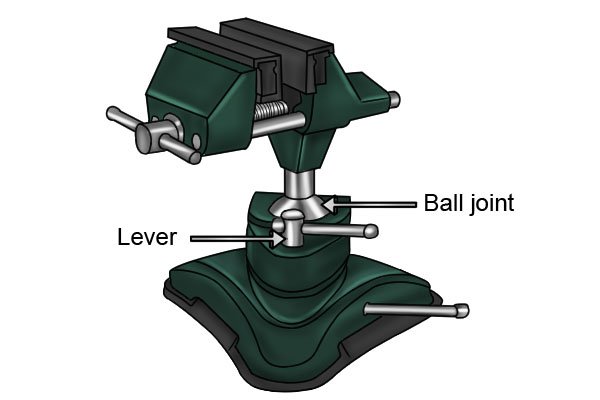 |
Step 2 – Unlock ball jointTo set a workpiece up at an angle, use the ball joint located beneath the head of the vice, which is controlled by an added lever. |
|||
| Unlock the joint by rotating the added lever in a clockwise direction and then move the head of the vice into the best working position. | ||||
Step 3 – Lock ball jointWhen in the desired position for working, tighten the ball joint by rotating the added lever in an anti-clockwise direction. |
||||
 |
Your vice head is now secure and your workpiece is ready to be worked upon. | |||
