


How to use a suction plunger?
How to use a suction plunger? |
||||
A step by step guide to use a suction plunger |
||||
 |
Step 1 – Pick up plungerArm yourself with a suction plunger. |
|||
 |
Step 2 – Submerge plungerThe plunger needs to be submerged in water to be effective. The toilet should be at least be a third full of water – if there is not enough water in the toilet, add some until the cup is covered, but do not flush the toilet as this may cause it to overflow. |
|||
 |
Step 3 – Insert plungerInsert the suction plunger into the gulley. |
|||
 |
Step 4 – Create a sealForcefully press down on the T handle to create a seal with the toilet gulley. |
|||
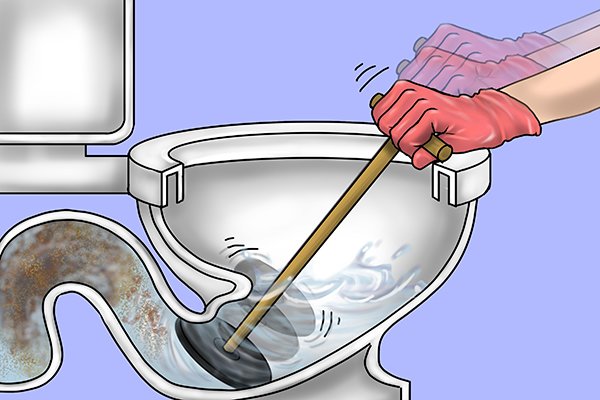 |
Step 5 – Work plungerWork the plunger up and down a few times, with forceful quick pushes and pulls |
|||
 |
Step 6 – Pull plunger out of gulleyPull the plunger up and out of the gulley, and the blockage should be released. |
|||
 |
Step 7 – FlushWatch to see if the water level in the toilet alters. If the level goes down, flush the toilet. If the blockage is loosened or dislodged, the water will flush away down the drain. In some cases, if the water level remains constant, the blockage may require a bit more work, so the process should be repeated. |
|||
