


How to use a digging bar to remove a tree or shrub for replanting?
How to use a digging bar to transplant a tree |
||||
|
|
||||
Which design is best? |
||||
 |
Because this task may involve cutting through tough roots and lifting a heavy root ball from the base of a tree, you’ll need a bar which is sturdy and well-made, with a chisel edge. | |||
 |
Donkee recommends a post-hole digging bar, which will give you the leverage and cutting ability needed, without the weight of a regular or telegraph digging bar, which may damage a tree. | |||
 |
Using the law of the lever, you now know that for the best leverage possible when lifting the stump, you should choose a longer bar. | |||
What else will you need? |
||||
 |
A spade | |||
 |
A piece of sacking cloth | |||
 |
A pair of loppers or pruning shears | |||
 |
A bag of coarse sand | |||
Wonkee’s hoof-by-hoof guide: How to remove a tree or shrub for replanting |
||||
 |
Moving a living tree or shrub is a delicate task, and must be carried out with care to avoid damaging or killing your plant.
A rushed transplant will almost always result in failure. |
|||
 |
||||
Between Nov and Feb a year before the transplant: |
||||
 |
Step 1 – Dig trenchDig a trench around the base of the tree, about parallel with the edge of the branches. |
|||
 |
Step 2 – Fill trench with sandOn the same day, fill the trench with a coarse sand. This will encourage particularly fibrous root growth, which will help the plant to re-establish itself when replanted. |
|||
 |
Step 3 – Prune branchesPrune back any aged or sickly branches – this will encourage new growth in Spring. Younger, greener plant material is more likely to survive replanting than older wood. Be careful not to over-prune; some trimming will encourage new growth, but too much can make it difficult for a plant to cope with a move. |
|||
The day before the transplant: |
||||
 |
Step 1 – Water soilWater the soil well throughout the day. |
|||
 |
Step 2 – Prepare transplant locationPrepare the spot the plant will be moved to. |
|||
The day of the transplant: |
||||
 |
Step 1 – Dig around base of treeDig carefully around the base of the tree to determine root spread – this should extend about as far as the edge of the branches, but may be longer or shorter on some specimens. It’s important to save as much of the root as possible. |
|||
 |
Step 2 – Restrain branchesTo decrease damage during transplant, carefully restrain the branches by tying them off with a soft rope or non-adhesive tape. |
|
||
 |
Step 3 – Sever restrictive rootsUsing the chisel edge of your bar, carefully and cleanly sever any roots which are too thick or long to be saved, or which are a stabilising element of another garden feature, such as a fence. The cleaner the cut to a root or branch, the easier it will be for your plant to heal. |
|||
 |
Step 4 – Lift root ballUsing the pointed end of your bar, or the flat of your chisel edge if you are using a post-hole digging bar, gently lever the plant up from beneath the root ball, preserving as much of it as possible. |
|
||
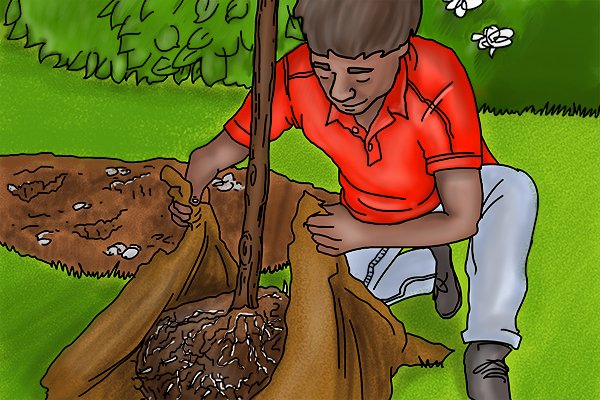 |
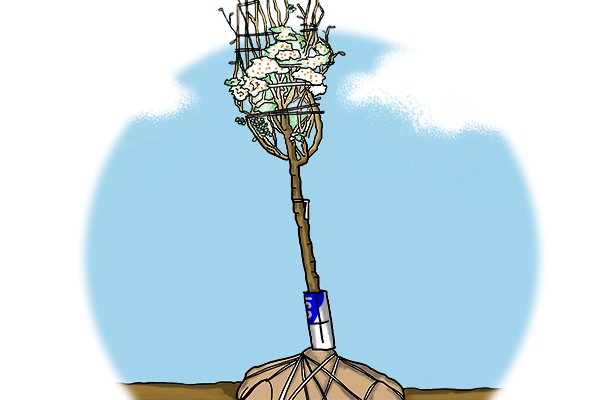
Step 5 – Keep moistWhen the tree is free, place it on a piece of damp sacking, keeping the roots covered to prevent drying. Remember, roots spend their whole natural lives below the ground, so exposure to wind and sun can quickly become detrimental. |
|||
 |
Step 6 – Keep moist (contd)Replant as soon as possible after removal. If you have to wait, pack the roots with mulch (such as compost) and keep them covered with damp sacking cloth. Make sure that they are well-watered at all times. |
|||
 |
Step 7 – Place plant in holePlace the plant in the new hole. Stretch the roots out, making sure that they can extend fully inside the hole. Adjust its size if necessary. |
|||
 |
Step 8 – Cover rootsCover the roots, using the height of the soil mark on the stem or trunk to determine the depth the plant should be buried at. Burying too much of the plant will kill it, as will leaving any of the roots exposed; take your time and make sure. |
|||
 |
Step 9 – Tamp soilUsing the tamper head of your bar, gently compact the earth around the base of your plant to eliminate any air pockets beneath the soil. |
|||
 |
Step 10 – Secure stemIf your plant is particularly large or weak-stemmed, use a stake or guy to keep it upright until the roots are re-established – this will prevent wind-rock (which can damage the roots, and allow water to collect in the ‘socket’ around the base of the tree, leading to rot.) |
|||
 |
||||
For a year after planting: |
||||
 |
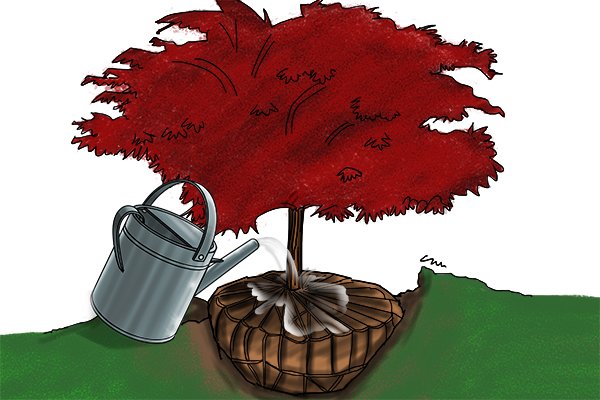
Step 1 – Keep well-wateredKeep the plant well-watered during dry spells. |
|||
 |
Step 2 – Maintain thick mulchMaintain a thick mulch of organic matter, such as compost, around the roots – but don’t leave any touching the base of the plant, as this can rot the wood. |
|||
 |
Step 3 – FertiliseIn spring, apply fertiliser to aid regrowth. |
|||
