


How do you harden a chisel?
How to harden a chisel |
||||
|
|
||||
| In order for a chisel to cut correctly, it must have its cutting edge hardened. The specifics may vary depending on the manufacturer and the type of chisel that is to be produced, but the general principle is the same for builders’ chisels as it is for cold chisels. | ||||
Hardening |
||||
|
|
|
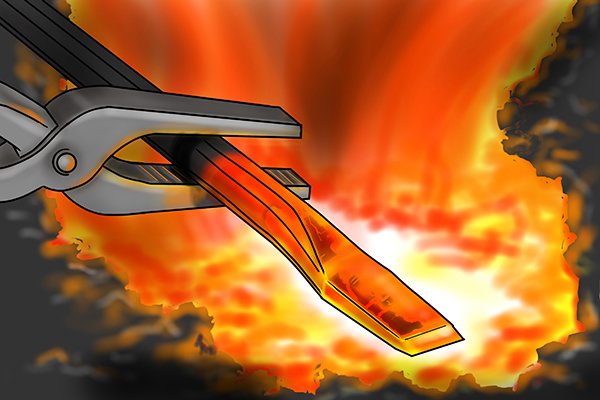
Step 1 – Heating the steelHeat the steel to the critical temperature. At this point the steel will be a bright red colour. |
||
 |
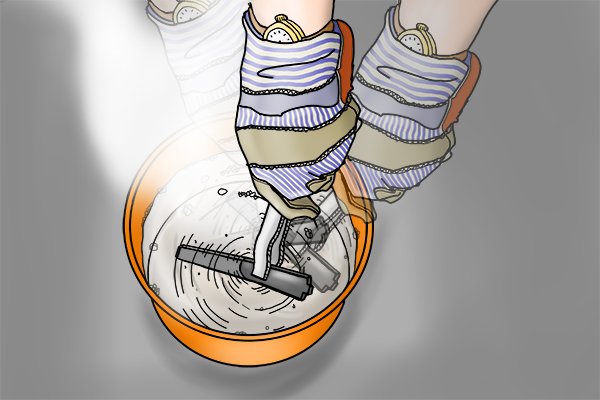
Step 2 – QuencingQuench the steel in order to cool it down. |
|||
|
|
|
Move the steel up and down in the quenching liquid. This motion helps to speed up the quenching process. | ||
 |
Eventually the liquid will stop bubbling; this lets you know that the steel has cooled down, and that it is hard and brittle.
Your cold chisel is now ready to be annealed. |
|||
") |
What is the critical temperature?The critical temperature is the temperature at which the molecules in (in this case) carbon steel are at their greatest level of activity. |
|||
 |
It refers to the temperature of steel when it reaches its “critical point”, this being the point at which the molecular structure of a material changes. | |||
 |
It is also the temperature after which steel is no longer affected by a magnet. | |||
 |
What is “quenching?”“Quenching” refers to the process of cooling down the steel after it has been heated in order to harden or temper it. The process can be done using water or oil. |
|||
 |
Oil is the slower of the two, but water (especially salt water) may cause corrosion on the steel, rendering it useless before it has even been used. | |||
 |
When quenching, it is important that the steel is placed in the liquid upright and moved up and down, so as to prevent the steel from distorting. | |||
