


How to cut circles with snips?
How to cut circles with snips? |
||||
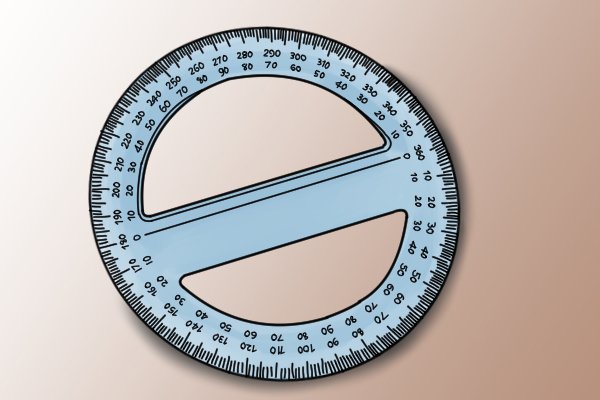 |
Step 1 – Mark guide lineBegin by using a felt pen to mark the cutting line on your metal as a guide for accuracy. For circles, it may be useful to use a base instrument such as a protractor or a drawing compass to get a neat and even circle. |
|||
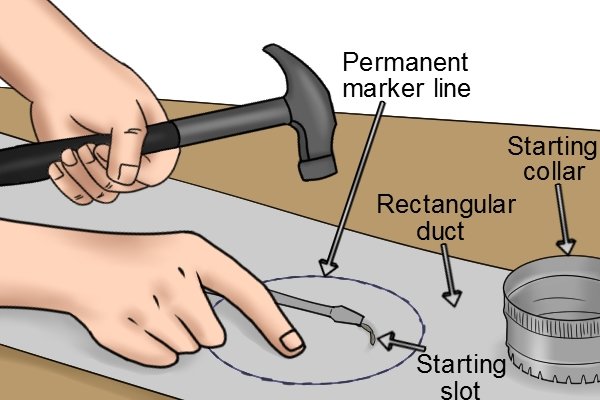 |
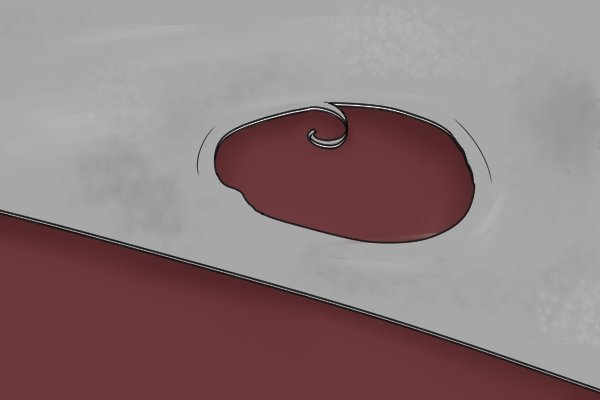
Step 2 – Make starting holeNext you will need to create a hole in the metal as a starting point by using a hammer and screwdriver. Push the screwdriver into the metal by knocking on its end with the hammer. This will allow access for the tin snips. |
|||
 |
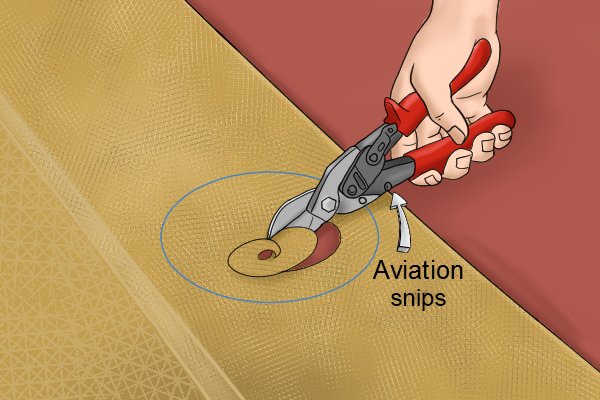
Step 3 – Select snipsDon’t use straight cutting snips for circles or the result will be ragged with messy edges. Use appropriate snips that will cut either clockwise or anti-clockwise all around the circle line. |
|||
 |
||||
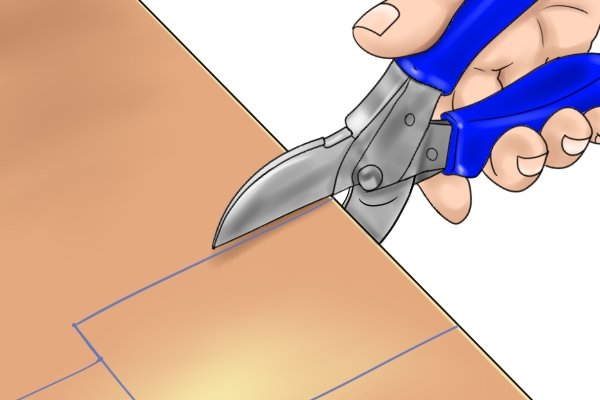 |
Step 4 – Start cuttingInsert the tip of the snips into the hole you have created. Open the blades as wide as possible and place the sheet metal into their clasp. |
|||
 |
Trim in a circular motion around the edges until all metal is removed and a circular shape is completed. | |||
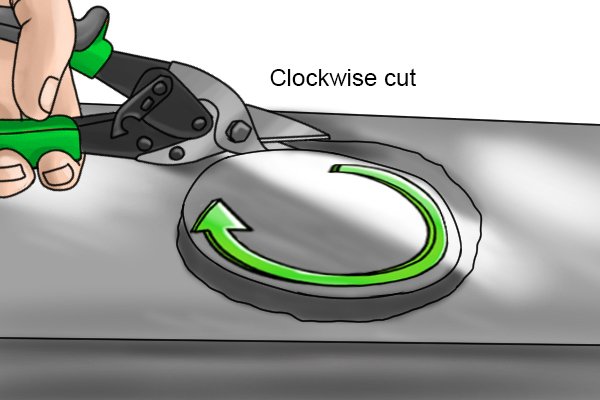 |
To make the task easier, you can switch back and forth between right and left cutting snips to make all sides of the circle smooth and even. | |||
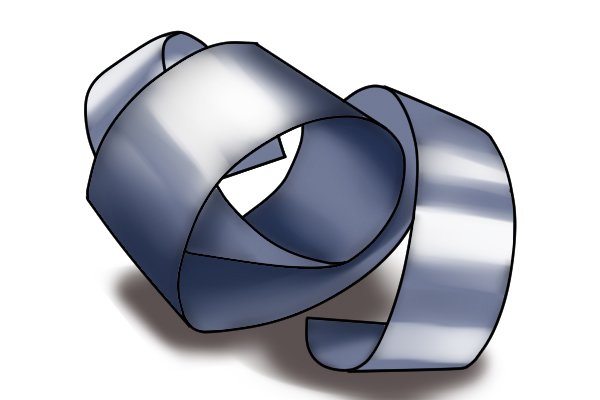 |
Step 5 – Hold wasteHold any waste metal out of the way as you cut to keep your guide line clear and to prevent it from binding on the handles. |
|||
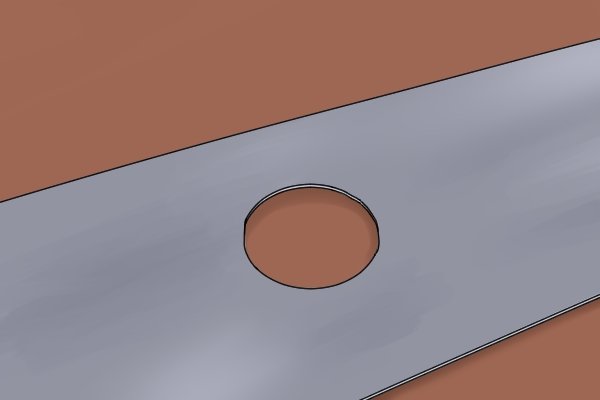 |
Step 6 – Complete cutSoon you will have a perfectly finished circle in the sheet metal. |
|||
