Our other sites:

How do you adjust tappets with a feeler gauge?

How to adjust tappets with a feeler gauge?

Step 1 – Insert Feeler Gauge

Before adjusting tappets you should always refer to the manufacturer’s instructions for the correct tappet gap clearance setting, and how to position the tappet for measurement. 


Place the feeler gauge between the tappet and valve stem.

Step 2 – Read Measurement

Read the measurement on the feeler gauge for a description of the clearance. If you are trying to set a gap of 0.102mm (0.004″), for example, begin with this gauge.


If the gauge will not go in, the tappet will require adjusting. See step 4.

Step 3 – Select Next Size Up

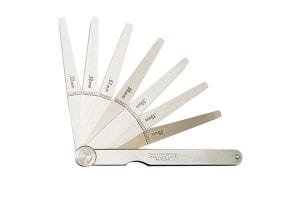
If the gauge enters without resistance, use a gauge the next size up to make sure the tappet clearance gap is no larger than required.


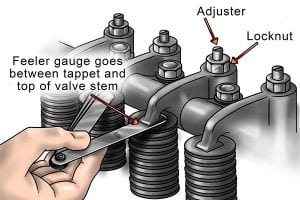
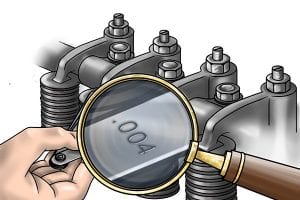
Here, for example, the clearance is too large because the 0.127mm (0.005″) feeler gauge is easily inserted and so the tappet will require adjusting.

Step 4 – Adjust Valve

To adjust the valve, place a ring spanner over the nut and a screwdriver into the tappet. The nut is used to lock the tappet at the correct setting.


Loosen the nut just enough to allow adjustment of the tappet.

Turning the tappet clockwise with the screwdriver will decrease the clearance (counter-clockwise to increase clearance if clearance is too small). Only a small turn is needed to adjust the clearance by a few thousandths of an inch or hundredths of a millimetre.

Wonkee Donkee Tools
Logo