Release the speed control trigger and let the drill driver come to a complete stop.
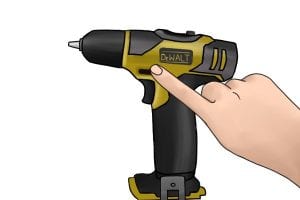
Step 2 – Push forward/reverse button
Push the forward/reverse button into the central position. This locks the tool in the OFF position and allows you to adjust the chuck without the risk of injury.
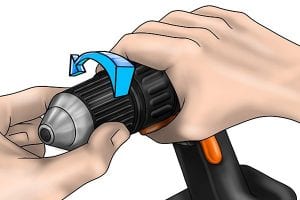
Step 3 – Hold base of chuck
Hold the base of the chuck in one hand to steady the drill. With the other hand, turn the chuck’s collar in an anti-clockwise direction. The chucks jaws should open.
Step 4 – Insert drill or screwdriver bit
Once the chuck’s jaws have opened wide enough, you can insert a drill or screwdriver bit.
Step 5 – Turn chuck collar clockwise
Once the drill or screwdriver bit is in place, turn the chuck’s collar in a clockwise direction until the jaws are clamped firmly around the bit, holding it securely.
Step 6 – Push the forward/release button
Push the forward/reverse button into the forward position to begin working.