How to pull nails using a wrecking bar? |
||||
| Shop for Wrecking Bars | ||||
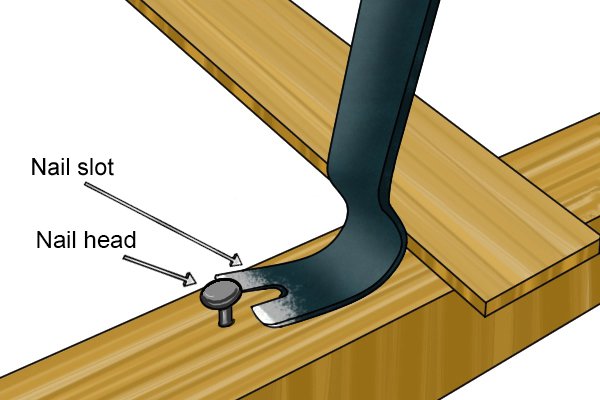 |
Most wrecking bars feature at least one nail slot, and so are suitable to pull nails. The only bar which is completely unsuitable for this task is the aluminium wrecking bar, which does not feature a nail slot at either end. | |||
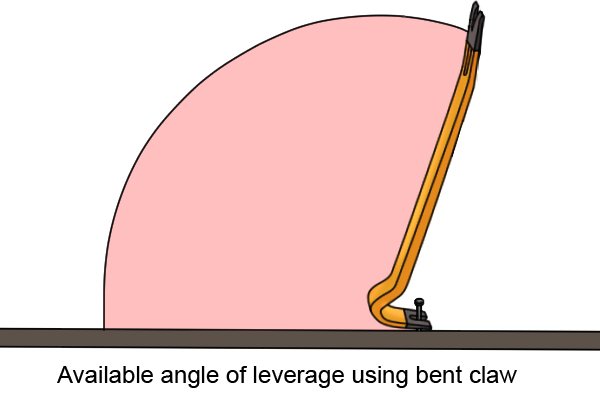 |
The bent claw on the majority of wrecking bars allows a greater degree of movement for leverage than a straight claw, making the task easier on the user. | |||
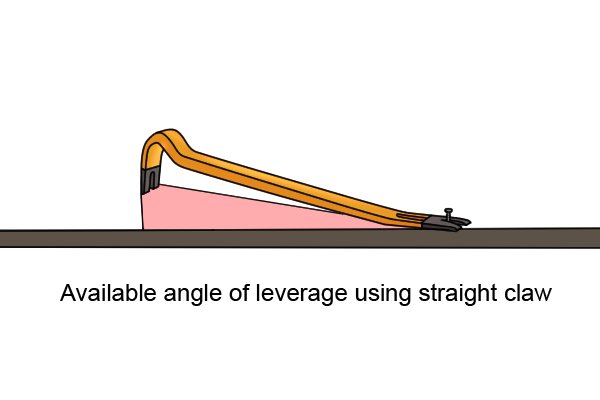 |
A straight claw provides a lesser degree of movement as it is forged at a 180 degree angle to the shaft of the bar. When pulling a nail at this angle, you won’t be able to push down on the shaft to lever the head of the nail upwards without quickly meeting the surface of the object being worked. | |||
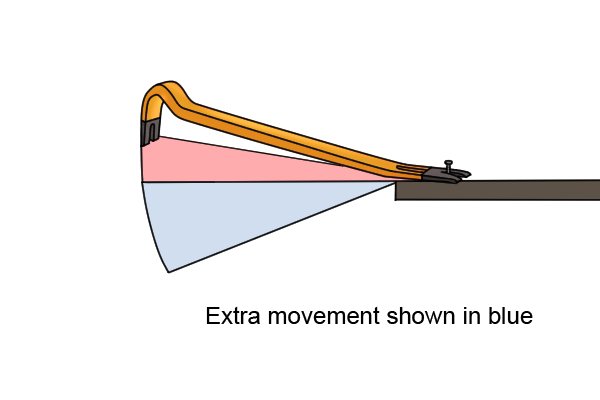 |
If pulling nails from a surface which the bar can pivot about, such as the head of a fence post or narrow plank of wood, the angle of leverage will be greater for each claw. | |||
What else will you need? |
||||
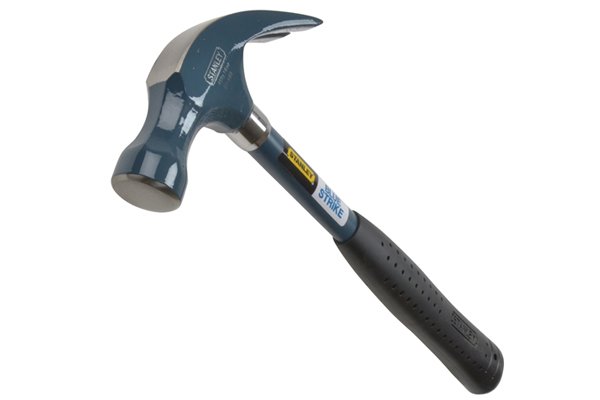 |
A hammer | |||
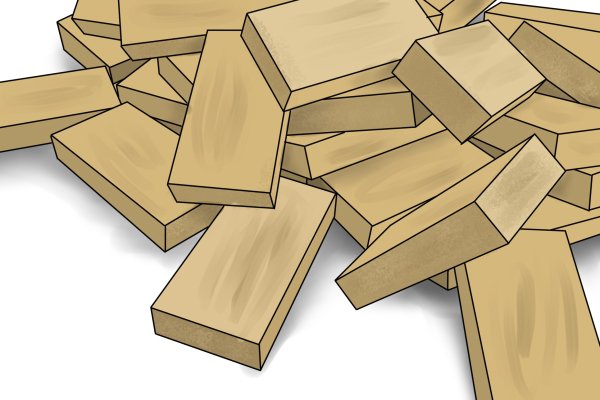 |
A piece of scrap wood | |||
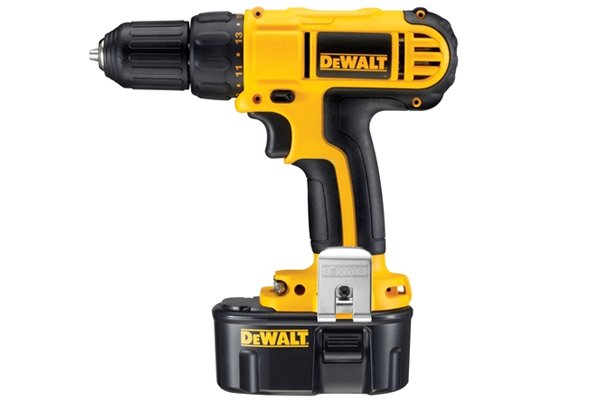 |
A drill | |||
Wonkee’s hoof-by-hoof guide |
||||
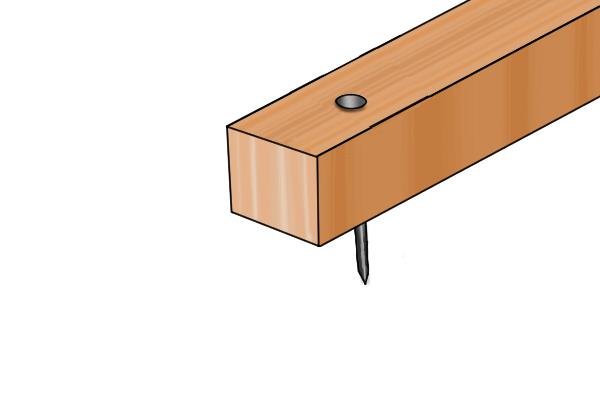 |
It’s likely that you will need to push nails up from beneath in order to pull them. To do this without damaging them, follow these steps: | |||
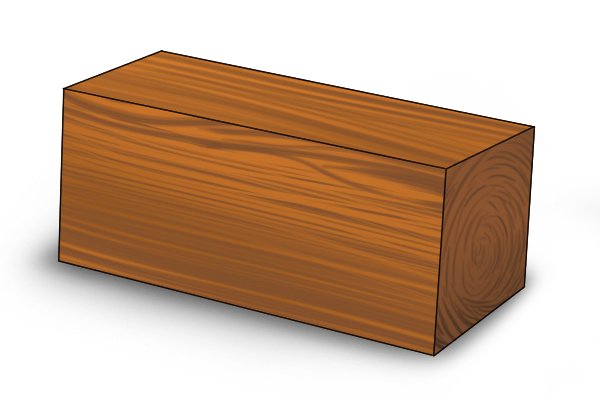 |
Step 1 – Find scrap piece of woodFind a scrap piece of wood – a block which is slightly thinner than the exposed length of the nail you will be removing. |
|||
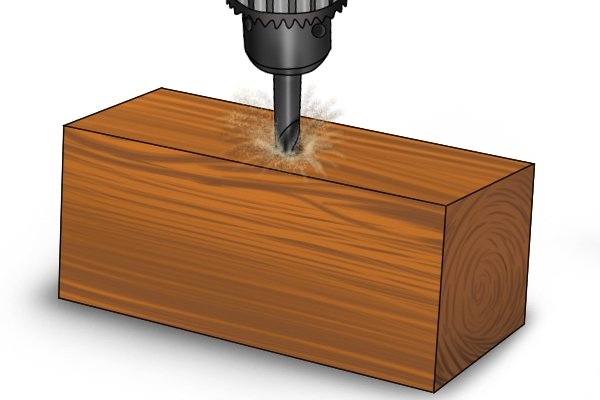 |
Step 2 – Drill holeIn your scrap wood, drill a hole a little larger than the diameter of the nail you will be pulling. |
|||
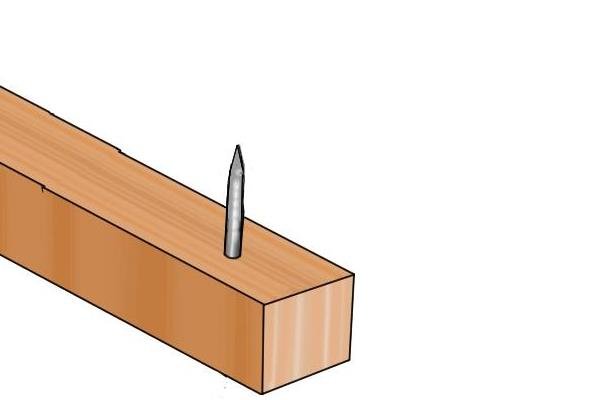 |
Step 3 – Turn boardTurn the board you will be pulling the nail from so that the point of the nail is pointing upwards. Make sure you leave enough space beneath the board for the nails to come out! For support, use two blocks of wood (or similar) with a gap between them. |
|||
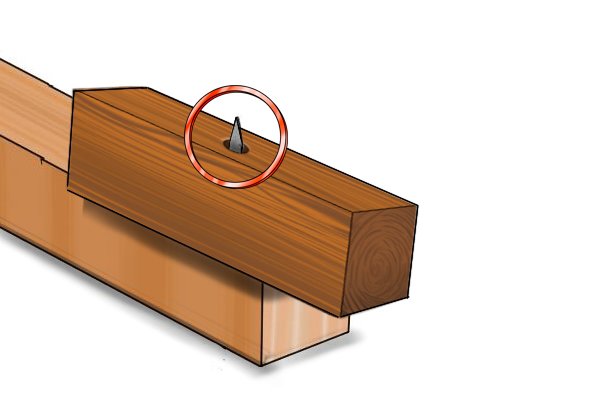 |
Step 4 – Place scrap on nailPush the hole in the scrap of wood down over the protruding end of the nail as far as it will go. The point of the nail should show just above the hole. |
|||
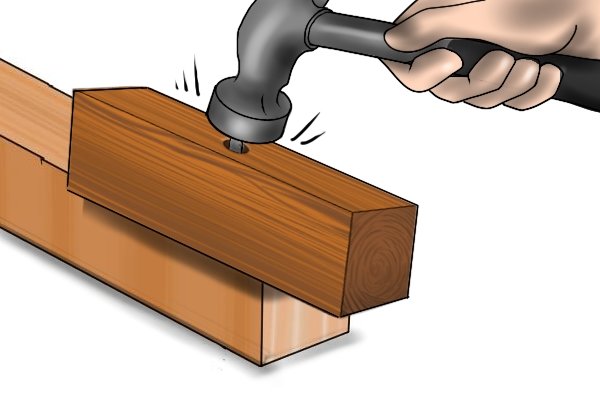 |
Step 5 – Hammer nail throughStrike the end of the nail with your hammer. The wooden block will prevent it from bending or breaking and becoming stuck. The head of the nail should now be high enough to fit the claw of your bar beneath. Now you can pull the nail free – this is the easy part! |
|||
How to pull a nail free |
||||
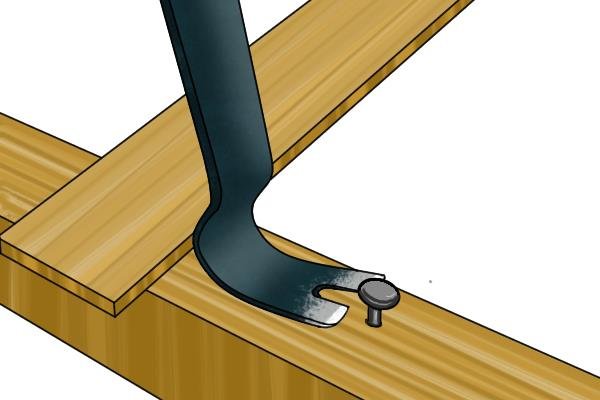 |
Step 1 – Position clawSlide the bent claw of your bar forward around the nail until the nail fits snugly inside the ‘V’ of the slot. |
|||
 |
||||
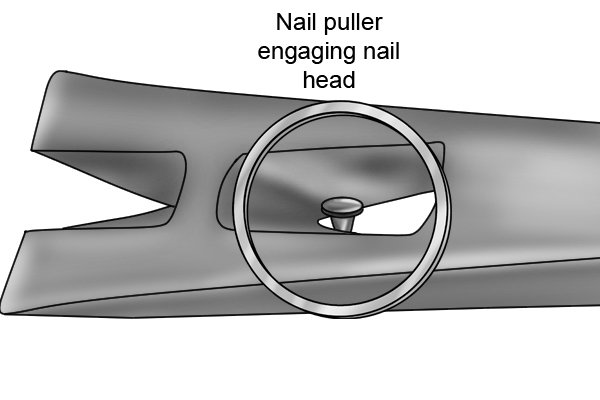 |
Alternatively, if you will be using the nail puller to remove the nail, place the nail puller over the head of the nail and slide forward or backward until the inside edge of the nail puller engages the head of the nail. | |||
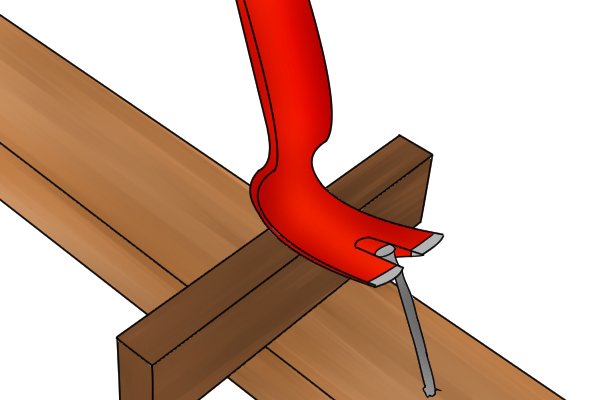 |
Step 2 – Pull nailApply downward pressure to the opposite end of your bar until the nail lifts free. If you wish to remove the nail without damaging the wood it is inserted in, you may find it useful to insert a block of scrap wood, or a wooden shingle, underneath the heel of your bar. This will prevent damage to the contact area (the area beneath the heel of the bar) when force is exerted. |
|||


