Our other sites:

How do you use dowels to make wooden joints?

How to use dowels to make wooden joints?

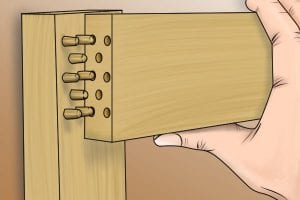
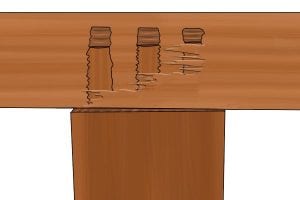
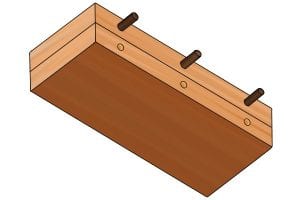
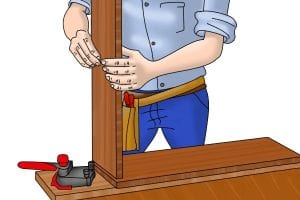
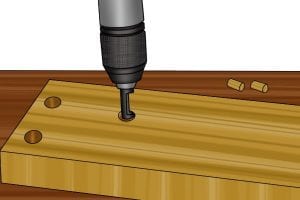
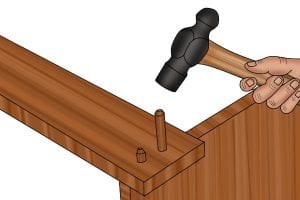
In theory, using dowels to join wood is relatively easy, as it just involves drilling holes and pushing dowels into them.


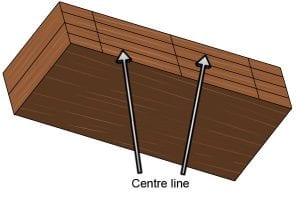
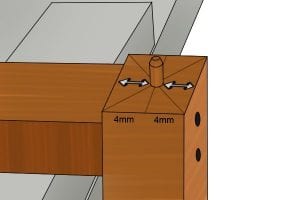
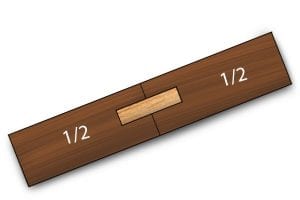
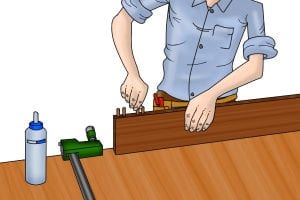
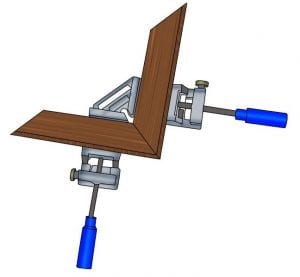
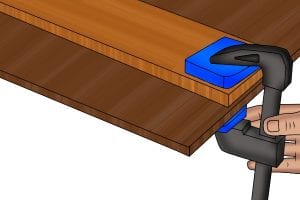
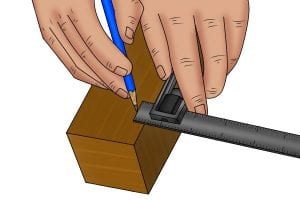
In practice, it will take a little thought, planning and measuring to ensure that your dowelling is a success – as accuracy is vital.


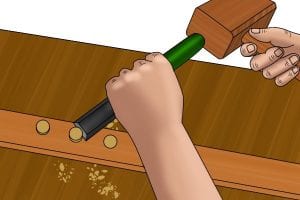
Remember: The more dowels you use to support a joint, the stronger it will be.

Making a Dowel Joint

Step 1 – Finding centre of edge butt

Measure and mark out a centre line along the length of the edge butt using a pencil, as shown on the two adjacent boards in the image on the left.

Step 2 – Choose dowel width

When making joints, you’ll most often find yourself using pre-cut dowels. (Dowel rods can be cut to size, but they are less suitable due to lack of flutes and human error when cutting). 


When choosing what size of dowel peg to use, you need to bear in mind that you’ll need to leave at least around 4mm (3/16″) of wood either side of your dowel.

For example, if you were joining two pieces of wood that were 16mm (5/8″) deep, you wouldn’t want to choose a dowel larger than 8mm (5/16″) wide (16 – 4 – 4 = 8).

If you don’t leave enough wood either side of your dowel, your joint could split open (fail) under pressure.

Step 3 – Drilling edge butt


Measure and mark out the locations where your dowel holes will go on your centre line. Drill holes at these points.


For more guidance on choosing a depth for your holes, see: How to drill holes to an accurate depth.


Wonkee Donkee Tip – If you don’t drill your hole at 90 degrees to the wood’s surface then your joints won’t fit properly and your project will look messy. 

Edge to edge joints will be strongest with roughly half of the dowel in each part of the joint.

Edge to surface joints need a little more thought. To prevent the dowels from pushing through the surface, measure carefully and drill so that the drill bit does not bore all the way through your piece of wood.

For tips on drilling accurate holes, see: How to drill holes to an accurate depth.


Step 4 – Insert dowels as guides

Using a little wood glue, push the dowels into the holes. These will act as guides that will help you drill holes in the right places on the other piece of wood in the joint.

Step 5 – Mark up mating surface

Make marks on the opposite surface of the joint, being careful to make sure they are accurate. There are a few different ways of making sure they line up, such as using centre points, so choose the one you feel most confident with.

Step 6 – Dry Fit

Without putting glue in your second piece of wood, put the joint together to make sure it fits. If it doesn’t, then you’ll need to figure out the reason and try to fix it.

Step 7 – Assemble joint

Once you are happy that your joint will slot together neatly, apply glue to the second set of dowel holes and connect the joint.

Step 8 – Leave to dry

Clamp your joint securely and leave it to dry for a couple of hours.

Guide to joints with visible dowels

Making dowel joints is much easier if you don’t mind the dowels being visible. However, this type of joint can only be made if one of your pieces of wood is thin enough that you can drill all the way through it.


You will most likely need to use dowel rods for this type of joint, as dowel pegs are likely to be too short to reach all the way through one piece of wood and into another. 


The dowel that you use should be a little longer than the hole you drilled.

Step 1 – Clamp joint


Clamp the two pieces of wood that you will be joining together in place with the thickest piece on the bottom.

Step 2 – The toughest part

Make a mark on the uppermost piece of wood to show you where the centre line is on the wood below.

You can do this by measuring the lower piece of wood to find the central point and using it as a reference to mark an accurate line on the upper piece of wood.

Step 3 – Drill holes

Drill holes on the line you just marked. Drill all the way through your upper piece of wood, down into your lower piece of wood.

Step 4 – Glue dowels into place

Put some wood glue into your holes, then insert dowels and leave them to dry.


Your dried joint should now be ready for you to remove the excess length of dowel for a smooth finish.

Saw or chisel off the excess length of dowelling once the joint has dried.

For a neat finish, sand down the tops of the dowels to make sure they are level with the rest of the wood surface.

Wonkee Donkee Tools
Logo