How to set up a wooden scrub plane? |
||||
| Shop for Woodworking Hand Planes | ||||
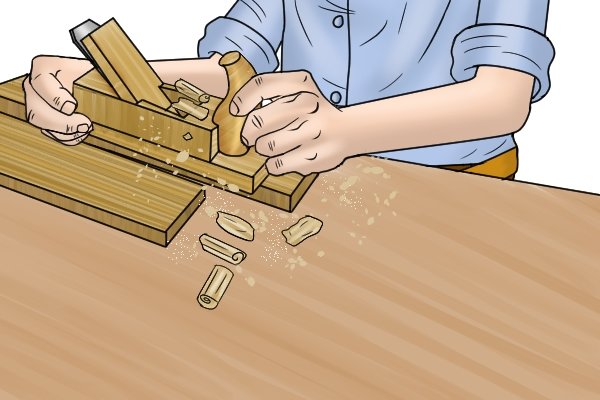 |
Spending some time setting up a wooden scrub plane properly can save problems and delays when you begin work on a project. Newly-purchased planes – brand new or second-hand – are rarely set up ready for your particular requirements. | |||
Checking and flattening the sole |
||||
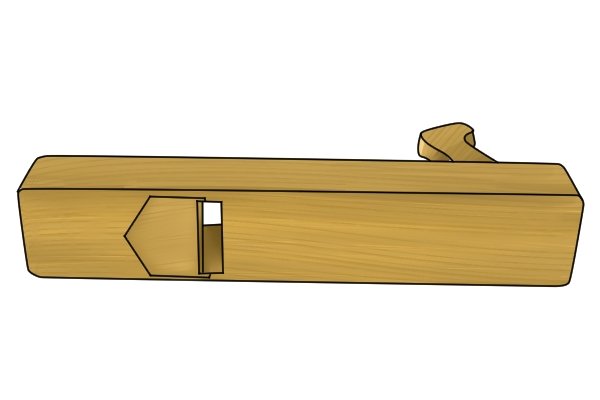 |
The sole of the plane needs to be perfectly flat and smooth for the tool to work properly. See How to sharpen and adjust a scrub plane iron for details of how to check the sole and correct any unevenness. | |||
Checking the iron |
||||
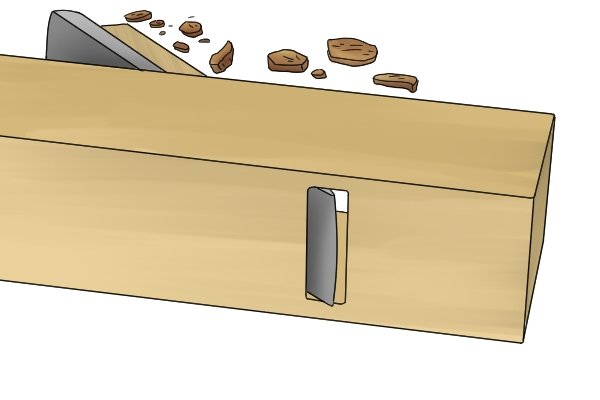 |
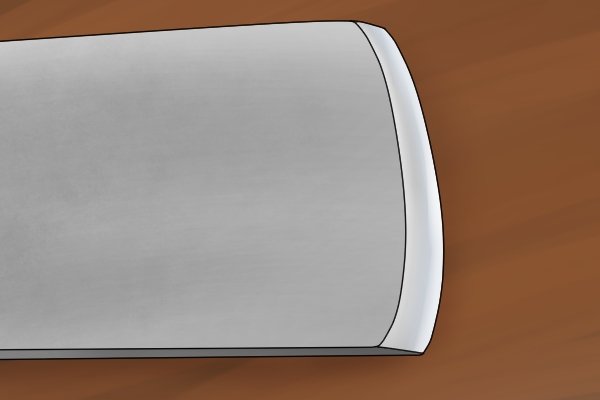
The camber – curvature – of the iron’s cutting edge needs to be right for the angle at which the blade is bedded. Practically all wooden scrub plane irons are bedded at around 45 degrees to the sole, with the bevel down. | |||
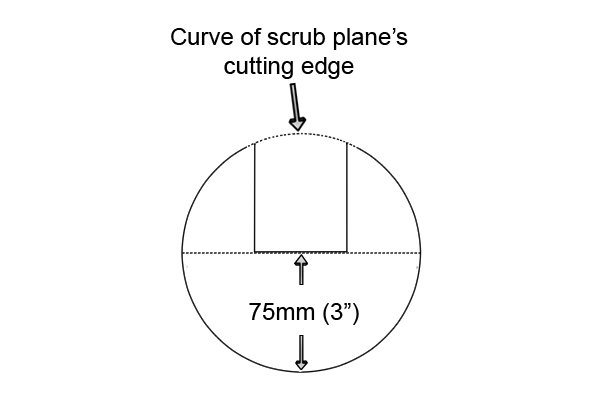 |
The radius of the camber on a scrub plane iron bedded at 45 degrees needs to be 75mm (3 inches). | |||
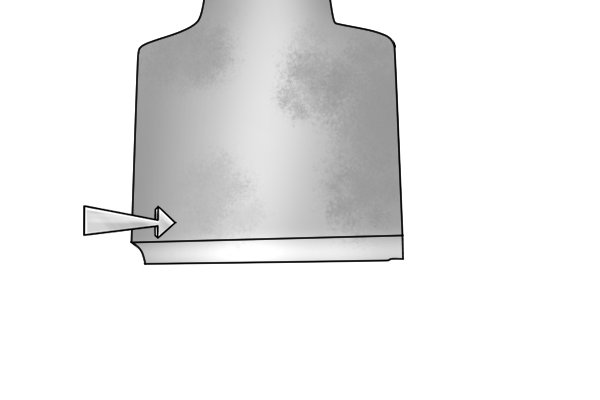 |
The cutting edge also needs to be checked regularly – preferably during and after each use – for sharpness and chipping. Small pieces can be chipped from the iron if it comes into contact with, say, an undetected nail or screw in piece of wood.See How to set up a metal scrub plane for details about the right camber and checking for sharpness and chipping. | |||
 |
Removing the ironIf the iron needs re-cambering or sharpening, you will need to remove it from the plane. |
|||
Sharpening and adjusting the blade |
||||
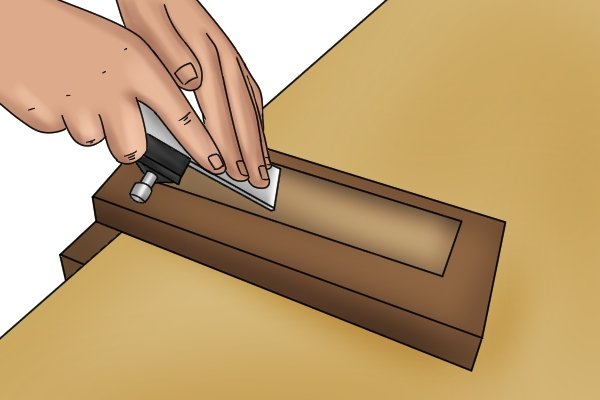 |
The iron of a wooden scrub plane is similar to that of its metal counterpart, with the same distinctive curve on the cutting edge.See How to sharpen and adjust a scrub plane iron for a guide to removing, sharpening, replacing and adjusting the blade. | |||
