Our other sites:

How To Use A DeWalt Percussion Drill?

How to use a DeWalt Percussion Drill?

Percussion drill and hammer drill.

At Wonkee Donkee, we believe that before you use any power tools it is vitally important that you read and understand all of the functions and safety advice. Our number one tip is to always be safe when using any power tools and that includes wearing the appropriate personal protective equipment for the task!

Inserting a Drill or Screwdriver Bit

Keyless Chuck

Turning Dewalt drill driver chuck anti-clockwise to unlock.

Some DeWalt percussion drills feature a keyless chuck for convenience. Make sure the drill is unplugged, then hold the base of the chuck in one hand to steady the drill.


With the other hand, turn the chuck’s collar in an anti-clockwise direction until its jaws open wide enough to accept the bit.

Different chucks fit into drill bits.

Push the bit into the jaws of the chuck and tighten it up by turning the chuck clockwise.


When it has almost fully tightened you’ll hear a clicking sound. After four to six clicks the chuck should be tight enough.

Keyed Chuck

Percussion drill keyed chuck.

Having unplugged the drill, tighten the chuck collar by hand. Push the chuck key into each hole, then tighten by turning clockwise.


It’s important to use all three holes to make sure the chuck is completely tight, otherwise the bit might slip during use.

Attaching a Side Handle

Attaching side handle to percussion drill for extra control.

A percussion drill is a powerful machine, so for full control it’s essential to use both handles at all times.


To fit the side handle, push it towards the rear of the tool until the slots on the lip of the handle engage with the tabs sticking out of the gear case. Turn the side handle clockwise until it’s tight. You can attach it on the left or right side of the drill.

Adjusting the Settings

Setting Forward or Reverse

Percussion drill reversing lever.

You can put the percussion drill into forward rotation by releasing the trigger, then pushing the forward/reverse lever to the left (when viewed from the operating position).


To put it into reverse, release the trigger and push the lever to the right. The forward position is for drilling or hammering, while the reverse setting is for backing out drill bits from tight holes.

Choosing Mode

Percussion drill mode selector.

To avoid damaging the drill, make sure it has come to a complete stop before changing the mode. Slide the mode selector to the drill-only or hammer mode, depending on the task at hand.


Use the drill mode for metal, wood and plastics, and the hammer mode for a simultaneous impacting and rotating action to tackle brick, concrete and masonry.

Setting Drilling Depth

Percussion drill depth rod adjustment.

Having inserted the drill bit into the chuck, loosen the side handle then push the depth adjustment rod through the hole in the side handle clamp. Pull back the rod so that the distance between the tip of the rod and the tip of the drill bit is the same as the required drilling depth.


If you’re using a rawlplug, remember to allow a few extra millimetres as the screw will protrude slightly beyond it. Tighten up the side handle again when you’ve finished.

Getting Started

Dewalt percussion drill trigger and lock-on button.

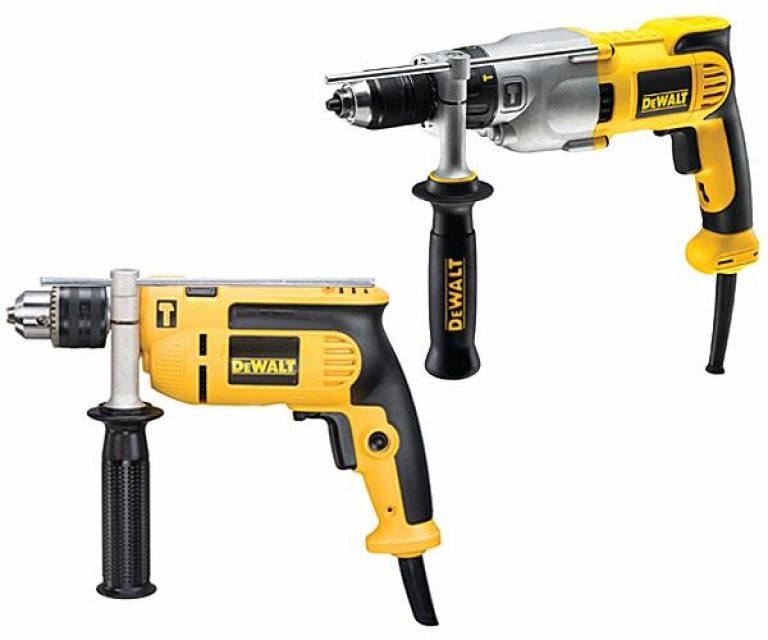
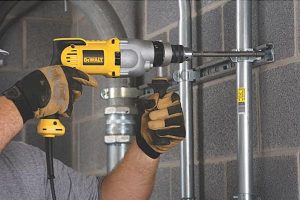
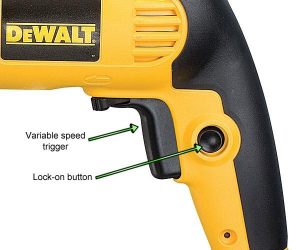
To get the percussion drill going, press the variable speed trigger. The harder you squeeze it, the faster the tool will run.


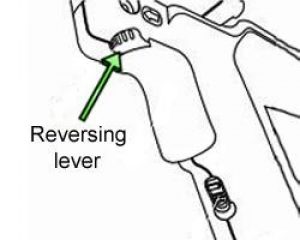
Once the drill has reached full speed you can push the lock-on button (if in forward rotation) for continuous running, if desired, and release the trigger.


To stop the drill in continuous operation mode, press the trigger briefly then let it go.


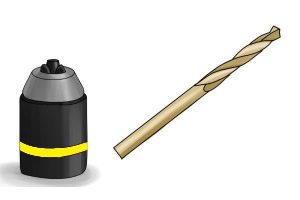
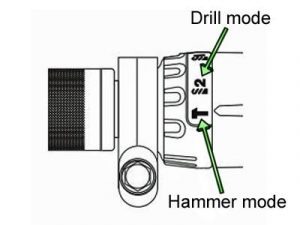
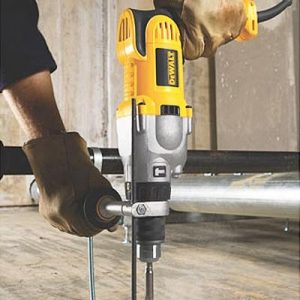
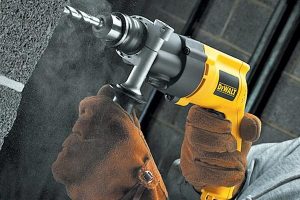
Choose lower speeds for starting holes without a centre punch (a small tool that guides the drill bit) and for drilling in plastic, metal or ceramics. Higher speeds are more suitable for drilling wood and fibreboard.

Tips on Drilling

Drilling Masonry

Dewalt percussion drill being used with depth rod.

Carbide-tipped bits rated suitable for percussion drilling are best for use on cement, brickwork and other masonry. For the best results only use sharp bits, and avoid any that have become worn or damaged.


Remember to grip the drill firmly with both hands to control its twisting action.

Drilling Wood

Wonkee Donkee Guide Top Tips

You can make holes in wood with the same twist drill bits used for metal. And if you’re drilling into a thin workpiece that might splinter, it’s a good idea to place a block of wood behind it for support.


To prevent the bit overheating, pull it out of the hole at regular intervals to clear debris from its flutes.

Drilling Metal

Attaching side handle to percussion drill for extra control.

We recommend using a cutting lubricant for drilling metals, except in the case of brass and cast iron, which are best drilled while dry.


When drilling large holes (8 to 13mm diameter) in steel, you’ll find the task much easier if you make a pilot hole first – 4 or 5mm wide should be enough. 

Gently does it...

Percussion drill being used on floor.

Let the weight of the tool do the work. Use just enough pressure to keep the drill biting, but don’t push so hard that the motor stalls or the bit bounces off the surface.


And keep the drill straight – at a right angle to the workpiece. Don’t apply any side pressure, as this will make the flutes on the bit clog up and the drill will slow down as it starts to overheat.


To avoid damaging your work or the surrounding surface, start with a low speed then increase it to full power if needed. 

In a hole?

Top tips for using an angelr grinder from wonkee donkee.

If the speed begins to drop off while you’re drilling a deep hole, pull the bit partly out of the hole with the motor still running to help bring out debris.


As long as you can see a smooth, even flow of dust coming out of the hole it means you’re drilling at the right rate.

Less is more!

Less is more and control the movement when drilling.

When you’ve nearly finished drilling the hole, reduce the pressure on the tool and carefully ease the bit through the last few millimetres. This minimises the chance of the drill stalling or breaking through the material.


Finally, when you pull the bit back out of the hole you’ve just drilled, keep the motor running to help prevent jamming.

What to do if the drill stalls?

Caution signs warn others of danger.

Let go of the trigger immediately, pull the drill bit out of your workpiece and investigate what caused the motor to cut out. Stalling usually only happens if the tool is being overloaded or used for unsuitable tasks.


On no account should you start pulling the trigger in and out in an attempt to restart the motor, as this could seriously damage the drill.

Wonkee Donkee Tools
Logo