


How to replace the blade on a craft knife with a split handle?
How to replace the blade on a craft knifewith a split handle? |
||||
 |
Once a blade has become dull it will need replacing. The method used to remove a blade depends on the blade-securing mechanism which a craft knife uses. | |||
 |
The following instructions detail how to remove a blade and insert a new one on a craft knife with a split handle. | |||
Split handle |
||||
 |
Step 1 – Open handleTo replace the blade the handle will firstly need to be opened. Do this by twisting the notched wheel to the left. The handle lock will be released, allowing you to split the handle open. |
|||
 |
Step 2 – Remove bladeThe blade will be resting on a saddle. Carefully detach the blade from the saddle and remove it from the handle. |
|||
 |
||||
 |
Step 3 – Insert new bladeInsert the new blade into the same position that the previous blade was in, making sure it is placed correctly on the saddle. Always be careful when inserting a new blade, as it will be razor sharp. |
|||
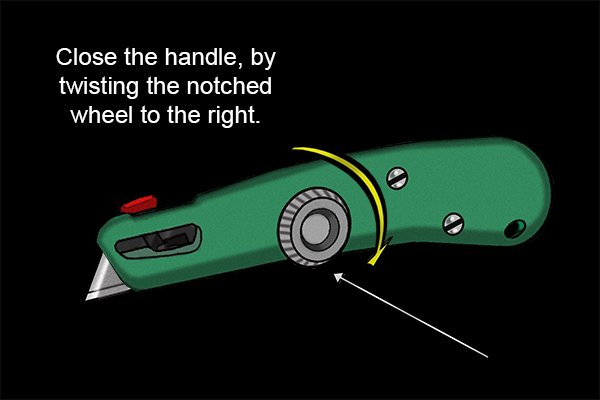 |
Step 4 – Lock handleClose the handle, locking the two sides together by twisting the notched wheel to the right. This will keep the new blade secure inside the handle. |
|||
 |
Once the blade has been replaced, your craft knife will be like new and ready to use. | |||
