How to use a plate vice? |
||||
Preparing to use your plate vice |
||||
 |
Before using your plate vice, you will first need to: | |||
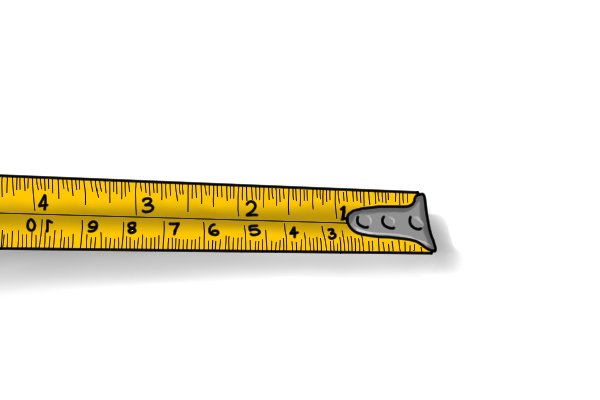 |
Measure your workpieceIf you don’t already know the dimensions of your workpiece, measure it. You can do this using any suitable rule – including the millimetre and inch rules incorporated into the plate vice’s design. |
|||
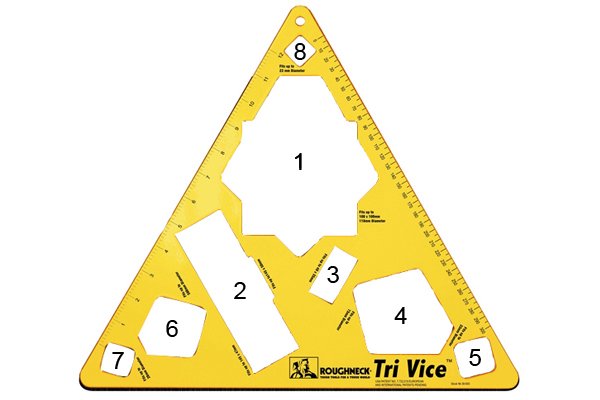 |
Identify the appropriate grip portUsing our guides (Which grip port should you use on a Tri Vice, or Which grip port should you use on a Timber Lok), identify the appropriate grip port for your workpiece. Alternatively, you can simply try it – if it fits and the angle of insertion is not too steep (no less than 45° is best), then go ahead! |
|||
Using one plate vice on its own |
||||
 |
NoteTo help make this guide as easy to understand as possible, we will refer to the end of the workpiece which you will be cutting, drilling, finishing, or otherwise working, the ‘working end’. The opposite end of the workpiece, which rests on the ground, will be referred to as the ‘supporting end’. |
|||
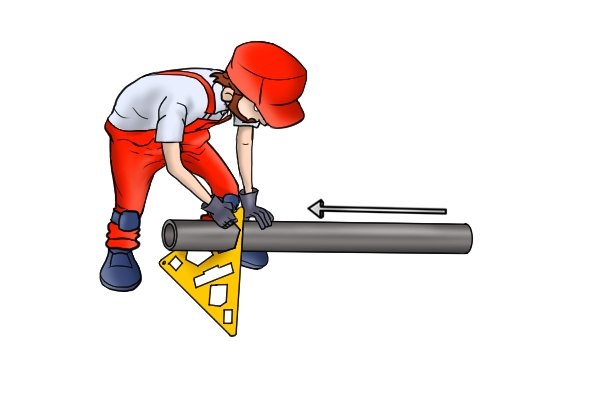 |
Step 1 – Insert working end into plate viceInsert the working end of your workpiece through the appropriate grip port in your plate vice, pushing through until it protrudes from the hole to the desired length. |
|||
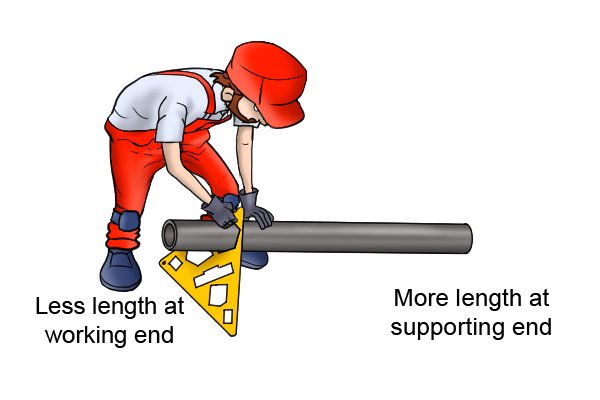 |
To support the plate vice in a reasonably upright position, there should be more length at the supporting end than at the working end. | |||
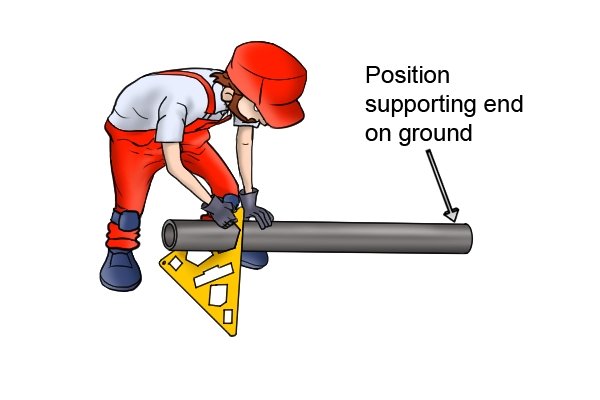 |
Step 2 – Position supporting endPosition the supporting end of your workpiece on the ground, opposite the base of the plate vice. |
|||
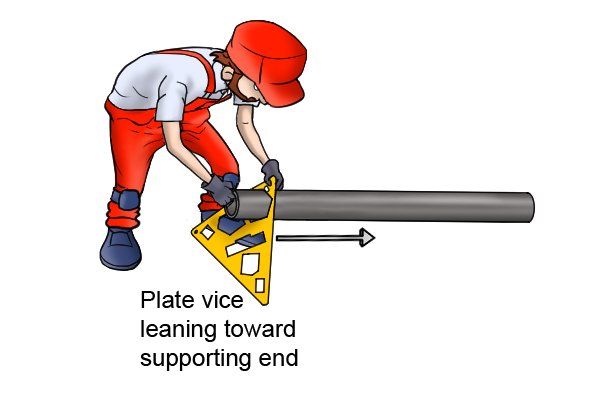 |
Step 3 – Position plate viceLean the top of your plate vice toward the supporting end of the workpiece, adjusting both plate vice and workpiece until it is able to stand in place, supported by the workpiece, while in turn holding the workpiece in position. |
|||
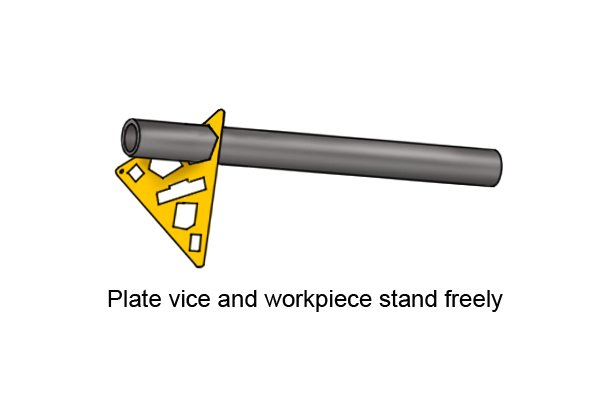 |
Step 4 – Let go of the plate viceYou should now be able to let go of the plate vice and workpiece without either falling down. If either does fall, this is a sign that you need to go back to Step 1 and perform some vital adjustments! |
|||
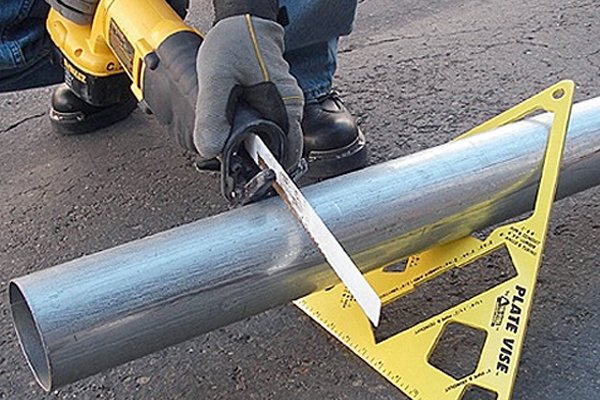 |
Step 5 – Perform intended workYou can now perform the intended work at the working end of the workpiece. |
|||
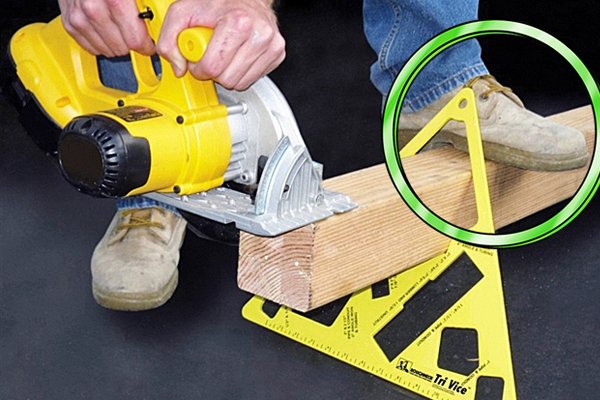 |
While cutting, drilling, or otherwise working on the workpiece, you may find it helps to add a little additional force to the plate vice by placing one hand or foot on the workpiece behind the grip port (on the supporting side of the workpiece). This particularly applies to light materials such as plastic pipe. | |||
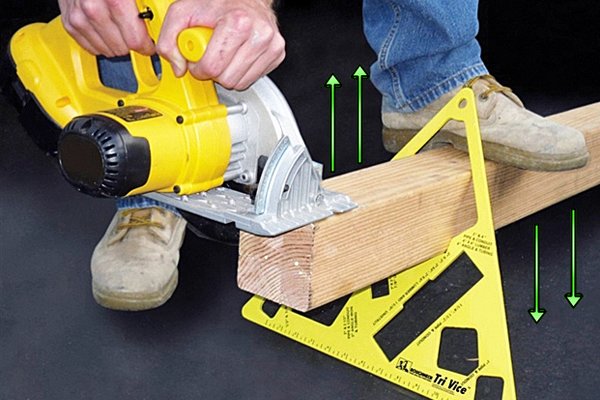 |
This will increase both the downward force exerted by the workpiece, and, in turn, the resistance provided by the plate vice, resulting in firmer support for both. | |||
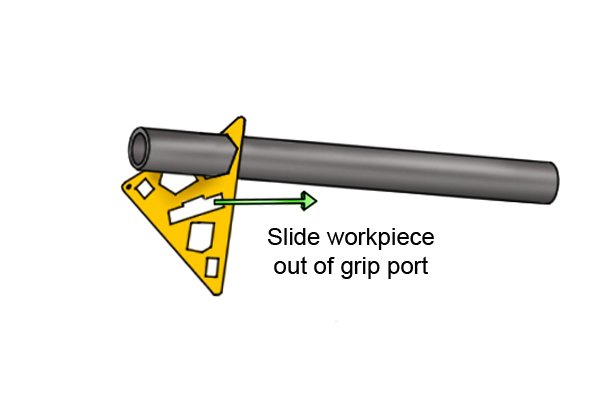 |
Step 6 – Remove workpieceWhen you want to remove the workpiece, simply slide it out of the grip port. |
|||
 |
You can now move on to the next workpiece, or store your plate vice ready for its next use. For our guide on plate vice storage, see: How to store a plate vice. | |||
Using two plate vices together |
||||
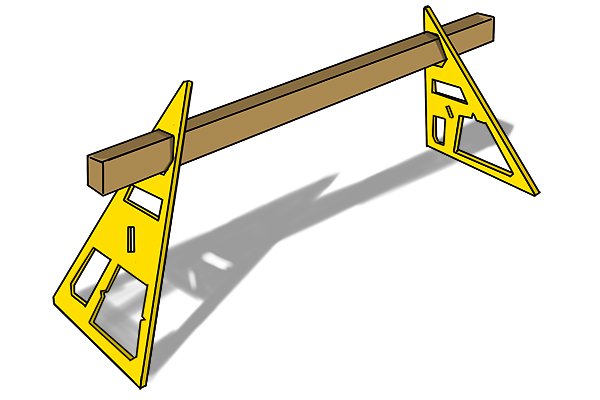 |
If you will be using two plate vices together, to support the workpiece at both ends, you can still follow the guide above, with these simple variations: | |||
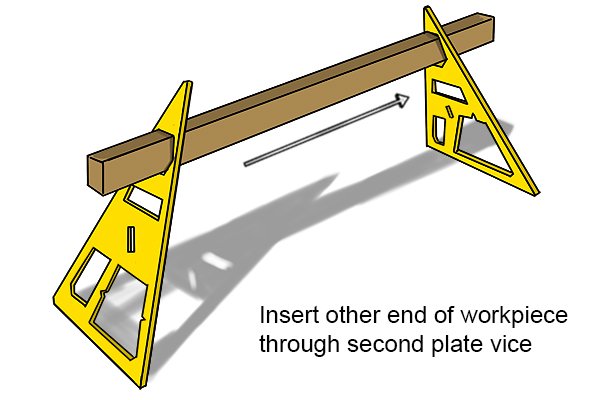 |
Step 2 – Position supporting endInstead of positioning a ‘supporting’ end of the workpiece on the ground, you should instead insert the second end through the appropriate grip port on your second plate vice. |
|||
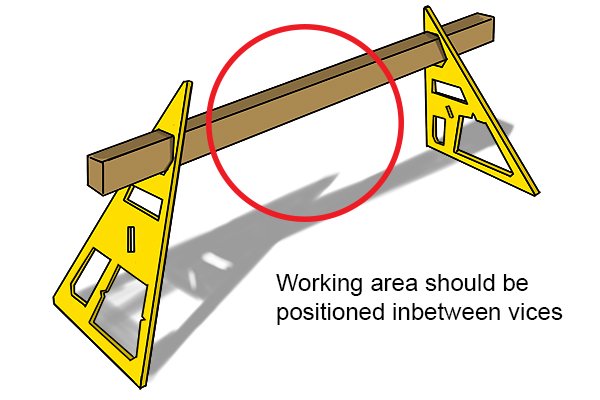 |
Step 5 – Perform intended workHere, instead of a ‘working end’, the part of the workpiece you will be performing any drilling or finishing on should be positioned between the two plate vices, allowing complete access. |
|||
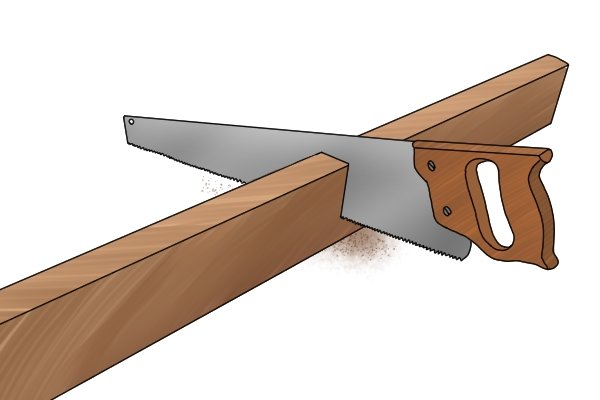 |
Please note that a workpiece held between two plate vices as above will not allow sawing or cutting all the way through the workpiece, as the cut will bind (close up, due to the pressure from both plate vices) and prevent the cutting tool’s blade from moving further. | |||


