


How to remove wall tiles without breaking them?
How to remove wall tiles without
|
||||
|
|
||||
 |
Sometimes, you may need to remove wall tiles from a bathroom or other area without damaging them; for example, if you will be reclaiming the tiles, replacing them, or reselling them. | |||
 |
While it is virtually impossible to remove 100% of tiles on a wall without breaking any, by following these instructions, you should be able to preserve the majority of tiles removed. | |||
 |
However, there is no guarantee here; depending on the substrate used to fix your tiles to the wall and the quality of your tiles, you may find it is more difficult to remove them without damage. | |||
 |
Please note that while this guide will help you to avoid damaging your tiles, the substrate beneath will be damaged and must be fixed or replaced before reuse. | |||
What else will you need? |
||||
 |
A hammer | |||
 |
A utility knife | |||
 |
A grout cutting tool such as a grout saw or a scraper | |||
 |
A large piece of cardboard (optional) | |||
Wonkee’s hoof-by-hoof guide |
||||
 |
Tips1. Begin on the outer edge of a section of tiles and work your way inwards. |
|||
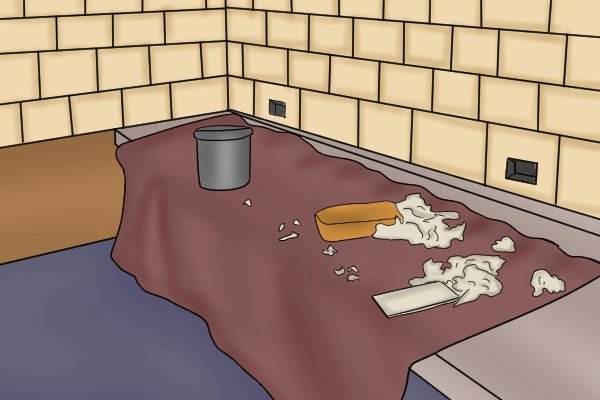 |
2. Place a large piece of cardboard at the base of the wall to catch falling tiles (or tile pieces). This will make clean-up much easier and prevent damage to tiles which fall intact. | |||
 |
Step 1 – Cut groutUsing your grout saw or similar tool, cut the grout on the right and bottom sides of the tile. To do this, press the blade into the grout (in the gap between tiles) and use a back and forth motion to cut. If the grout is not cut before the tile is removed, you risk damaging the tiles next to it when it is lifted. |
|||
 |
Step 2 – Cut caulk and paintUse your utility knife to cut through the caulk and paint on the left side of the tile. If possible, use blades which are already dull, rather than new, sharp blades; this task will dull sharp blades very quickly. |
|||
 |
Step 3 – Insert clawInsert the straight claw of your moulding bar beneath the left edge of the tile and gently push it inward. |
|||
 |
Step 4 – Tap bar with hammerGently tap the heel of the bar with your hammer to drive it further beneath the tile. |
|||
 |
Step 5 – Remove tileAt this point, the tile should simply pop off. If not, apply gentle leverage to the end of the bar until it does. |
|||
