How to remove crown moulding
|
||||
What else will you need? |
||||
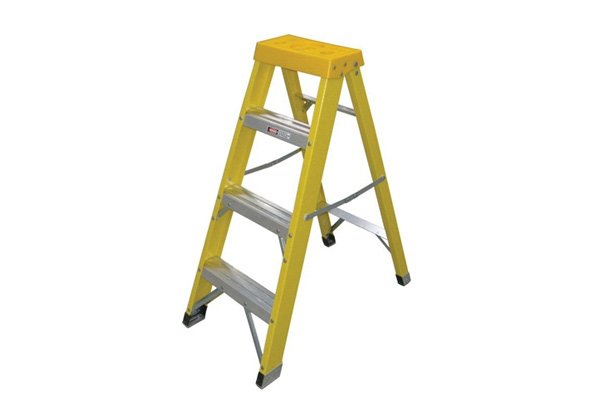 |
A step-ladder | |||
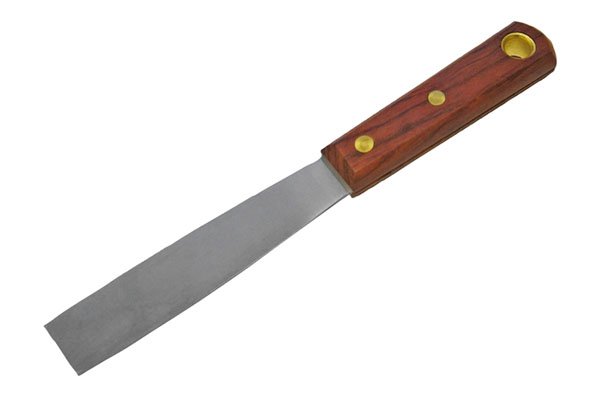 |
A putty knife (or other thin-bladed tool) | |||
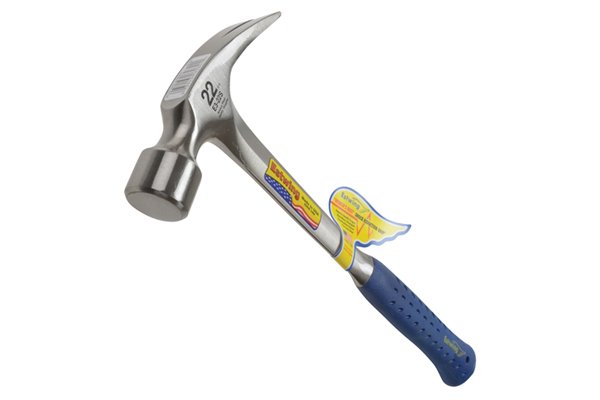 |
A claw hammer | |||
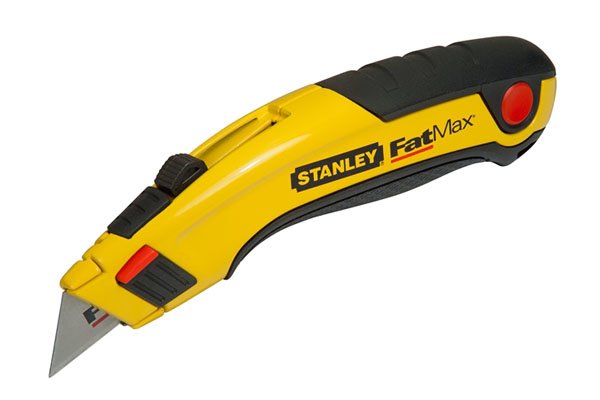 |
A utility knife | |||
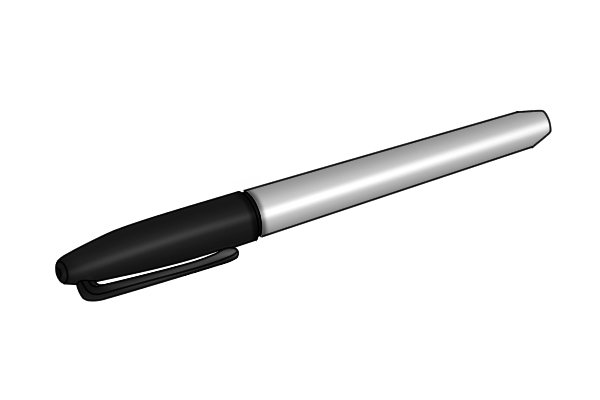 |
A marker pen (optional) | |||
Wonkee’s hoof-by-hoof guide |
||||
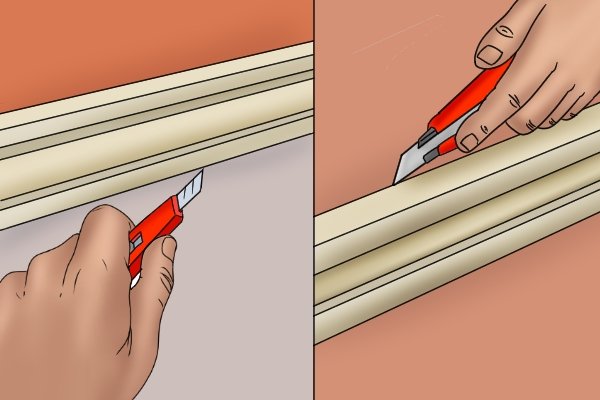 |
Step 1 – Cut caulkUsing your step-ladder to reach, score your crown moulding on the top and bottom edge with your utility knife. This will prevent your moulding from tearing the wallpaper or plasterboard when removed. |
|||
 |
||||
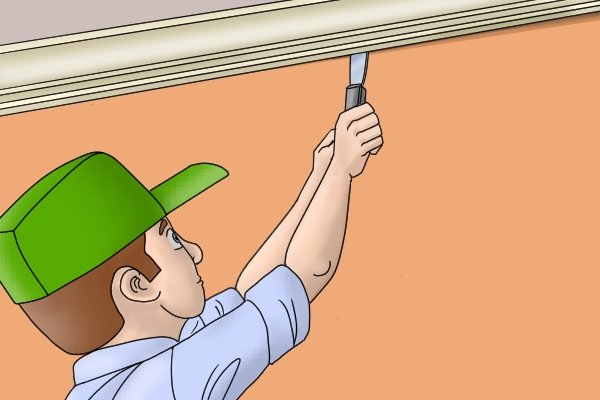 |
Step 2 – Separate moulding from wallStarting at the beginning of a run of crown moulding, insert the blade of your putty knife (or equivalent) beneath the bottom edge of the moulding and gently pry backwards by pulling the handle toward you. Tap the handle gently with your hammer if necessary. Aim to create a gap between the bottom edge of the moulding and the wall which is just wide enough to fit your moulding bar’s straight claw. |
|||
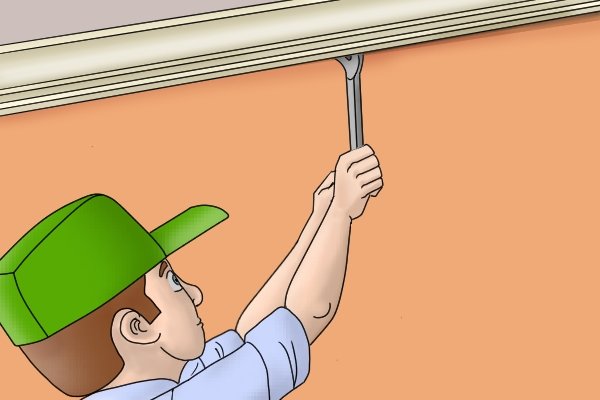 |
Step 3 – Insert clawInsert the straight claw of your moulding bar beneath the bottom edge of the moulding, alongside the putty knife. Again, you can tap the opposite heel of your bar gently with your hammer if necessary. Now remove the putty knife, leaving the moulding bar in place. |
|||
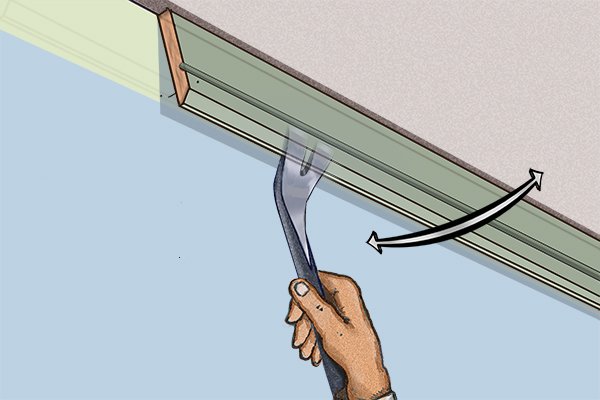 |
Step 4 – Apply force to barPull the shaft of your bar upwards and backwards toward you. Be mindful of how much force is necessary to lift the moulding and how much may damage it. Some slight ripping noises are not a cause for concern, as this is the sound of the nails pulling free; but splitting or cracking sounds should tell you to slow down! |
|||
 |
Step 5 – Repeat steps 2-4Repeat steps 2-4 until the entire section of crown moulding is loose. |
|||
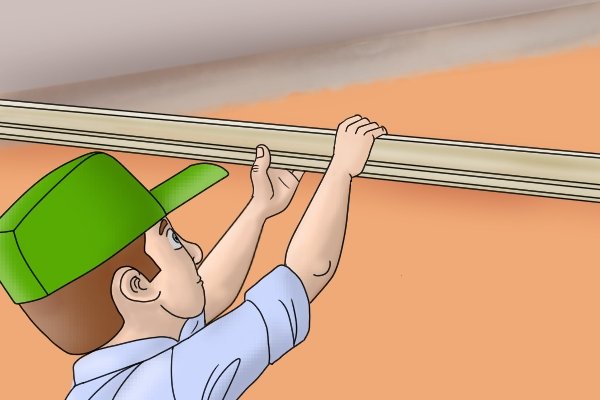 |
Step 6 – Remove mouldingYou should now have no trouble removing the crown moulding using just your hands. |
|||
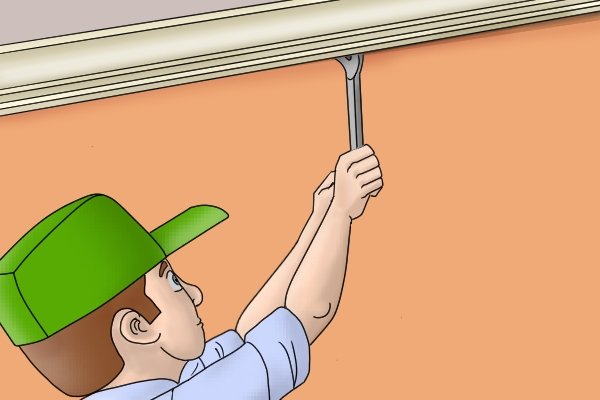 |
If you find it is still attached too firmly for this, insert the claw of your moulding bar beneath the bottom edge of the moulding again and pull the shaft towards you to ‘pop’ it free of any remaining nails. | |||
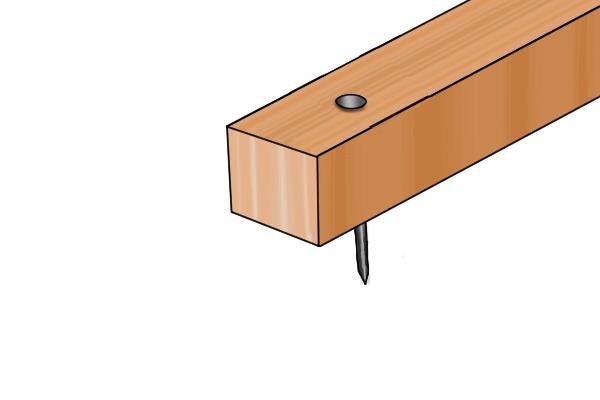 |
Step 7 – Remove nailsRemove any protruding nails from your moulding and the wall. To do this, use the steps detailed in: How to pull nails using a moulding bar?
|
|||
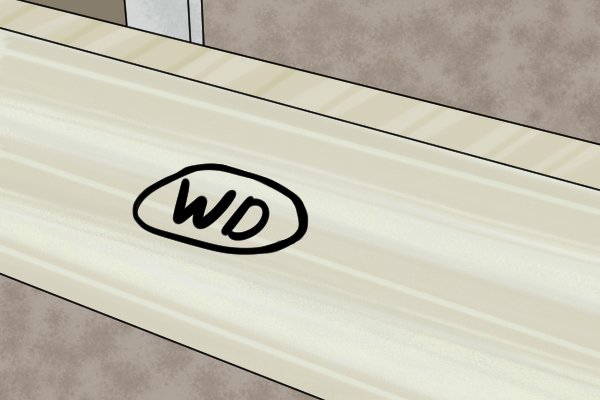 |
Step 8 – Label mouldings (optional)If you will be replacing your crown moulding at a later time, it may be helpful to label each section corresponding to the wall on which it fits. You can do this by numbering or lettering the back of each board. |
|||


