How to remove skirting boards using a moulding bar |
||||
 |
Skirting boards will need to be removed if you will be lifting flooring or carpet, or simply want to replace them with another style of skirting. | |||
What else will you need? |
||||
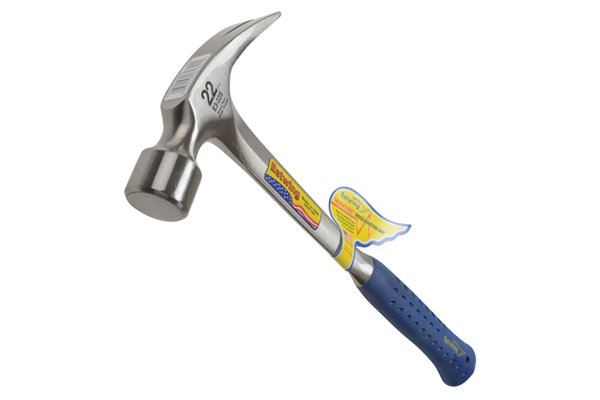 |
A claw hammer | |||
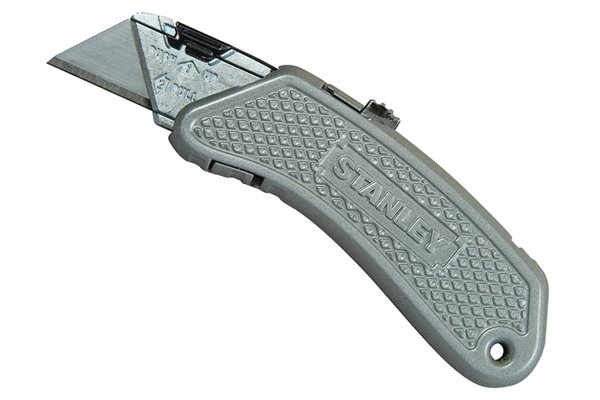 |
A utility knife | |||
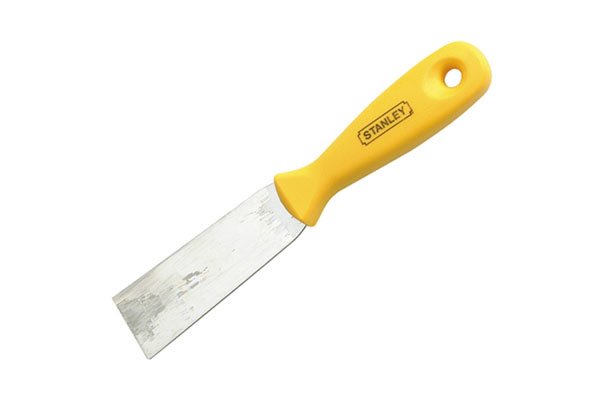 |
A chisel knife, or other thin-bladed tool | |||
 |
A marker pen (optional) | |||
 |
Duct tape, or other strong tape (optional) | |||
Wonkee’s hoof-by-hoof guide |
||||
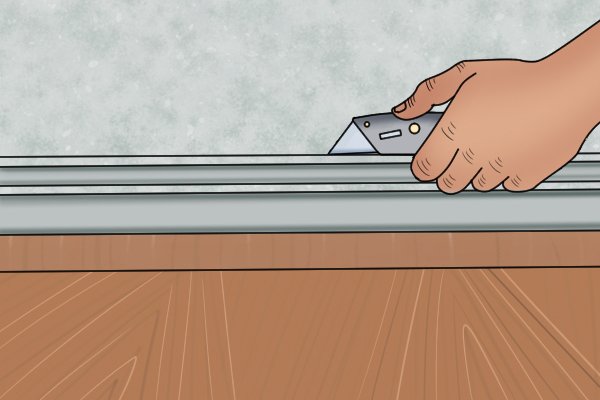 |
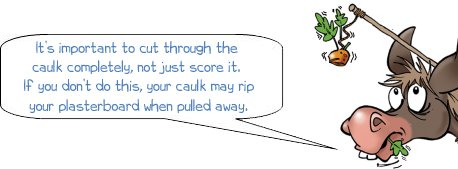
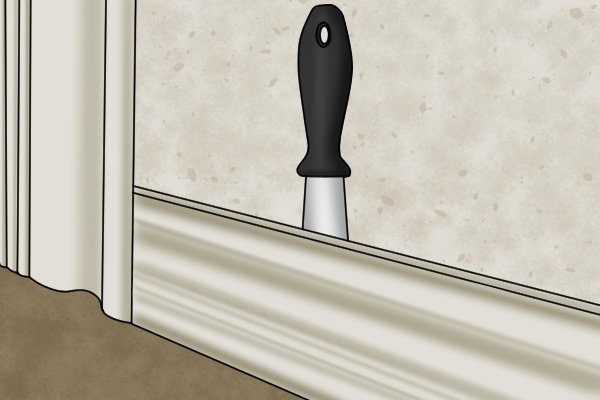
Step 1 – Cut caulkUsing your utility knife, cut through the caulk attaching the skirting board to the wall. Do this for the entire section of skirting you will be removing, starting at the outer edge and working inwards. (If your skirting is not caulked, proceed straight to step 2). |
|||
 |
||||
 |
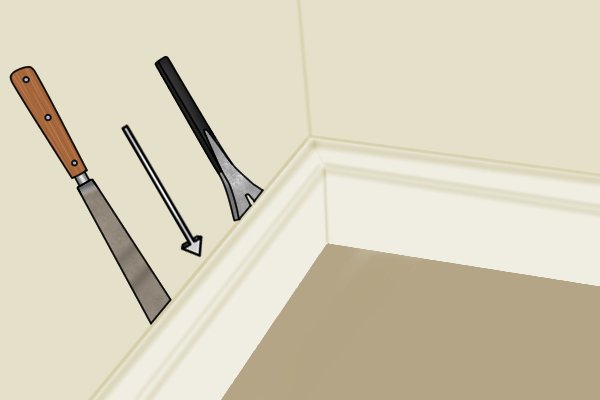
Step 2 – Separate board from wallUsing your hammer to gently strike the handle of the tool, wedge the blade of your chisel knife between the board and the wall. Pull the handle toward you, applying just enough pressure to slightly separate the board from the wall – this will give you enough space to insert your moulding bar claw. |
|||
 |
Step 3 – Insert moulding bar clawKeeping pressure on your chisel knife, carefully insert the straight claw of your moulding bar behind the top edge of the board. |
|||
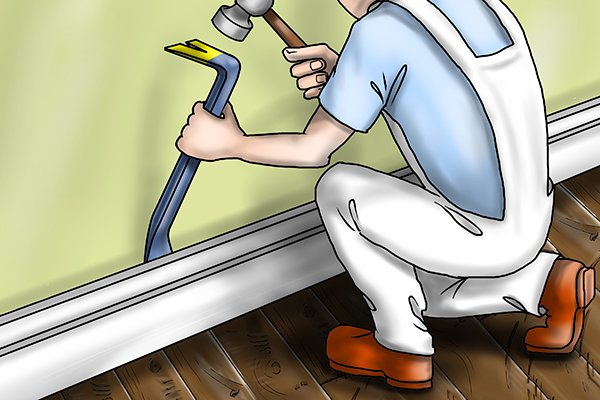 |
If necessary, you can use your hammer to gently strike the flat heel at the opposite end of your bar, driving it further – be careful not to drive it toward the wall, though! | |||
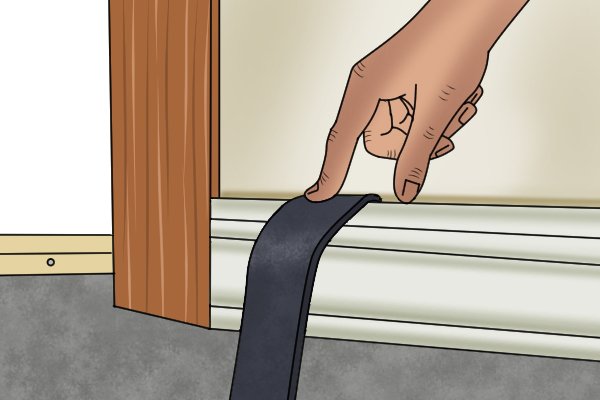 |
Step 4 – Apply pressureApply pressure to the shaft of the bar, close to the opposite claw. In this case, it’s best to pull the shaft down toward you, rather than push back as you would usually. Pushing the shaft backward could damage the wall. |
|||
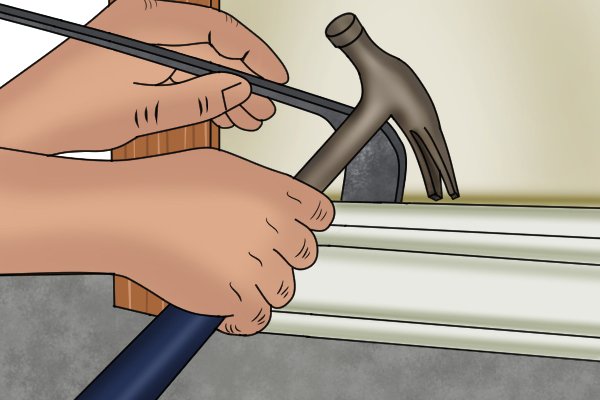 |
Step 5 – Insert hammer clawWhen the first section of skirting is loosened sufficiently to leave a gap between board and wall, insert the claw of your hammer behind it to hold it in place. This will enable you to remove your moulding bar and move on to the next section. |
|||
 |
Step 6 – RepeatRepeat steps 4-5 until the entire area of skirting is loose. |
|||
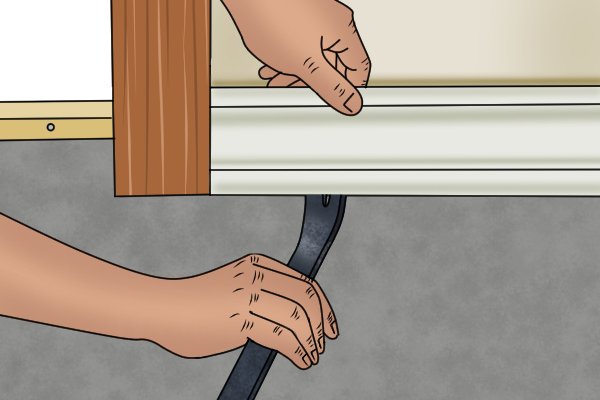 |
Step 7 – Lift boardWhen the entire area of skirting is loose, insert the straight claw of your moulding bar beneath the base of the board, and apply downward pressure to the opposite end of the bar to pry upward. |
|||
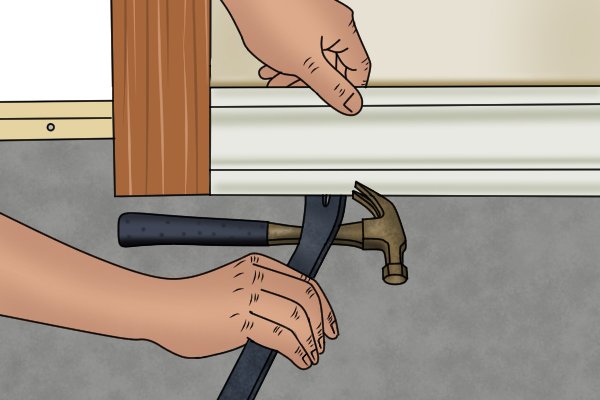 |
If you need a little more leverage here, you can use the shaft of your hammer as a fulcrum. | |||
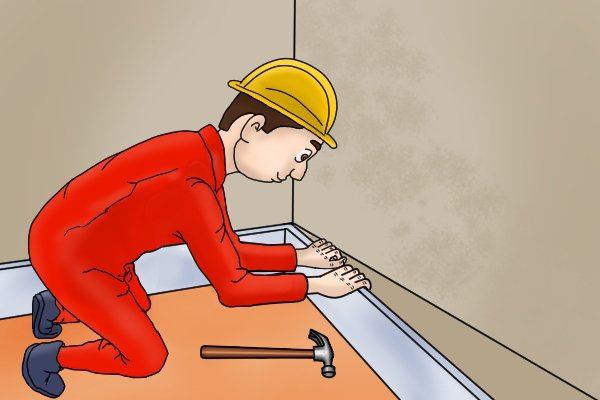 |
Step 8 – Remove boardThe skirting should now be loose enough for the board to be removed easily by hand. |
|||
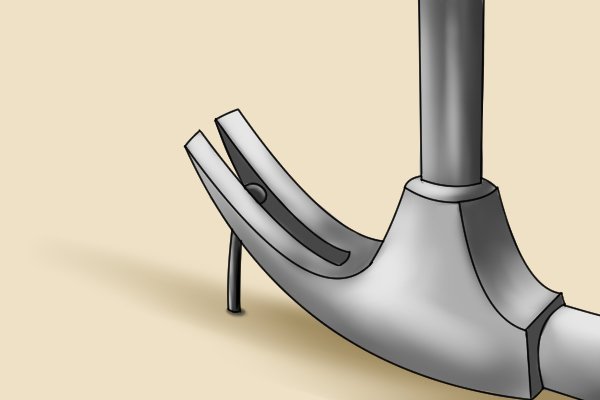 |
Step 9 – Remove nailsRemove any protruding nails from wall and board using the steps detailed in: How to pull nails using a moulding bar? |
|||
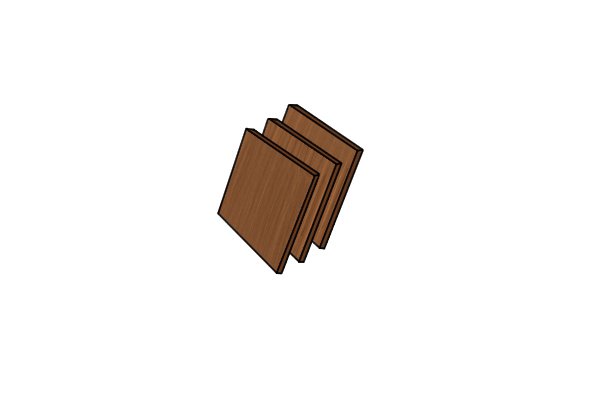 |
To avoid damaging the wall or board, you can place a thin piece of shingle or other scrap wood behind the heel of the claw you will be using to pull nails. This will take the force of the heel when pressure is applied to the bar, preventing damage to the wall or board beneath. | |||
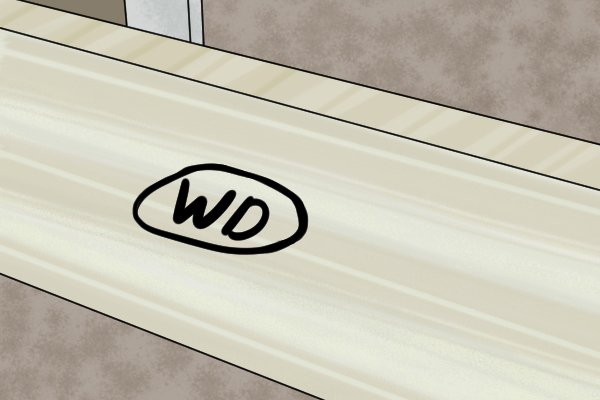 |
Step 10 – Label boards (optional)If you will be replacing your skirting at a later time, it may be helpful to label each board corresponding to the section of wall on which it fits. You can do this by numbering or lettering the back of each board, or even by using a strong tape (such as duct tape) to tape each of your boards to the wall a metre or so above their original position. |
|||


