How to remove carpet using
|
||||
What else will you need? |
||||
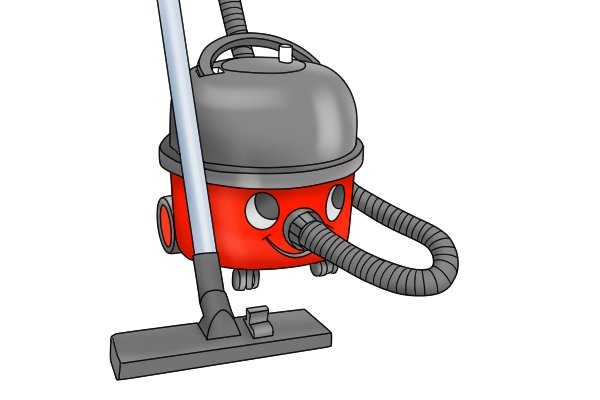 |
A vacuum cleaner | |||
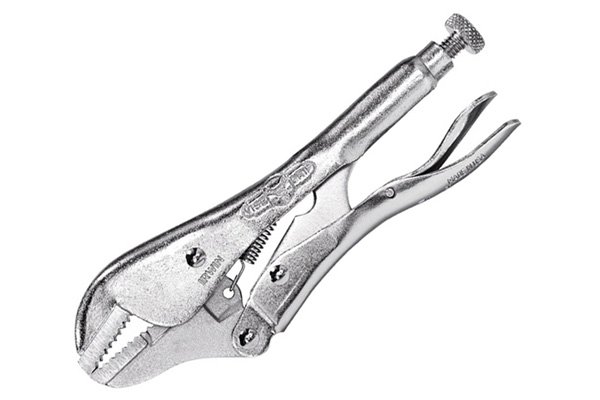 |
A pair of pliers | |||
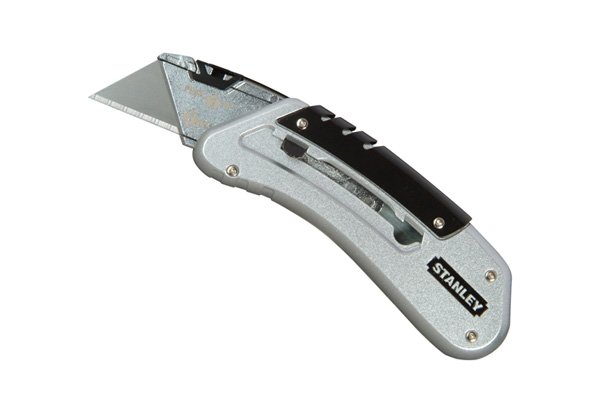 |
A utility knife, carpet knife or other small, sharp blade | |||
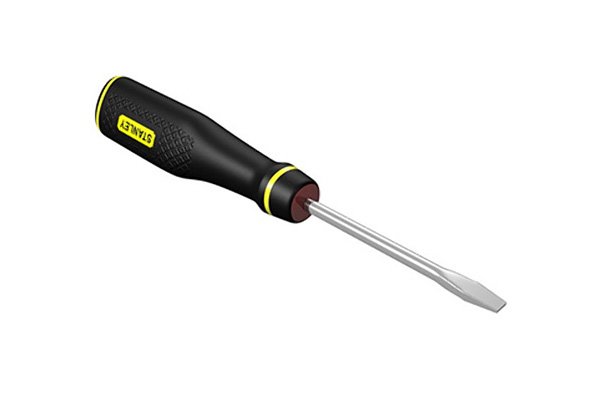 |
A flat-bladed screwdriver | |||
Wonkee’s hoof-by-hoof guide |
||||
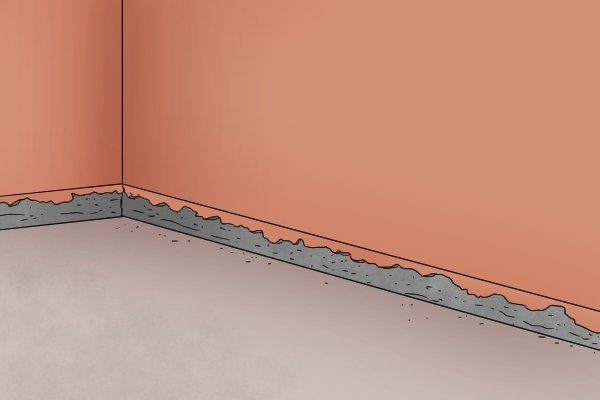 |
Before removing your carpet, you will need to remove your skirting boards, if you have any.
For more information, see our section: How to remove skirting boards using a moulding bar?
|
|||
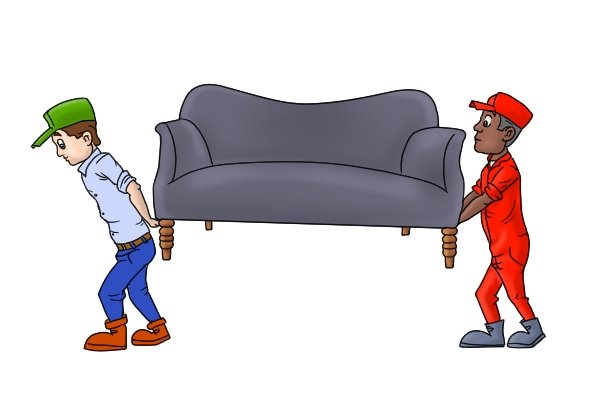 |
Step 1 – Clear roomClear the room of all furniture and other decoration. You will need full access to the floor to remove your carpet. |
|||
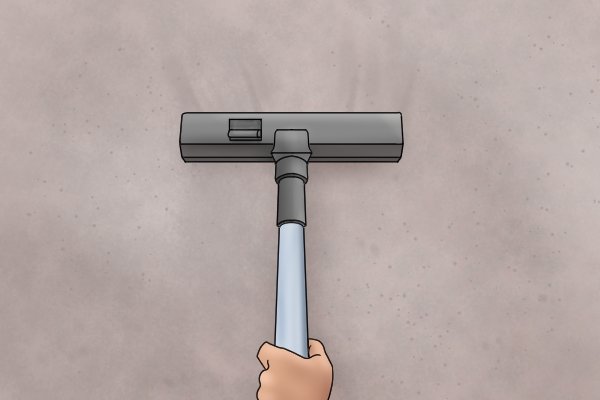 |
Step 2 – Vacuum carpetVacuum the carpet thoroughly. This step is optional, but highly advisable; it will help to cut down on the amount of dust rising from the carpet as it is lifted, making the task much more pleasant for you and any helpers or pets in the area. |
|||
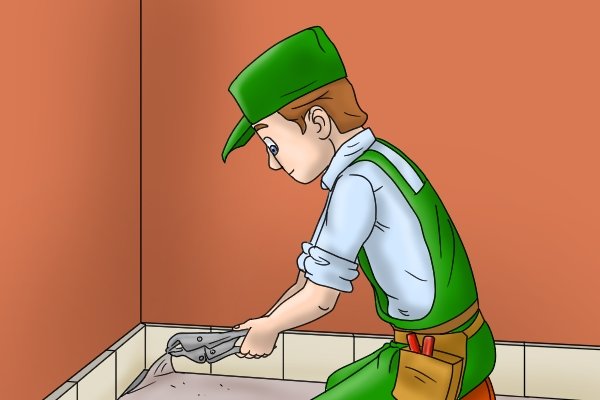 |
Step 3 – Lift cornerUsing your pliers, grasp the carpet fibres in a corner of the carpet (it doesn’t matter which corner you begin with), and pull up and out. |
|||
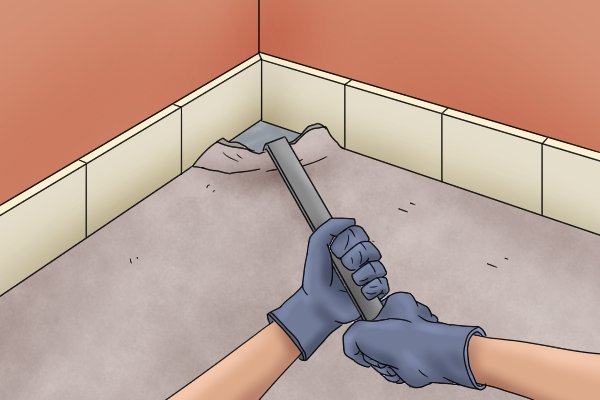 |
Step 4 – Use bar to aid processUse your moulding bar to help lift the edge of the carpet; insert either claw beneath the edge, pushing as far as you can before applying downward force to the opposite end. When the edge is lifted enough, you will be able to continue using just your hands. |
|||
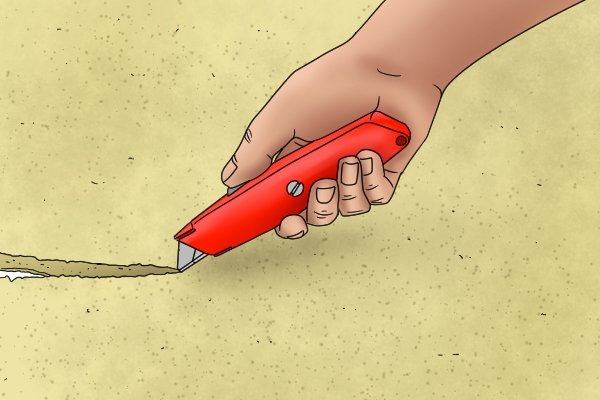 |
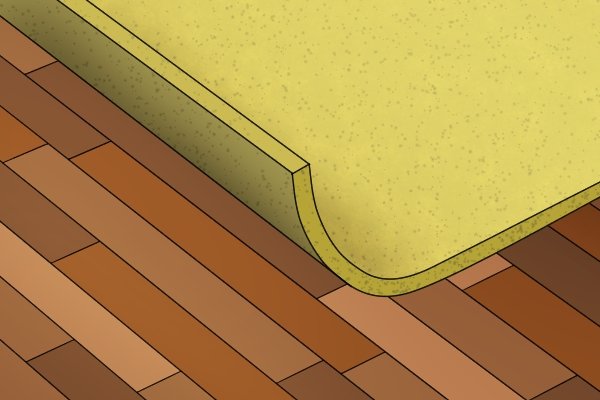
Step 5 – Cut carpetUsing your utility knife (or equivalent), cut the carpet into strips for disposal. Roll the strips up as you go. If you find that a strip is too large to be easily picked up and transported, just cut it again until it is a manageable size. |
|||
 |
||||
 |
Step 6 – Remove underlayRemove the underlay (the padding underneath your carpet). This will usually be stapled to the floor, and can be ripped up quite easily using the same method as the carpet. |
|||
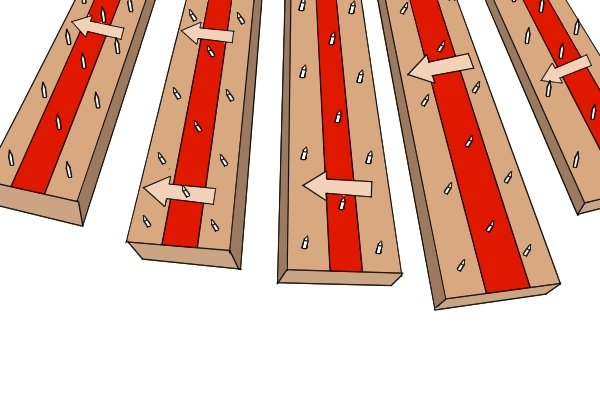 |
Step 7 – Remove gripper rodsIf you will not be fitting another carpet in the old one’s place, you’ll need to remove the gripper rods from the floor. A gripper rod is a strip of wood covered with protruding and extremely sharp tacks or nails that hold the carpet in place when it is fitted. |
|||
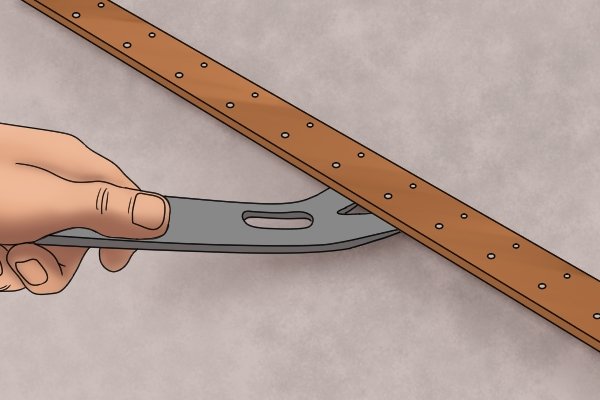 |
To remove a gripper rod, just insert either claw of your moulding bar beneath the wooden strip and apply downward force to the opposite end of the bar. The gripper rod may ‘pop’ upwards when free of the nails holding it in place, so be mindful of those sharp points! | |||
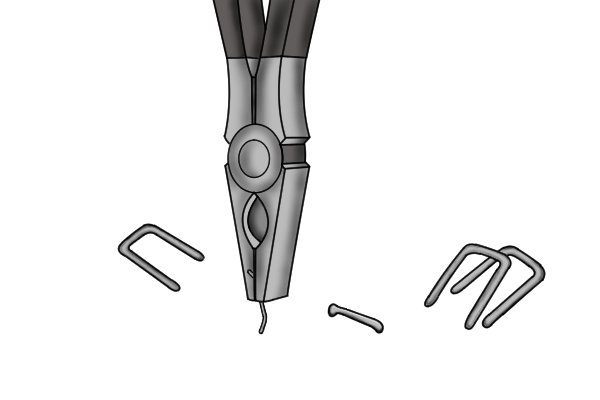 |
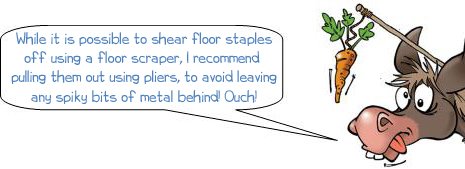
Step 8 – Remove floor staplesRemoving the underlay will have left a number of staples behind. To remove these, insert the end of a flat-bladed screwdriver beneath each staple to lever it upward, then pull it out using your pliers. |
|||
 |
||||
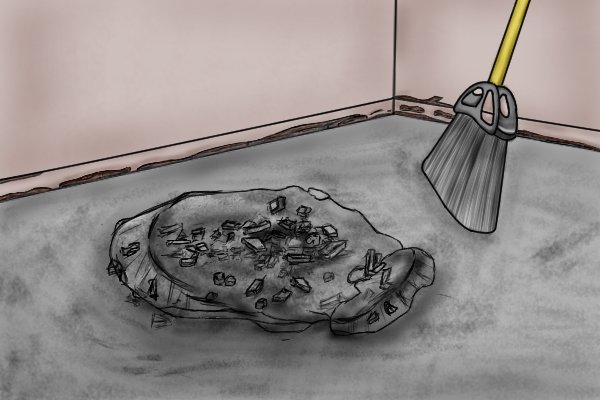 |
Step 9 – Vacuum floorVacuum again to remove any debris left by the old carpet. As pictured on the left, there is likely to be a lot of this! |
|||


