 |
It is worth noting, though, that a bar made of spring steel will bend more easily under high strain than a bar made of carbon steel, or high carbon and spring steel. As lifting flooring can be quite strenuous on both user and tool, this is worth considering when choosing the right moulding bar for you – it is highly likely that a bar made of carbon steel, or a mixture of carbon and spring steel, will be your best choice.
Your manufacturer will be able to tell you what materials have been used to manufacture your bar. |
|||
What else will you need? |
||||
 |
A marker | |||
 |
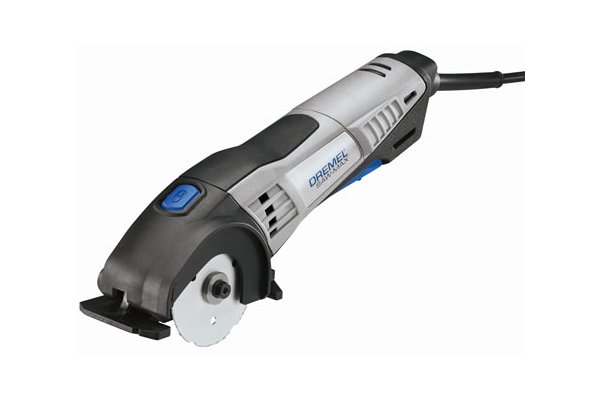
A circular or multipurpose saw – the choice is yours. Use a thin, small blade to avoid damage to the surrounding wood. (see: Saws)
For boards which are fitted with both ends under skirting, you will need to saw across the ends of the boards, close to the skirting, to be able to lift them. The same applies to tongue and groove boards, the tongues of which will need to be sawn through in order to be lifted. |
|||
 |
||||
 |
A magnet (optional) | |||
Wonkee’s hoof-by-hoof guide |
||
 |
The easiest way to begin this job is to identify a floorboard that has already been lifted once before. These can be unscrewed and levered up with little trouble. If this isn’t possible, don’t worry – the process for lifting a floorboard which hasn’t been removed before is not complicated! | |
 |
Step 1 – Mark joistLocate the joist. You can identify its location by looking for the nails fixing the board to it. Mark the edge of the joist with a line (shown here in yellow) two to four inches to the side of the nails. Joists support your flooring, and should not be damaged; give yourself some leeway and cut further from the edge, rather than closer. You can always refine your cut later on. If your floorboards do not have a tongue and groove, proceed straight to Step 3. |
|
|
|
||
 |
Step 2 – Cut tonguesIf working on tongue and groove boards, use your circular or multipurpose saw to cut down the length of the gap between the boards, separating tongue from groove on both sides. The more slowly and carefully you cut, the less chance of damage to the surrounding wood. |
|
 |
Step 3 – Cut horizontallyNow cut across the line you marked earlier. Be mindful of the location of the joist during cutting, and of the locations of any cables or wires running beneath the floorboards. |
|
 |
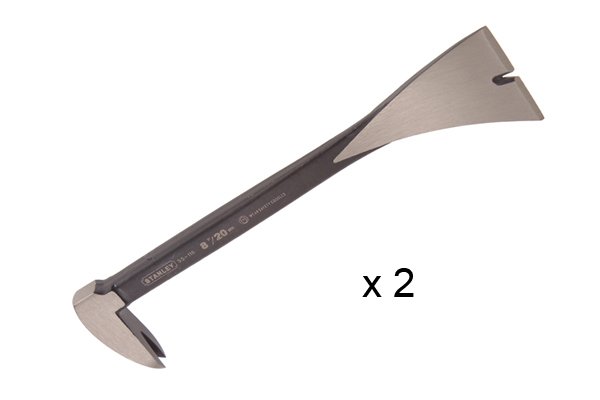
Step 4 – Insert bar between boardsYou can now insert the straight claw of your bar into the gap created by sawing across the joist marker. Feel free to tap the heel of your bar lightly with a hammer to help wedge the claw into place. |
|
 |
Step 5 – Apply forceApply downward force to the opposite end of the bar. |
|
 |
Step 6 – Insert second bar beneath boardWhen the board is lifted slightly, insert the straight claw of your second bar between the edge of this board and the one adjacent. |
|
 |
Step 7 – Apply forceApply force to the opposite end of the bar. |
|
 |
Step 8 – Continue to liftWhen the board begins to lift on this side, move to the other, repeating the process. You may hear some cracking and tearing noises as the board is raised and nails are pulled up from the joists below – don’t be alarmed, this is quite normal! |
|
 |
Step 9 – Remove boardEventually you will hear the last remaining nails come free with a ‘popping’ sound. You can now lift the board free by hand. If one end of the board is fitted under skirting, simply slide it out. |
|
 |
Be sure to remove any protruding nails from the underside of a lifted floorboard immediately.
(See: How to pull nails using a moulding bar?)
|
|


