How to calibrate a micrometer |
||||
|
|
||||
Calibration |
||||
 |
It is important to check that your micrometer is properly calibrated to ensure that the measurements you take are accurate and reliable. Calibration is often confused with zeroing. | |||
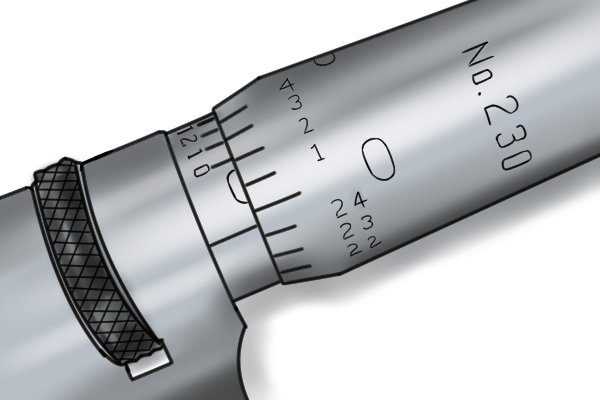
| Zeroing is ensuring that the instrument’s zero lines up correctly. The zero position is checked for accuracy, but the remainder of the scale is asumed to be correct. Effectively, the whole scale moves until the zero is in the correct position. See How to zero a micrometer. | ||||
| Calibration is ensuring the instrument’s accuracy at various points across its measurement range. The scale is checked for accuracy, not just the zero position. | ||||
 |
Calibration, generally, should be performed annually, but when you do it really depends on the frequency of usage, the required precision, and the environment to which it is subjected.
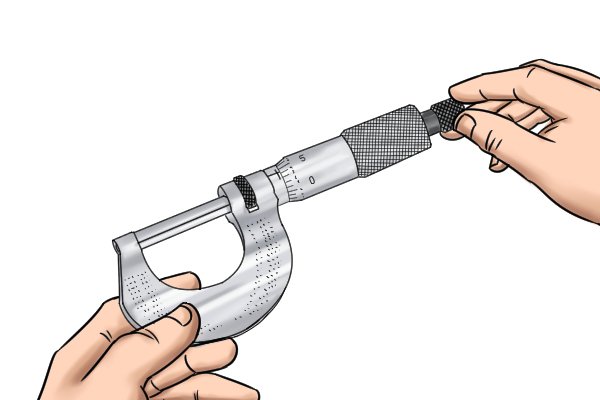
Calibration requires that the micrometer is in good working order. The spindle should turn freely and cleanly across its full range without any binding or play (slack) in its movement. If there is evidence of wear, the spindle should be fully unwound and removed. A nut located on the threaded body should be tightened slightly. Re-insert the spindle and again check its movement across the full range of travel. Adjust again as necessary. It would be a good idea to apply a couple of drops of light oil to the thread while the micrometer is apart. |
|||
 |
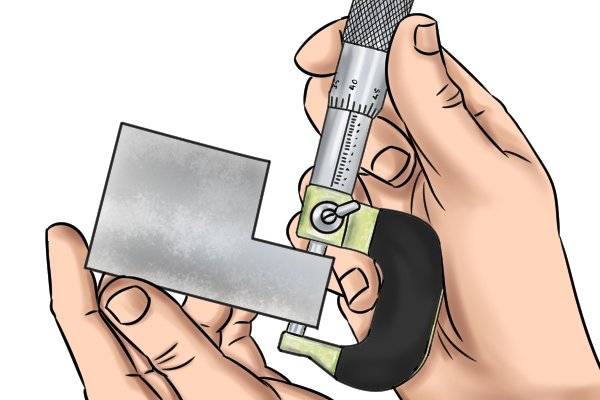
Make sure the measuring surfaces (anvil and spindle) are clean and free from grease and that that the micrometer closes fully.
Hold up to a light and check for gaps between the mating faces of the anvil and spindle. Damage, usually caused by dropping, may be evident if light shows between the two surfaces, or the anvil and spindle do not line up with each other. |
|||
| Sometimes the mating surfaces can be corrected by grinding, but this is beyond the scope of most people because of the equipment required.In general, any micrometer that can not be made to run smoothly, or is damaged or defective, should be discarded.
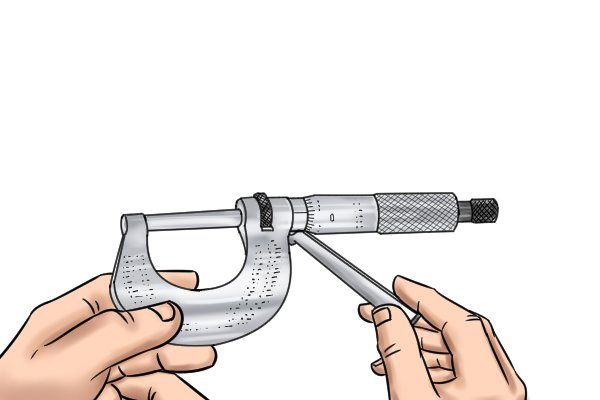
If, on inspection, the general condition is sound, the next step to calibration is to zero the micrometer. See How to zero a micrometer. |
||||
 |
With a correctly maintained and zeroed micrometer, it’s now time to turn to the scale.
For accurate calibration, all measurements should be taken at room temperature, that is, 20°C. All instruments and testing equipment should also be at room temperature, so ideally should be allowed to rest in the testing room to acclimatise if stored elsewhere. |
|||
| It is good practice to use a piece of equipment that is at least four times as accurate as the instrument to be calibrated.
The scale of a micrometer can not be altered, but it can be checked against known measured values that should be traceable back to the National Standards Institute. |
||||
| Slip gauges are used to check the micrometer scale accurately. These are hardened steel blocks that are accurately manufactured to specific sizes.
Each size will be etched on the individual block. Slip gauges can be used on their own, or together with other slip gauges to check a specific measurement. Take care when handling slip gauges – they are accurate, calibrated pieces of equipment that should be treated with respect. |
||||
| Take measurements at various random points of the scale, for example, 5mm, 8.4mm, 12.15mm, 18.63mm, by selecting various slip gauge combinations.
Keep a record of the slip gauge measured, and the measurement indicated by the micrometer. It’s a good idea to also record the difference between the two. The more measurements you take, the better the image you will get of your micrometer’s condition. |
||||
| If you take repeated measurements of a particular size, it’s a good idea to include that in your calibration checks, too, since that will be the area that your micrometer scale will be subject to the greatest risk of wear. | ||||
| Image “Certificate of calibration.jpg” to go here. Greek all text except title, “Certificate of calibration”. | All the data collected should then be formulated in to a “Certificate of calibration” which will include details of the calibrated instrument, including model and serial numbers, the date, time and place of calibration, the name of the person and the details of the equipment used to perform the calibration, including the model and serial numbers.
Calibration does not correct any deviation of the micrometer readings to the actual sizes, but instead gives a record of the condition of the micrometer. |
|||
| If any of the checked sizes falls outside permitted values, then the micrometer should be rejected. The permitted error will be determined by the usage. High precision engineering manufacturers, for example, will have a more strict approach to the accuracy of the micrometer than some other industries and DIY users, but it really depends on what you want to measure and the accuracy you require. | ||||
| Comparing past calibration certificates allows the user to make predictions about the life of the micrometer. | ||||


