


How to replace a fibreglass pick axe handle?
How to replace a fibreglass pick axe handle |
||||
|
|
||||
 |
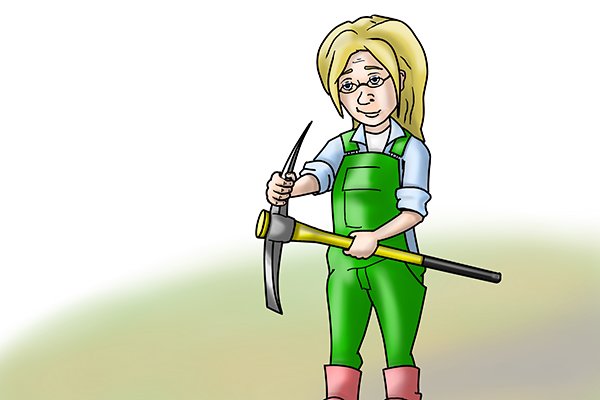
Pick axe heads and handles can both be bought separately so, should the handle break or wear loose, or the head become damaged, there is no need to go out and buy a whole new tool.
The process of replacing the head or handle of a pick axe is the same. |
|||
 |
Step 1 – Remove headHold the metal head with both hands and bang the thin end of the handle down against a wooden board or some thick sheets of card on a solid flat surface. This protects the end of the handle from damage. Once the head becomes loose it will easily separate from the handle. |
|||
 |
Step 2 – Replace headBegin by holding the handle so that the wider end is resting on the ground. Next, place the base of the handle through the eye and slide the head down towards the wider tapered section of the handle. |
|||
 |
Step 3 – Secure head in placeOnce the pick axe head is sat on the tapered section of the handle, hold the thin end then raise it up and firmly hit the wedged end of the handle onto a firm solid base. Repeat this several times and it will secure the pick axe head to the tapered part of the handle. |
|||
 |
Once secured in place, the pick axe head should hold firm and the force of using it will actually help keep the head firm in place on the handle.
You should check to see that the head is secure before you use your mattock. If it is loose, repeat step 3. |
|||
 |
||||
