


How to sharpen a hollow cabinet scraper
How to sharpen a hollow cabinet scraper |
||||
 |
When your hollow cabinet scraper does not smoothly run along the surface of your work or produces sawdust instead of shavings, it probably needs sharpening. | |||
 |
The tools needed to sharpen the curved edges of a hollow cabinet scraper are a vice, a round file, a mill file, a burnishing tool, a diamond stone, a piece of dowel, oil, a clean cloth, silicon carbide sandpaper and a wood block. | |||
Sharpening convex edge |
||||
 |
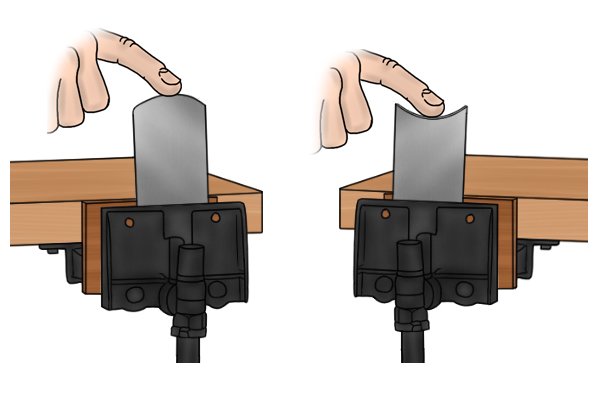
Step 1 – Clamp scraperClamp the scraper in a vice, with the convex edge sticking out. |
|||
 |
Step 2 – File scraperGrab the mill file with both hands, dominant hand on the handle and non-dominant hand on the end. Run the file against the curved edge forwards and backwards, following the shape of the curve. Repeat the movement of the file until the edge of the scraper is smooth. |
|||
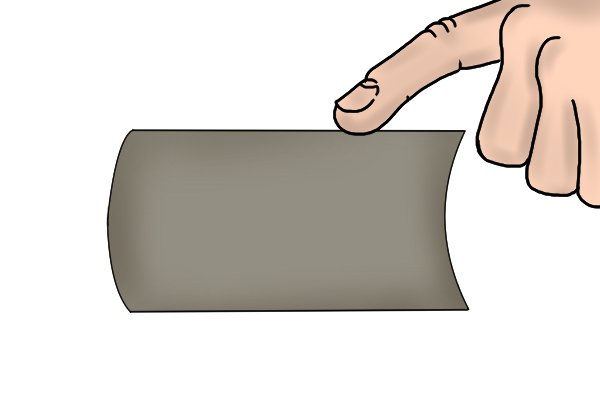 |
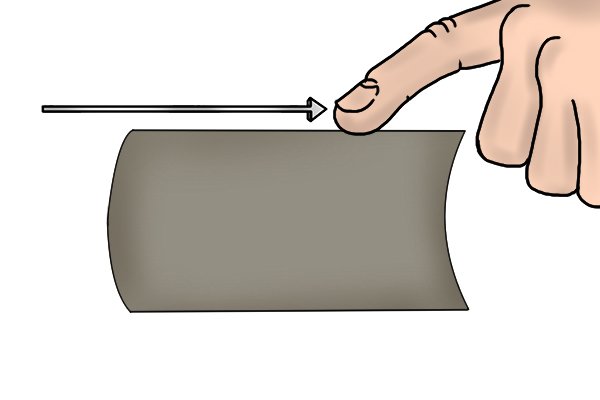
Run your finger gently across the edge of the scraper to test the smoothness. | |||
 |
Step 3 – Set up diamond stone and wood blockLie the diamond stone flat on a level surface, with the wood block at 90 degrees against the side of the sharpening stone to guide you. Place the body of the scraper against the wood block, so that the convex edge of the scraper is against the diamond stone. |
|||
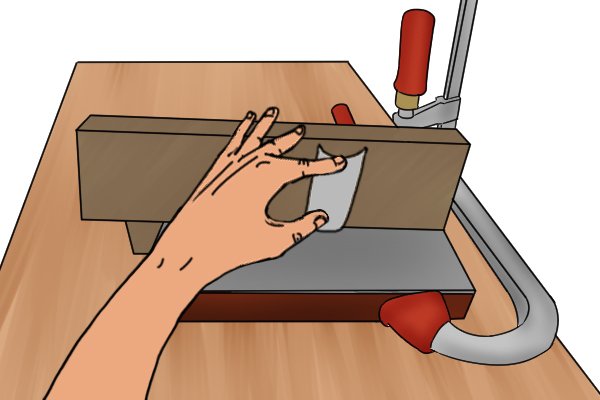 |
Step 4 – Smooth edgesRun the convex edge of the scraper firmly against the diamond stone, in a forwards and backwards motion. With each motion, be sure to follow the shape of the scraper when running it against the stone. This will prevent the scraper from losing its curves. |
|||
Sharpening concave edge |
||||
 |
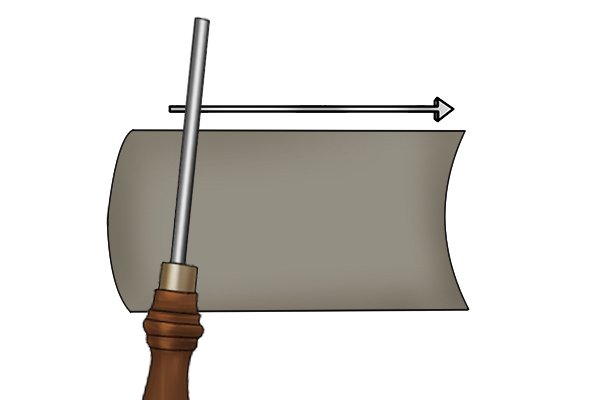
Step 1 – Filing curveThe concave edge does not fit the flat surface of the diamond stone so the edge has to be smoothed using a file then sandpaper. Clamp the scraper in the vice with the concave curve facing up. Run the round file forwards and backwards over the edge of the concave curve and repeat until smooth. |
|||
|
Step 2 – Sanding curveWrap the silicon carbide sandpaper around the dowel. Run the dowel and sandpaper forwards and backwards over the edge of the concave curve. Repeat this action until the edge of the scraper is smooth. |
|||
 |
Test the smoothness of the edge with your finger. | |||
Finishing off sharpening concave and convex edges |
||||
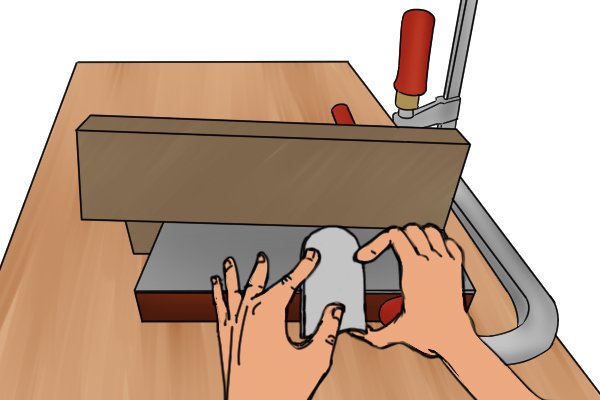 |
Step 1 – Remove burr (rough edge)Lie the hollow scraper flat on the stone and remove the wood block. Run the side of the scraper forwards and backwards a number of times to remove the burr (rough edge) created when filing and sanding the concave and convex edges. Repeat on the other side. |
|||
 |
Run the sides of the scraper against the diamond stone repeatedly to smooth the edges. Check the smoothness of the edge with your finger. | |||
 |
Step 2 – Apply oilApply oil to the burnishing tool. |
|||
 |
Step 3 – Burnish sidesPlace the hollow cabinet scraper on a level surface. Hold the scraper with one hand, then with the burnishing tool, press down and rub against the sides of the scraper. Turn the burnishing tool over a couple of times, to make sure you use most of the oil. Repeat this on both sides of the scraper. |
|||
 |
Step 4 – Burnish curved edgesClamp the cabinet scraper in a vice. Run the burnishing tool along the curved edge of the scraper, either towards you or away from you. The burnishing tool only needs to go over the edges once or twice. |
|||
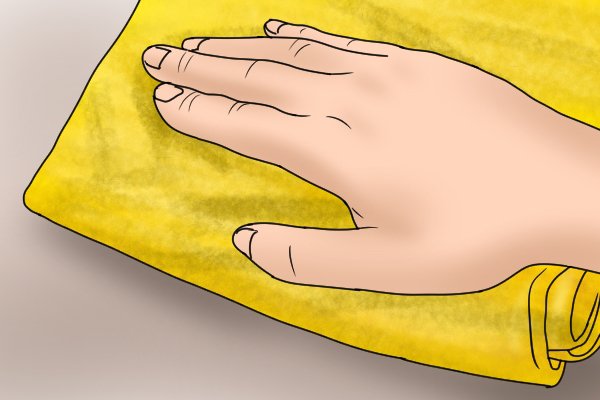 |
Step 5 – Wipe scraperUse a clean cloth to wipe the edges of the scraper, to remove any leftover oil or material. |
|||
 |
Step 6 – Test scraperUsing a scrap piece of wood, test the scraper to see if it’s sharp. If the scraper produces shavings, then it is sharp enough. If it creates sawdust, it will have to be further sharpened. |
|||
