


How to change the dies on a threaded rod cutter?
How to change the dies on a threaded rod cutter? |
||||
| Shop for Threaded Rod Cutters | ||||
 |
The dies are secured to the main tool by a single screw. | |||
 |
The dies should last around 300 uses. | |||
 |
||||
|
|
|
|||
To remove the old dies |
||||
 |
Step 1 – Loosen and remove screwLoosen and then remove the screw. Depending on the model of rod cutter, you will require either a spanner or allen key for this. |
|||
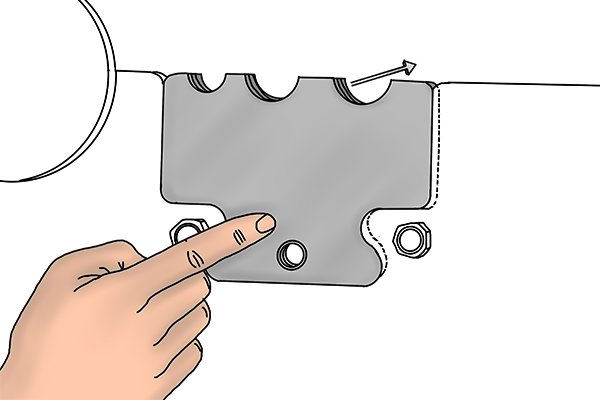 |
The dies will now slide out of place.
Repeat on both dies. |
|||
To fit the new dies: |
||||
 |
Step 1 – Hold new die in spaceHold the new die in the space. |
|||
 |
Ensure the right die is in the right space, the right way round. |
|||
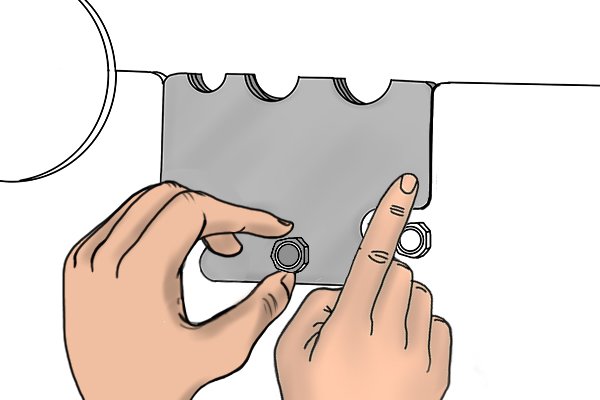 |
Step 2 – Partially tighten screwPlace the screw in the hole and tighten, but not all the way. |
|||
 |
Step 3 – Test threadsTest the threads: by placing a threaded rod on the cutter and lowering the handle. Ensure that both dies line up. |
|||
 |
Step 4 – Fully tighten screwsWhen this is achieved, tighten the screws the remainder of the way. |
|||
