How to install a solid externally threaded insert?
| Shop for Threaded Inserts | ||||
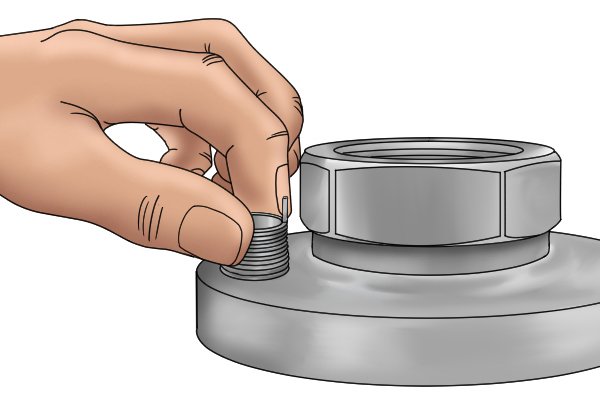 |
There are two main methods for installing externally threaded inserts, they can either be threaded into a pre-tapped hole, or the insert can be self-tapping. These methods have several steps in common. | |||
For all solid externally threaded inserts: |
||||
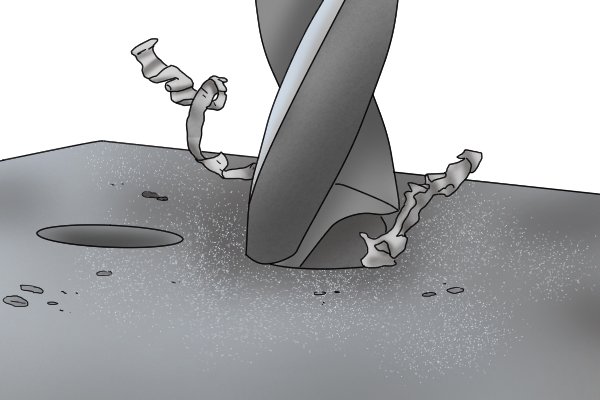 |
Step 1 – Clear damaged threadsFind the correct size drill bit for the hole, fix it to a drill and use it to clear the existing damaged threads or create a new hole to be threaded. |
|||
For inserts requiring a countersink: |
||||
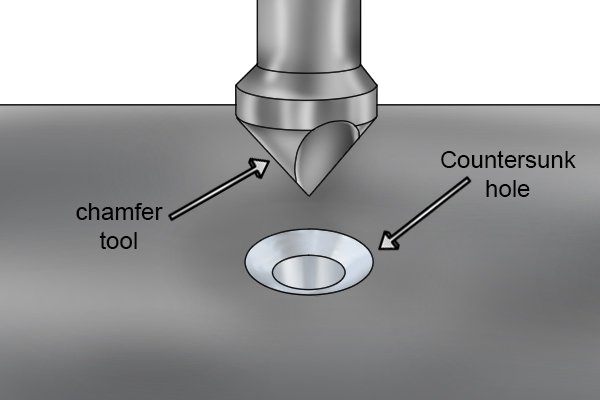 |
Step 2 – Countersink holeUse a chamfer drill bit to countersink (create a dipped edge) around the hole, which houses the lip on the insert. |
|||
For none self-tapping inserts: |
||||
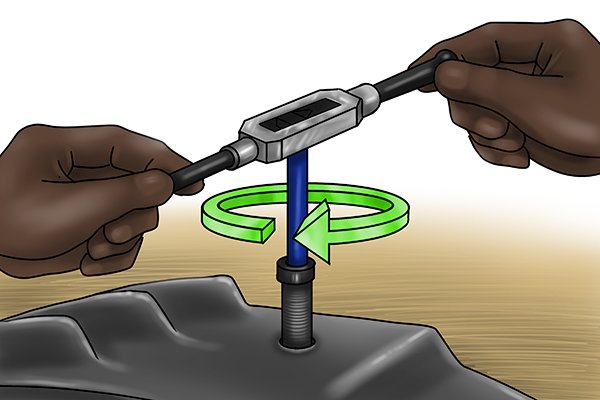 |
Step 3 – Thread holeUse the correct size tap and a tap wrench to thread the hole. Taps are wound in a clockwise direction to create the threads and unwound in an anti-clockwise direction to remove the tool. |
|||
 |
||||
For all solid externally threaded inserts: |
||||
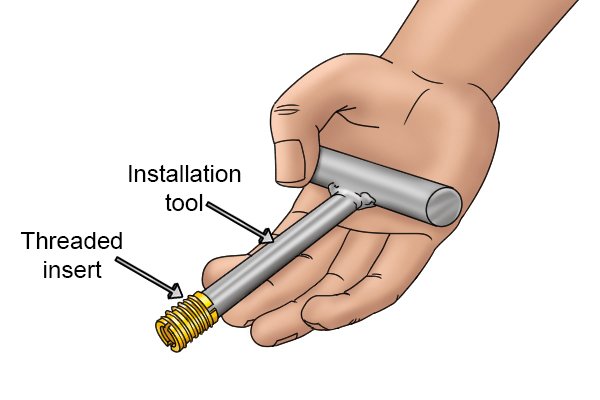 |
Step 4 – Place insert on driverPlace the insert on an appropriate driver tool. This may be included with the inserts or available for purchase at the same time. It is also possible to use a nut and bolt with a spanner, on the self-tapping variety. All solid externally threaded insert are threaded onto the installation tool. |
|||
For non-self-tapping threaded inserts: |
||||
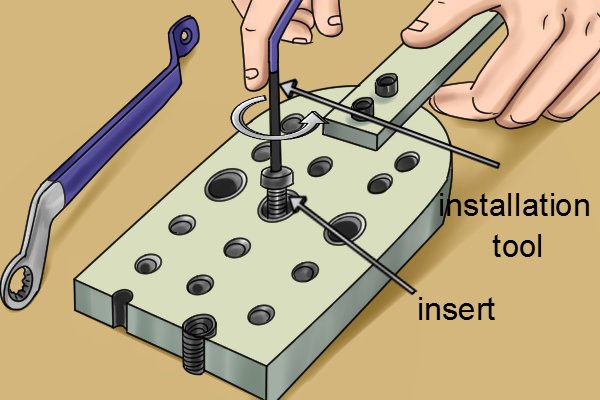 |
Step 5 – Install insertTo install the insert, rotate the driver (with insert), in a clockwise direction into the hole. The threads on the insert will interlock with the newly tapped threads of the hole. Ensure the insert is wound just below the surface of the hole. |
|||
For self-tapping threaded inserts: |
||||
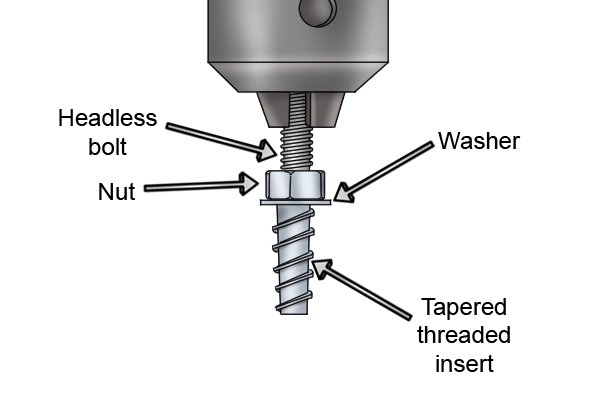 |
Step 6 – Install insertThe self-tapping insert is installed in a similar manner to the non-self-tapping one. The driver (or spanner) is rotated clockwise to install the insert. However, because the hole is not pre-threaded, a much greater force is required to form the threads as the insert is driven in. |
|||
For all solid externally threaded inserts: |
||||
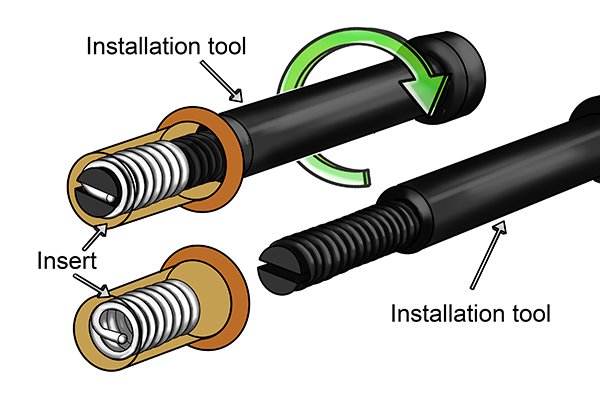 |
Step 7 – Remove installation toolThe installation tool must be removed from the insert. To do so, rotate it in an anti-clockwise direction until free. |
|||
For externally threaded inserts with keys: |
||||
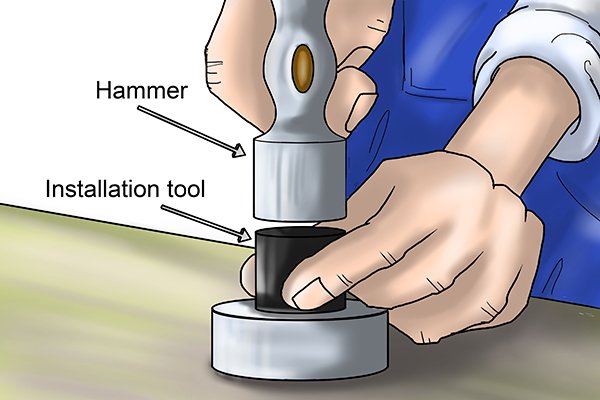 |
Step 8 – Secure insertThe keys must be driven down to secure the insert. If a driver tool is included with the inserts, this will often have a feature which works as buffer between the keys and the hammer used to push them down. The keys are lightly tapped to finish. |
|||


