


How to tape internal corner plasterboard joints with joint tape?
How to tape internal corner plasterboard joints with joint tape |
||||
|
|
||||
 |
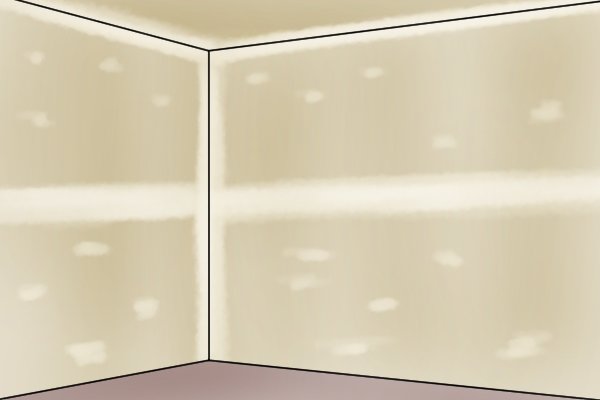
Joint tape can also be used to seal corner joints where two sections of plasterboard meet.
As well as vertical corner joints, horizontal internal corners occur in between the ceiling and the wall beneath it. |
|||
 |
Because it can be creased crisply along its length, paper tape is most suitable for this task. | |||
 |
As for other types of plasterboard joint, taping internal corner joints requires a set of taping knives. However, there is an additional tool called a corner trowel (sometimes known as a corner knife) which is particularly useful.
Its bent blade allows the user to effectively guide the creased tape deep into the internal corner joint when they run it along the tape’s length. It also means that both sides of the joint can be worked on at the same time. |
|||
 |
Step 1 – Apply base coat of compoundTo begin, apply jointing compound to both sides of the joint, using your 150mm taping knife. Try to cover the joint evenly without creating bumps as this will make it easier to flatten the tape into position later on. |
|||
 |
Step 2 – Crease tapeCut your tape to length, then run your fingers along its crease to fold it in half. |
|||
 |
Step 3 – Secure tape to wallPosition your tape at one end of the joint with the outside crease against the inside corner. With your fingers, press the tape into place so that it is held onto the wall. |
|||
 |
Step 4 – Guide tape into cornerUse your corner trowel or your smallest taping knife to guide the outside crease of the paper deep into the corner. Then, starting at one end, draw your knife or trowel along the length of the tape on either side of the fold to fix it into position. |
|||
 |
||||
 |
Step 5 – Cover tape with compoundOnce the fold of the tape is sitting tightly against the corner of the joint, it is time to embed it in jointing compound. Load your 150mm taping knife or corner trowel with jointing compound and apply it evenly to both sides of the joint, covering the entirety of the tape. |
|||
 |
Using a corner trowel is likely to leave ridges on either edge of the joint as excess compound is pressed out from underneath the tool.
To get of these ridges, use a small taping knife to scrape off the excess compound and feather the edge of the joint. |
|||
 |
Step 6 – SandAllow the second layer of jointing compound to dry and then blend the edges of the joint into the surface of the plasterboard using a damp sponge or sanding block. This will create a smooth surface upon which the third coat of compound can be applied. |
|||
 |
Step 7 – Apply third coat of compoundBuilding upon the second layer, with your 200mm taping knife, apply a third and final coat of compound, widening the area covered on either side of the corner joint. Smooth the compound, feathering the edges by applying pressure to only one side of your taping knife. |
|||
 |
Step 8 – Leave to dry then sandOnce the third coat of jointing compound has dried, repeat the sanding process to remove any imperfections. When the corner joint has been blended into the plasterboard on either side, it is ready to be primed and painted. |
|||
