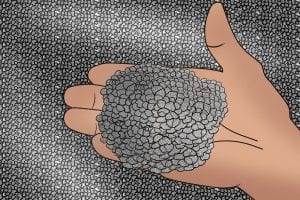
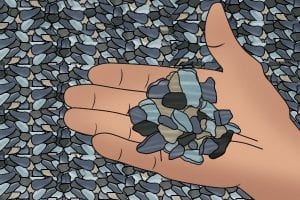
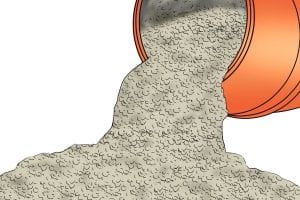
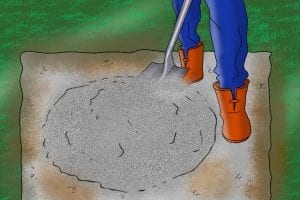
As with pebble dashing, however, the aggregate must be stored on a solid, hard, dry surface away from contaminants such as soil, fallen leaves etc.
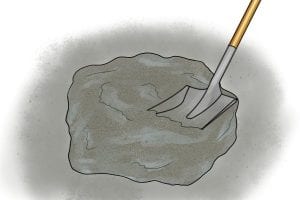
Mixing the aggregate to obtain a consistent colour mix is not an issue as the aggregate will be covered in the cement mix. Just simply add it to the concrete mix with a shovel.