How to use a voltage tester? |
||||
| Shop for Voltage Testers | ||||
 |
Unfortunately, there isn’t a ‘one size fits all’ way of using voltage testers, though all the models will be quite similar and these steps should apply in one form or another. There are also different tasks which can be performed by voltage testers which add further complications to the methods. | |||
Turning on the tester… |
||||
 |
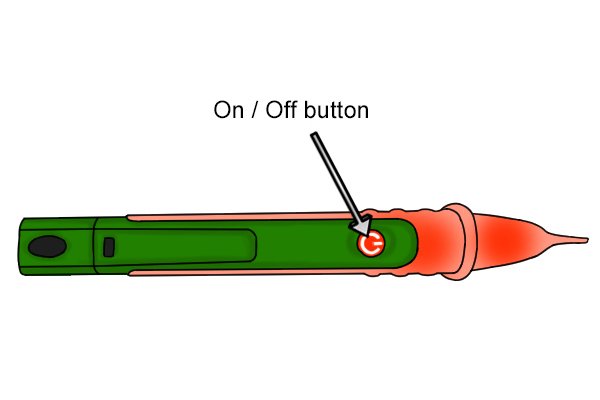
Some voltage testers may turn on automatically, but some will also have a on/off button. Check the instructions of each individual device before using to find out. This also applies to turning the voltage tester off. | |||
Positioning the probes for the application |
||||
 |
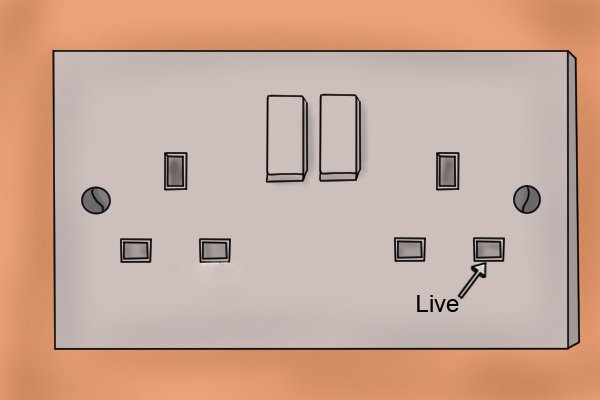
Where the probes are placed is dependent on the application. For electrical sockets, one probe is inserted into the Live terminal and the other can be placed in the Neutral or Earth terminal or even another grounded point. This is similar for taking most voltage readings, with one probe in contact with the live electricity and the other being grounded. | |||
How the tester is used… |
||||
 |
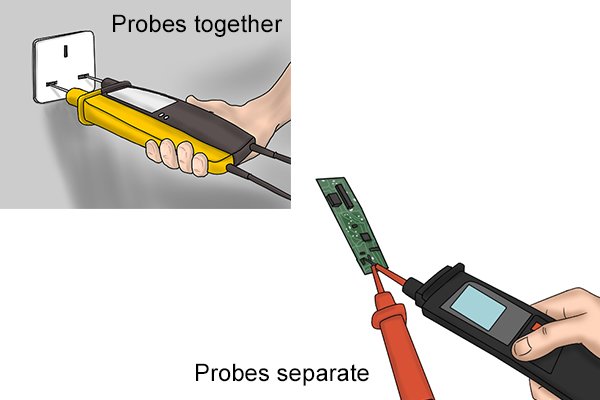
Step 1 – Insert probesThe probes can be clipped together and inserted simultaneously with one hand or they can be held in separate hands and inserted individually. This will be dependent on what you are testing. When testing UK sockets as illustrated, the Live and Neutral safety shutters will need to be opened by inserting an insulated screwdriver into the Earth socket (remove the screwdriver once probes are in place). Note: The probes require contact with the electrical supply, not the insulation or casing. |
|||
 |
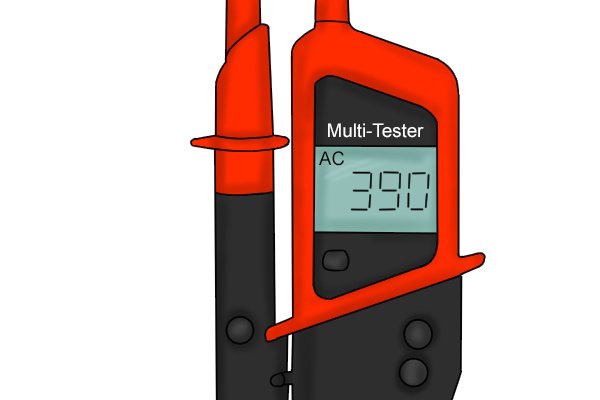
Step 2 – Take readingOnce the voltage tester is in position, a reading can be taken. This may require the user to push a ‘test’ or ‘hold’ button or simply look at the automatic reading displayed, whether it be a numerical value or range. |
|||


