How to tuckpoint a wall? |
||||
|
|
||||
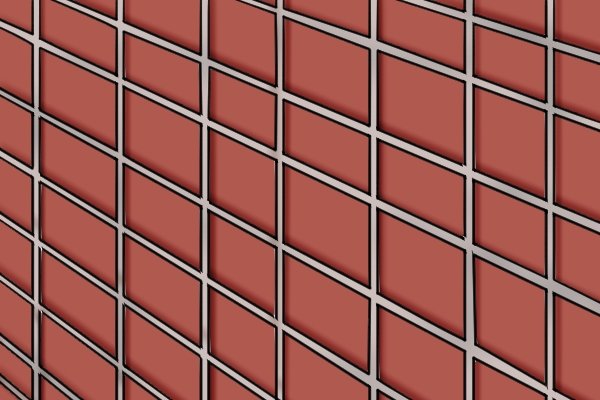 |
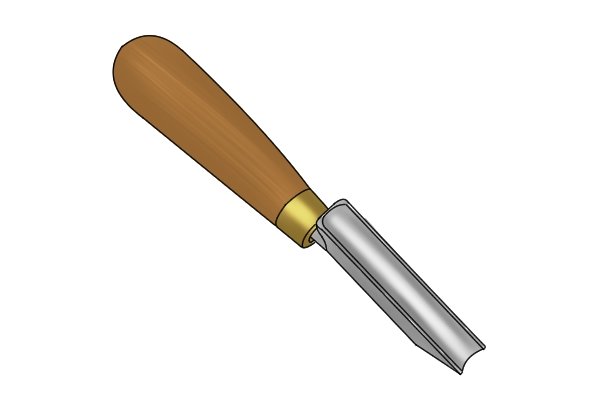
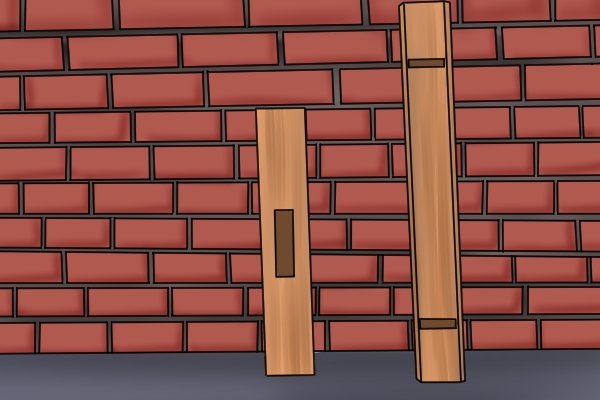
Traditional tuckpointing (which is not the same thing as regular repointing!) is a fine art, with many secrets known only to a small number of master craftsmen – but that’s no reason why you shouldn’t give it a go. You will need many of the same tools as you would when repointing a wall. See for a full list. In addition, you will need the following tools and materials. | |||
Tuckpointing Tools and Materials |
||||
 |
You will need:
|
|||
 |
|
|||
 |
|
|||
 |
|
|||
 |
||||
How to tuckpoint |
||||
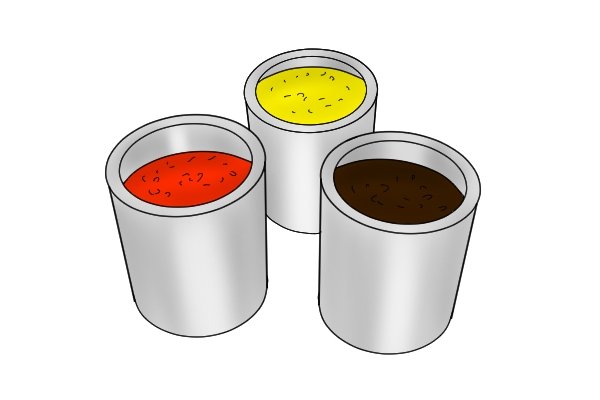 |
Step 1 – Mix brick-coloured mortarThe most important element of tuckpointing is creating a mortar which disguises the original brick joint. To do this, the mortar needs to be roughly the same colour as the brick work. This can be achieved by buying pre-coloured dry cement, adding a dye to the mortar mix, or trying to colour the mortar yourself using sand that is a similar colour to the brick. |
|||
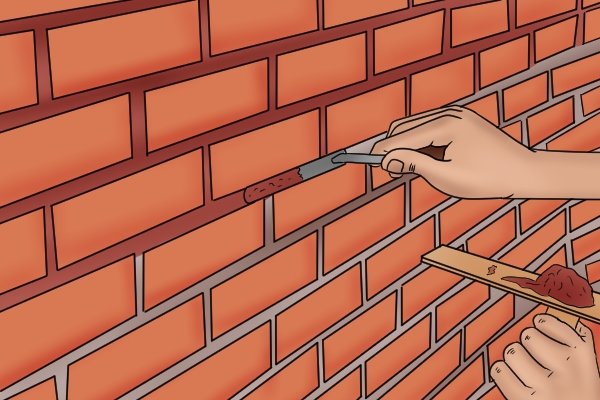 |
Step 2 – Apply brick-coloured mortarOnce you’ve mixed the mortar, apply it to the wall which you want to tuckpoint. Ensure that the mortar fills the entire joint and is flush (in line with) with the surface of the brick. |
|||
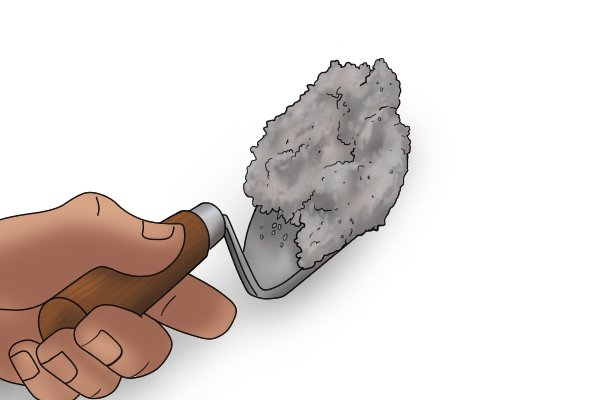 |
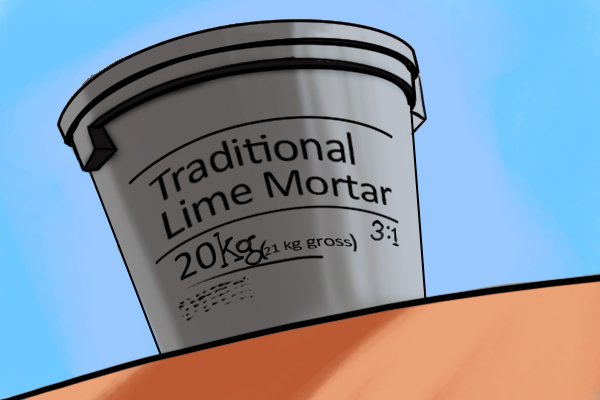
Step 3- Mix contrasting mortarQuickly mix a batch of lime mortar, combining non-hydraulic lime with sand and water, using the same methods lined out in How to repoint a wall with a tuck pointer. |
|||
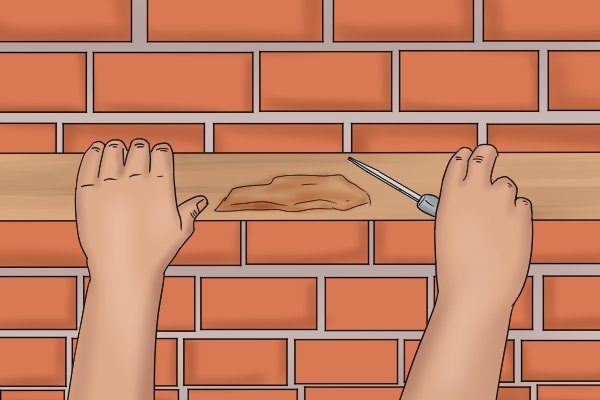 |
Step 4 – Line up the straight edgeCompact a large lump of lime mortar against one side of your straight edge (this will come in handy in the next step), then place the straight edge against the wall, with the mortar facing out towards you. If you’ve compacted the mortar, it should stay on the straight edge without falling off. Once you’ve prepared the mortar, line up the straight edge with the bed joint so that the top is slightly less than halfway up the joint. |
|||
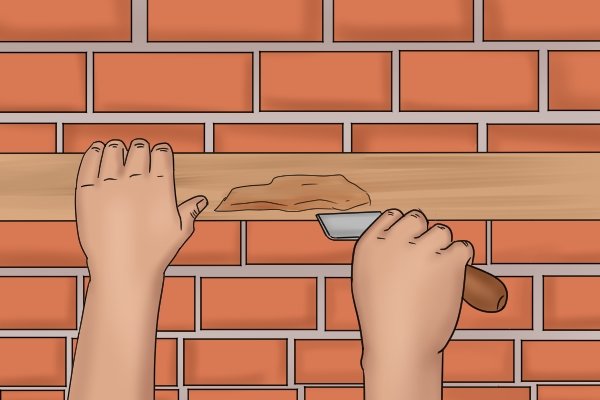 |
Step 5 – Collect lime mortar with your tuck pointerHolding your straight edge with one hand, use the other hand to scrape some lime mortar onto your tuck pointer, filling the groove on the base of the blade. |
|||
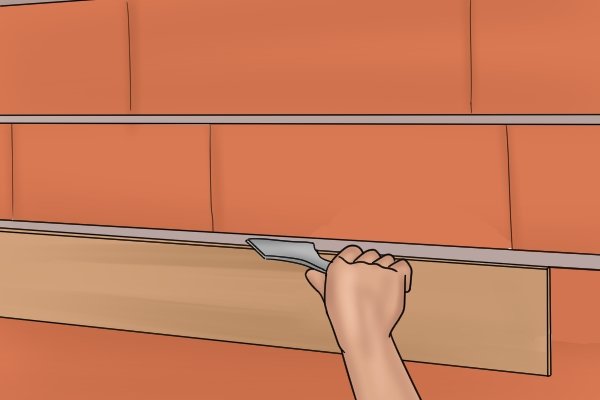 |
Step 6 – Score your tuck pointer along the straight edgeRun the tuck pointer along the top of the straight edge, scoring the brick-coloured mortar and leaving a bead of contrasting mortar. |
|||
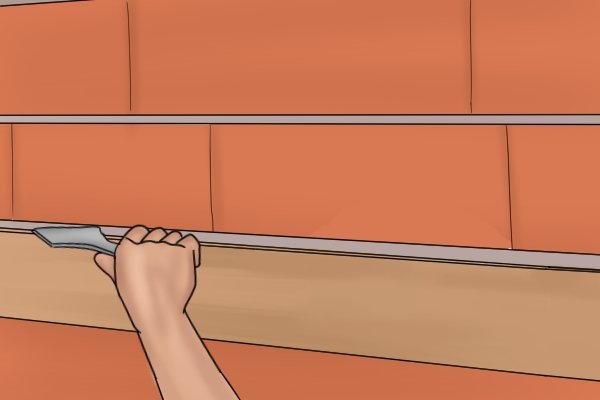 |
Step 7 – ContinueKeep scoring beads until you’ve laid all of the bed joints you need. Do this roughly one brick at a time. |
|||
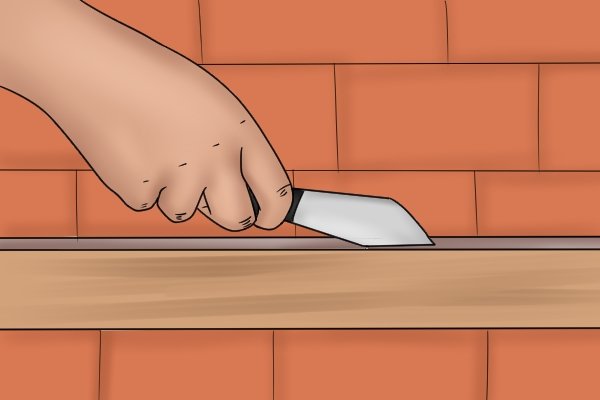 |
Step 8 – Cut the filletOnce you have left a fillet in the joint, go over it with the Frenchman and shave off the excess mortar, so that the fillet is flush with the mortar. |
|||
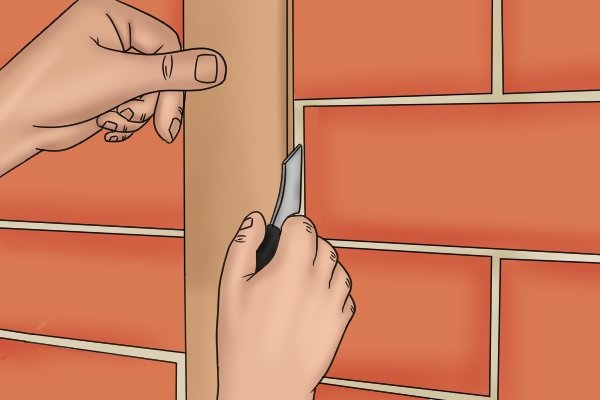 |
Step 9 – Lay vertical filletsAfter laying beads of lime mortar in your horizontal bed joints, repeat the process with your vertical head joints. |
|||
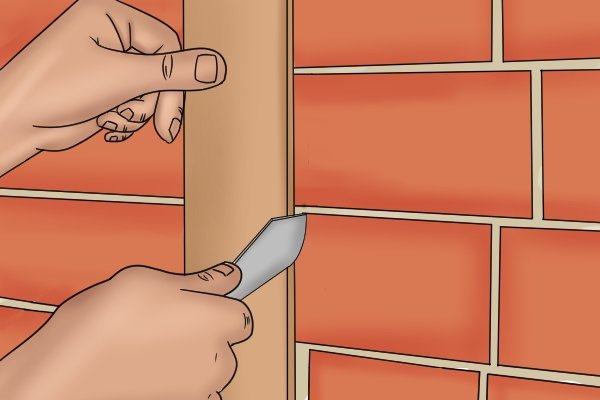 |
Step 10 – Cut vertical filletsUse the Frenchman to shave off the excess mortar from vertical fillets. |
|||
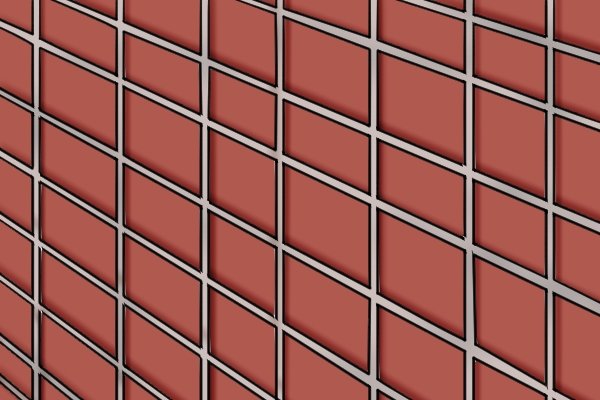 |
Step 11 – Done!If you’ve followed our steps correctly, then congratulations! You’ve tuckpointed your wall like the master tuckpointers of old. |
|||


