Try and Mitre Square Maintenance and Care |
||||
| Shop for Try and Mitre Squares | ||||
Check the angle on a try square |
||||
 |
It is important that the angle on a try square is correct, this is the tool’s job; to check and measure angles. If the tool is off, your work will be off. Wonky angles will make for unstable finished pieces which do not fit together properly. You should check your try square as often as you see fit, but especially before you begin an important piece of work. | |||
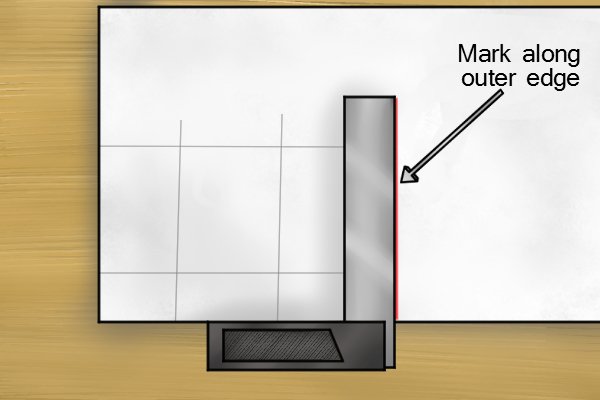 |
Step 1 – Mark along outer edgeTo ensure the angle is accurate at 90°, place the try square flush along a flat piece of scrap (paper or wood) and use a marking knife or pencil to mark the outer edge. |
|||
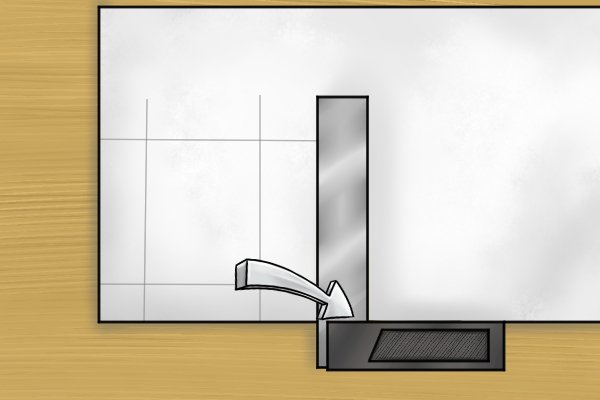 |
Step 2 – Flip try squareFlip the try square over the edge you have just marked. Hold the marking tool on the marked line and slide the flipped try square flush against the tool and the edge of scrap. |
|||
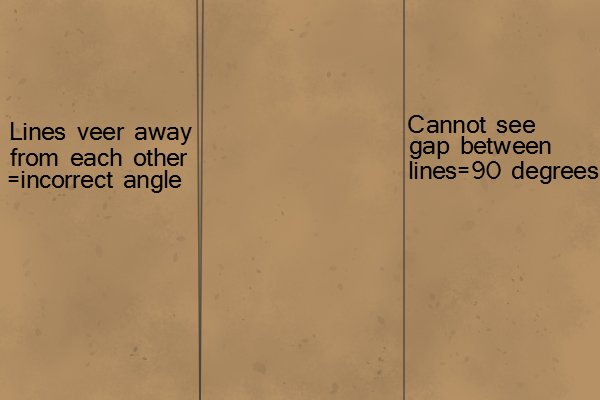 |
Step 3 – Check right angleMark along the outer edge again now it is flipped and then remove the try square. Look at the markings you have made. If they are in the same position, completely parallel, then the angle is 90°, if they branch apart, the angle is off. |
|||
 |
If the try square no longer holds a right angle, you can either buy a new one or grind down the higher edge of the blade until it is at 90° again. You may also be able to tap the blade gently back to 90° but it may mean that the blade fixing is no longer secure – re-check often until you are confident that the blade holds its angle accurately. | |||
Cleaning |
||||
 |
In most circumstances, try and mitre squares do not require any cleaning. Only wipe them down if they get something on them. | |||
Storage |
||||
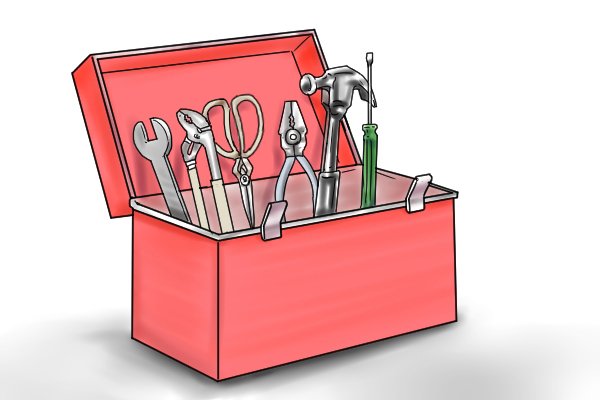 |
Try and mitre squares can be stored with other tools, in a shed or toolbox, for example. However, a little extra caution should be taken not to bump them too much or the angle may be knocked out of place. | |||


