


How to use a tracing dye?
How to use a tracing dye? |
||||
 |
Using a tracing dye is easy. First, all you need to do is choose which product you require (liquid, powder, tablet, cake, cone or doughnut).See for help with which one to buy for your particular job. | |||
 |
If you are using powders, cakes, cones or doughnuts, it is best to dilute them into water before adding them to the system or flow you wish to perform a trace test on. By diluting them in water they are more easily dispersed into the flow and will give you a more consistant reading. Liquid concentrate dyes can be added directly to your water flow. | |||
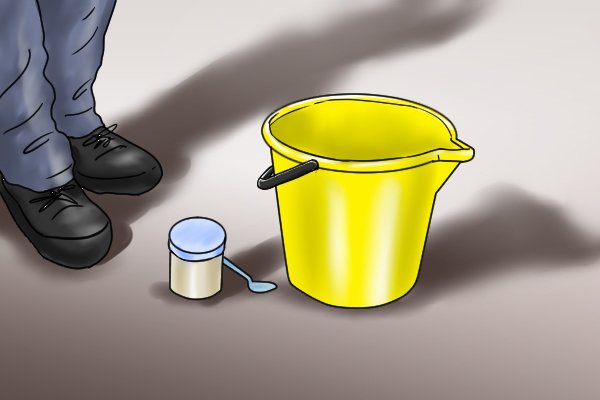 |
Step 1 – Gather equipmentGet a bucket, teaspoon, and some tracing dye (of your desired colour). You may need a second person so that one of you can pour and the other can watch for the outcome. |
|||
 |
Step 2 – Open covers and drainsOpen covers and drains so that you can follow the course of the dye as it flows through the system. |
|||
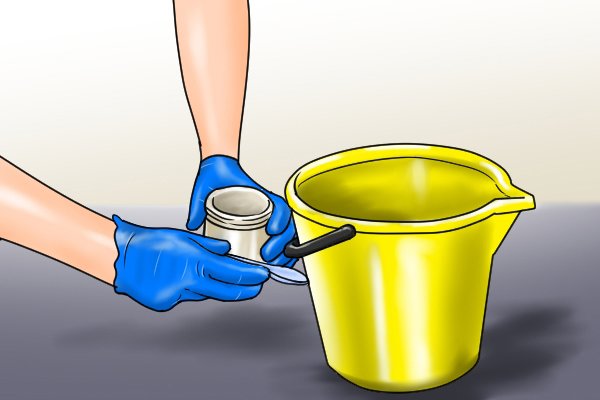 |
Step 3 – Dissolve dyeSee product guidelines for the amounts of dye needed for the quantity of water you are working with. If it’s a dye that needs dissolving in water before pouring, follow the product instructions for the initial dilution rate. If you are using liquid dye, measure out the required amount of concentrate and add directly to the water flow. |
|||
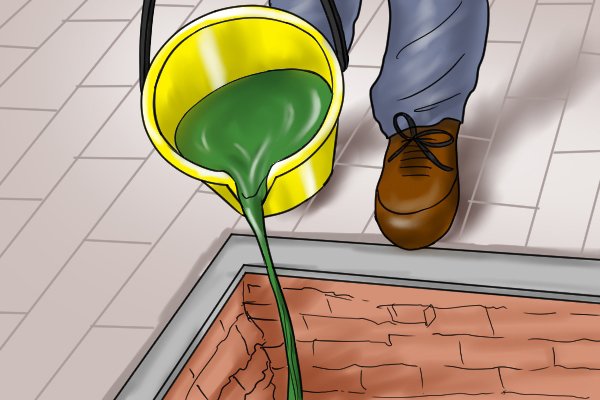 |
Step 4 – Pour mixture into water flowPour the mixture into the drain… |
|||
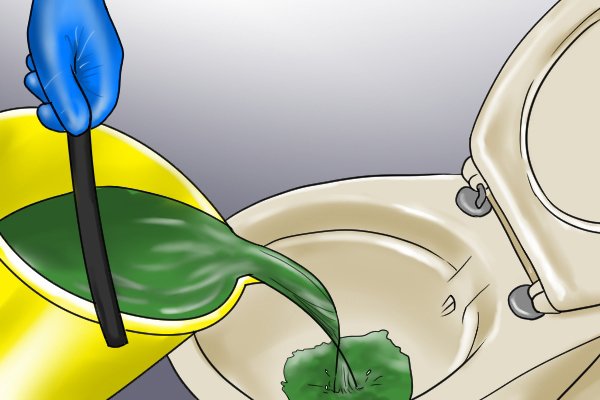 |
…or toilet… | |||
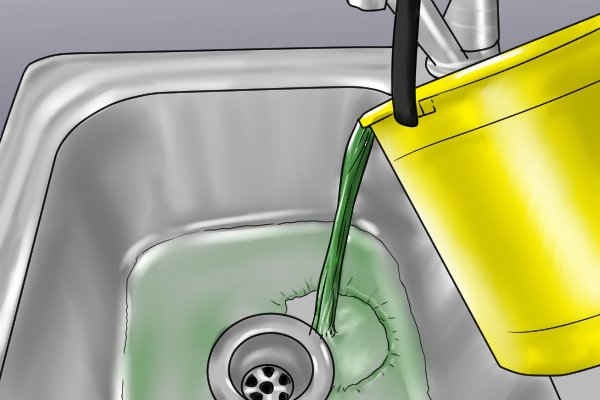 |
…or sink you wish to trace. | |||
|
You may need to turn on the tap, flush the toilet or run a hose into the drain to make the dye flow to the point where checking takes place.The dye will give a coloured tint to any liquids it comes into contact with. | |||
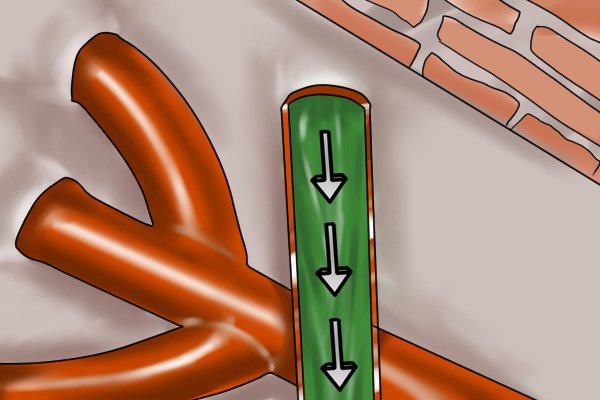 |
It will also follow the flow of the pipe until it ends, or the dye becomes so widely dispersed that it is no longer visible with the naked eye. | |||
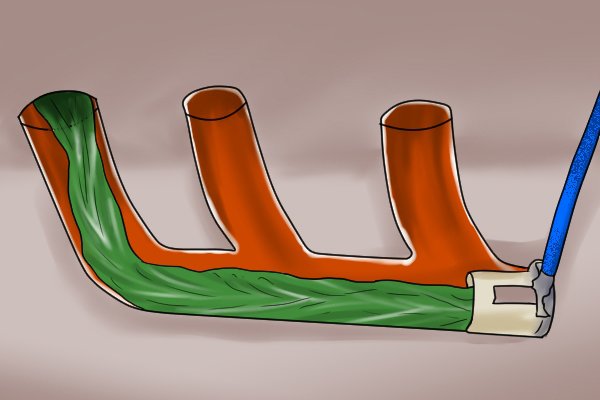 |
The dye will allow you to successfully determine which pipes are (or are not) connected to the beginning source point. It can also show you where any leaks or breakages are along the system. | |||
 |
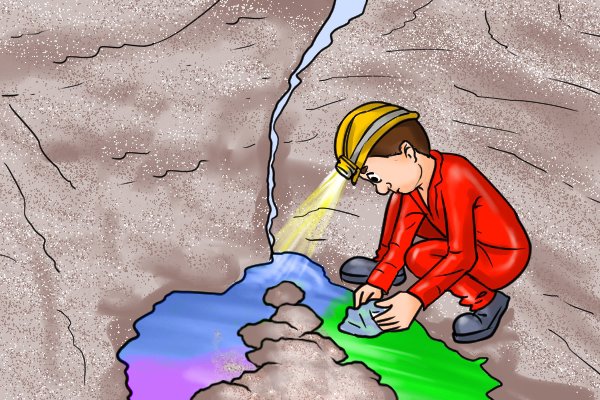
Step 5 – Trace entire systemTrace the entire system or water flow and inspect for any leaking dye, illegal connections or lack of flow. If, for example, you find patches of dye soaking into soil or lawn then you will know that there is a broken pipe running somewhere underneath and will need to be fixed or replaced. |
|||
 |
Step 6 – Repeat test after repairsOnce you have fixed any problems, repeat the test. |
|||
Using fluorescent dyes |
||||
 |
Fluorescent dyes can be detected by using a ‘black light’ (ultraviolet) so they can be visually traced even at night. | |||
Qualitative testing |
||||
 |
For qualitative testing you may need to use specialist equipment such as a fluorometer. A fluorometer is a device used to detect tiny particles of fluorescence in water and it is much more sensitive than the human eye. To put it in some context: the human eye can detect fluorescence in water up to as little as one part per million (1ppm). A fluorometer can detect fluorescence in water up to one part per trillion! (1ppt) | |||
What is dual-tracing? |
||||
 |
Dual-tracing is when you conduct a trace test on two (or more) separate lines or flows that output at the same location. In dual-tracing, it is common to use different colour dyes so that the two flows can be compared and information can be gathered about their differences or similarities. | |||
