


Sprue Cutters Maintenance and Care
Sprue cutter maintenance and care |
||||
|
|
||||
 |
Like all tools, sprue cutters can have their serviceable life extended by taking a few simple care and maintenance steps. | |||
After-use maintenance |
||||
 |
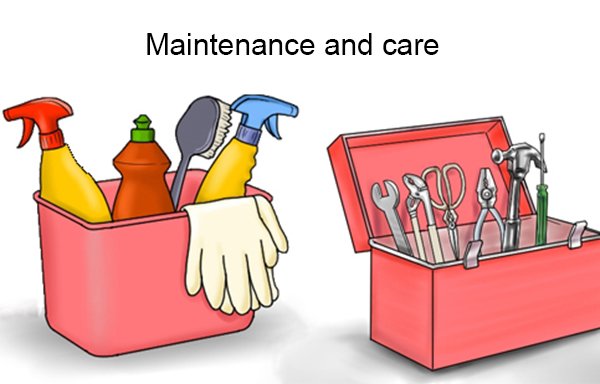
After you have finished using your sprue cutter you should always clean it before putting it away. To do this you will need four things: a small brush, a polishing cloth, some multi purpose water repellent oil and some tool burr lubricant. | |||
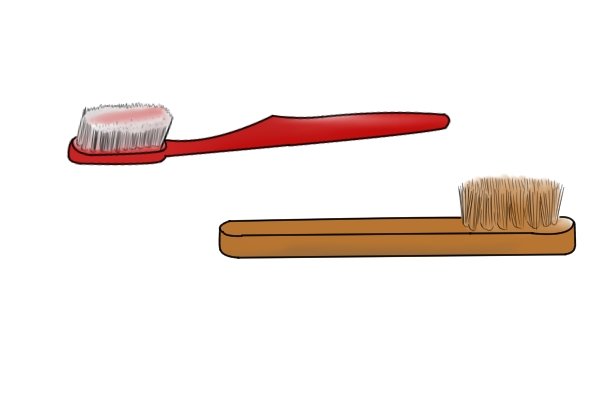 |
Step 1 – Brush cleanFirst use a small brush such as an old tooth brush to brush off any small bits of debris that may be left on the sprue cutters. |
|||
 |
Step 2 – Wipe cleanThen use the polishing cloth to wipe the jaws. This will remove the very small particles of debris that can build up over time and dull the cutting edges. |
|||
 |
Step 3 – OilPlace a drop of multi-purpose water repellent oil in all the joints of the sprue cutter. This will prevent moisture from causing corrosion in the joints and so keep them moving freely as well as lubricating them to prevent them becoming stiff. |
|||
 |
Step 4 – Grease cutting edgesSmear a tool burr lubricant on the cutting edges of your sprue cutter. This will protect the cutting edges of the jaws from corrosion and also reduce the friction on the cutting edges next time you use your sprue cutter. This in turn makes the cutter easier to use and prolongs the life of the cutting edges. |
|||
 |
Step 5 – Store awayIf your sprue cutter has a retaining chain or handle lock, you should store it away with this in place. Sprue cutters should be kept in a tool box or work bench drawer in an environment with a moderate temperature and low humidity to help prevent corrosion. |
|||
Can you sharpen dull cutting edges on a sprue cutter? |
||||
| Should the cutting edges of your sprue cutter become dull over time it may be possible to sharpen them with the following method: | ||||
 |
Tools you will need:
|
|||
 |
Step 1 – Colour sprue cutter backUsing the marker pen, colour the flat back side of the sprue cutter jaws. Leave this a few moments so that the ink can dry. |
|||
 |
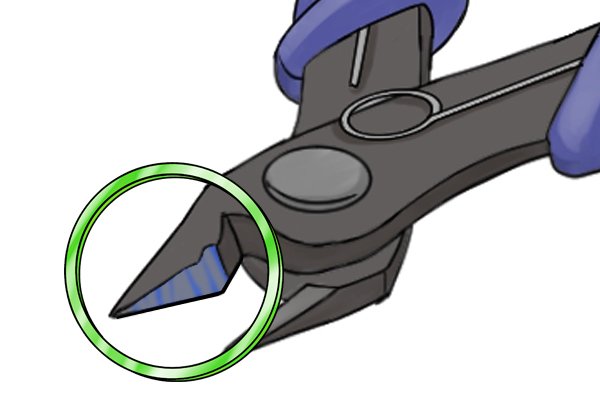
If the backs of your cutter’s jaws have bevels, such as with a micro-bevel sprue cutter, you only need to colour the bevelled part with the marker pen. | |||
 |
Step 2 – File down jawsUsing the 400-600 grit cushioned abrasive sanding pad, sand the back of the sprue cutter’s jaws with a back and forth motion, running the length of the jaws, not across them. |
|||
 |
Make sure you are evenly removing the marker pen from the back of the sprue cutter jaws. This will help to maintain both the cutting angle of the cutting edges and the flat back of the jaws, giving you a better finish when cutting. | |||
 |
Keep the sanding pad flat against the jaw’s bevel and sand using a back and forth motion from the front to the back of the jaws. By sharpening from the front to the back of the jaws and checking that the marker pen is being evenly removed you should maintain the original bevelled angle on the jaws. | |||
 |
Step 3 – Repeat on inside of jawsUsing the marker pen colour the inside of the sprue cutter jaws. Leave this a few moments so that the ink can dry. |
|||
 |
Step 4 – Sharpen inside of jawsUsing the 400-600 grit cushioned abrasive sanding pad, sand the inside of the sprue cutter’s jaws one side at a time with a back and forth motion running the length of the jaws not across them. |
|||
 |
Make sure you are evenly removing the marker pen from the jaws, keep the sanding pad flat on the inside of each jaw to maintain the bevels cutting angle. | |||
How to replace a broken sprue cutter spring |
||||
 |
Not all sprue cutter springs are replaceable: this is only a feature of some smaller sprue cutters with a single coil spring. | |||
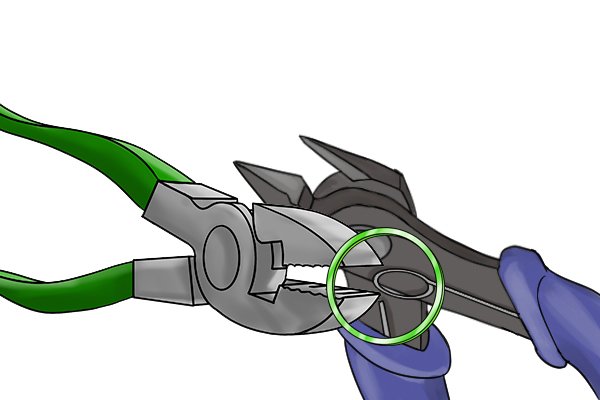 |
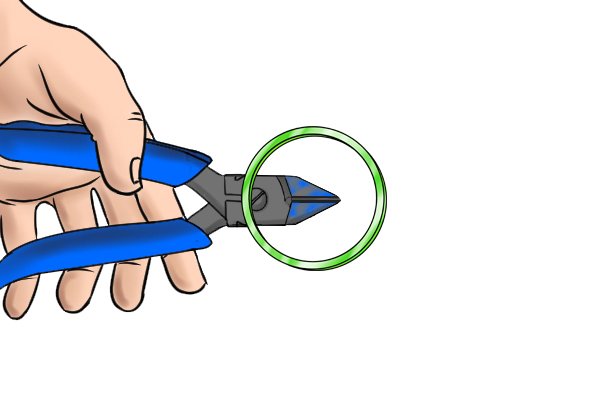
Step 1 – Remove old springBefore you can fit a new spring you must first remove the old one. If the arms of the single coil spring locate just behind the pivot point of the jaws, twist the spring to unhook the arms from the holes in which they locate. You may find it easier to do this using a pair of pliers. |
|||
 |
If the arms of the single coil spring are attached halfway down the handles you must first remove the handle sleeves. To do this, simply slide the handle sleeves back off the handles. This will expose the spring arms and allow you to twist the spring free from the holes in which they locate. Again this may be easier to do with a pair of pliers. | |||
 |
Step 2 – Locate first armOnce the old spring is removed, place the first arm of the new spring into one of the holes that are used to secure them. |
|||
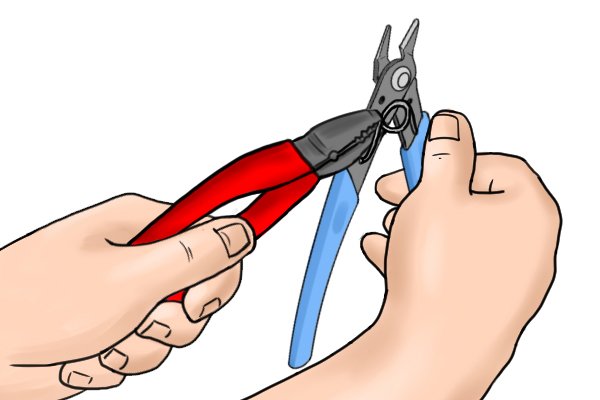 |
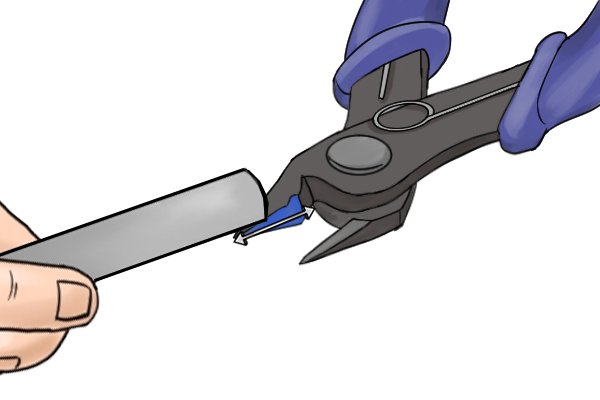
Step 3 – Locate second armWith the first arm of the spring located, compress the two arms of the spring together until the second arm meets up with the hole that is used to secure it. Twist the second arm of the spring into the hole that secures it. Again this may be easier with the use of a pair of pliers. |
|||
 |
If the arms of the spring locate halfway down the handles then you must now slide the handle sleeves back up the handles over the arms of the spring to help secure them. | |||
How long do sprue cutters last? |
||||
 |
This is an impossible question to answer as the life of a sprue cutter will depend on how frequently it is used, the thickness and hardness of material it is used on, what maintenance is carried out and where and how it is stored. However, if used and maintained correctly sprue cutters should last for many years. | |||
 |
Reasons to replace a sprue cutterIf you use a thin-jawed, single lever action sprue cutter on material that is too thick or hard it can cause large dents or burrs in the cutting edges of the sprue cutter’s jaws, or even bend the jaws themselves. If this occurs it is unlikely that you will be able to repair the cutting edges so that they cut correctly, in which case the sprue cutter should be replaced with a new one. |
|||
 |
Even large, compound lever action sprue cutters can have the cutting edges of their jaws dented and damaged from being used to cut sprues that are too thick or made of too hard a material. | |||
 |
As a general rule you should consider replacing a sprue cutter if its jaws have been damaged so it no longer delivers a good quality cut on the sprue, it has become overly stiff and tiring to operate or if the handles are damaged, making it uncomfortable to use. | |||
