How to adjust a Clark patent expansive bit? |
||||
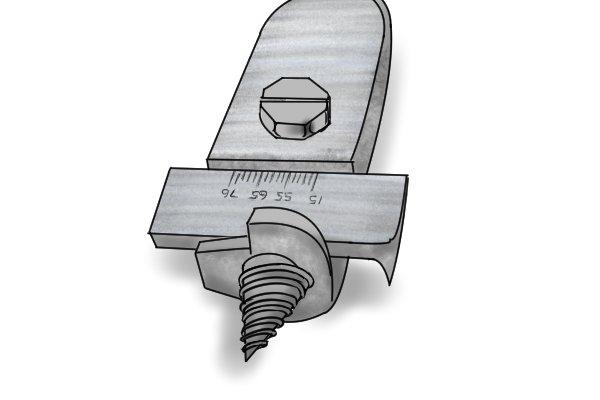 |
This guide explains how to adjust the cutter on a Clark patent expansive bit, which is the type that does not have teeth along the top surface of the movable blade. | |||
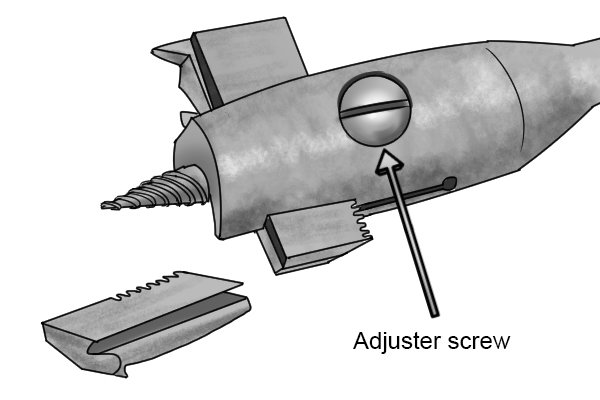 |
Wright patent expansive bits (the ones with the teeth) are extended or shortened by turning the adjuster screw with a screwdriver. | |||
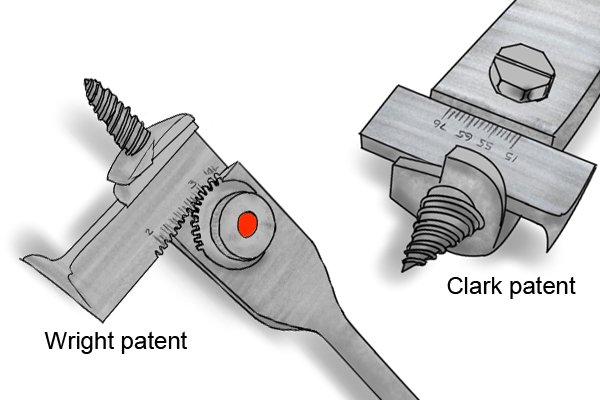 |
For more information on the differences between the two different patents, see: What are the different types of expansive bit? |
|||
Adjusting a Clark patent blade |
||||
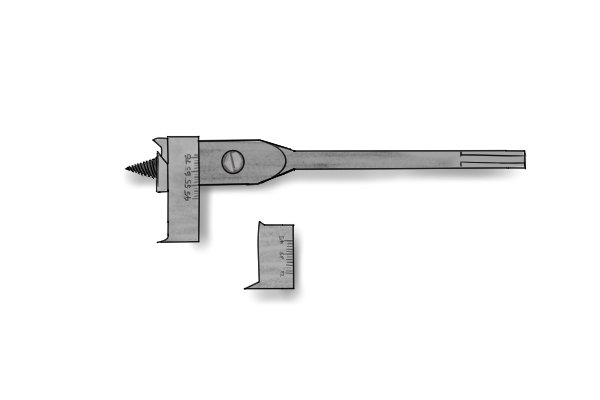 |
The process for adjusting the cutter on a Clark patent expansive bit is similar to the method used for adjusting Wright patent bits. The biggest difference is that turning the lock screw will not automatically adjust the bit. | |||
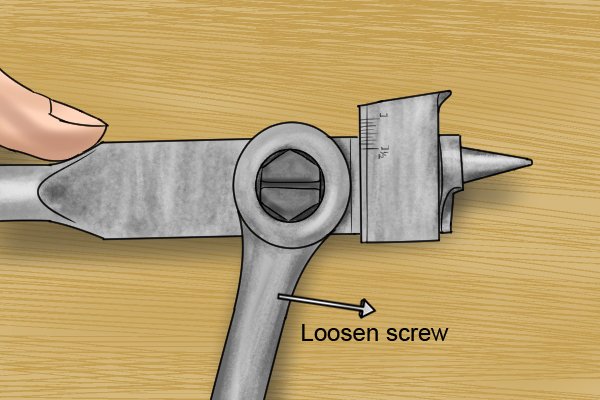 |
Step 1 – loosen lock screwUsing a screwdriver or a hexagonal socket wrench, loosen the lock screw by turning it anti-clockwise. You will notice that the metal retainer on the body of the bit starts to spring slowly upwards. |
|||
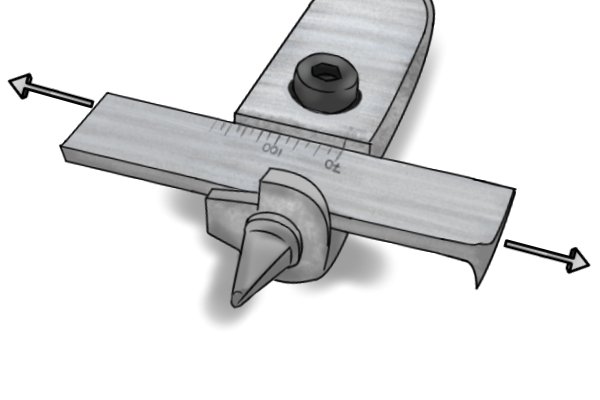 |
This should allow the cutter to move from side to side. | |||
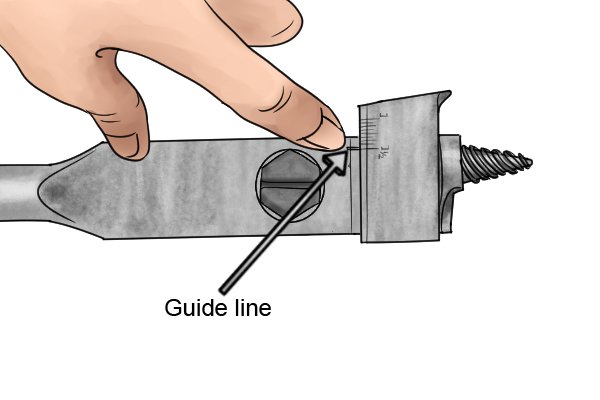 |
Step 2 – Set up bitSlide the cutter so that the indicator line on the body is aligned with the measurement on the expansive bit that you would like your hole size to be. |
|||
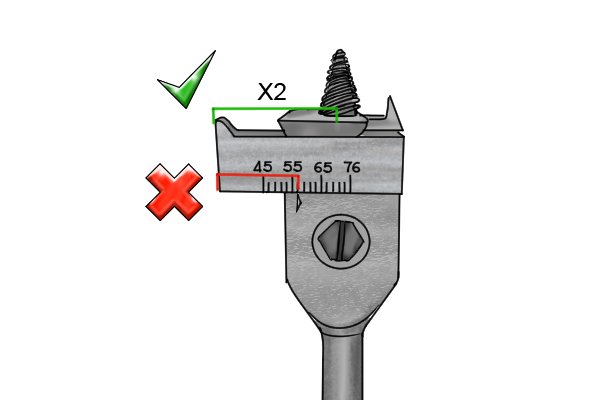 |
The numbers on the gauge show the total width of the entire hole, rather than the distance between the number and the outrigger cutting spur. This measurement is equal to twice the distance between the tip of the bit and the outrigger spur (i.e. the diameter of the circle that the spur will cut). | |||
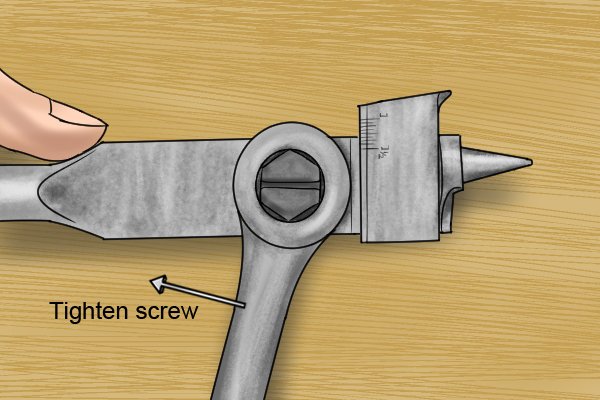 |
Step 3 – Fasten the lock screwTighten up the lock screw so that the bit is secure once again. You should see the retainer clamp down on the angled upper edge of the cutter. |
|||
 |
Your bit is adjusted and ready for use! | |||
Changing the blade |
||||
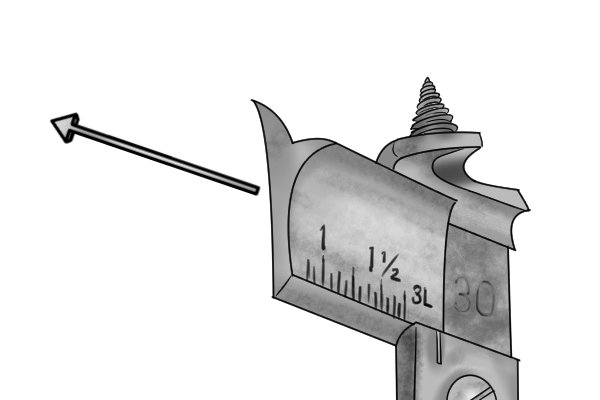 |
Changing the blade on a Clark patent expansive bit very closely follows the process for adjusting the cutter that is already in place. At step two in the above guide, instead of sliding the cutter to a new position, remove it from the bit entirely by pulling it free. | |||
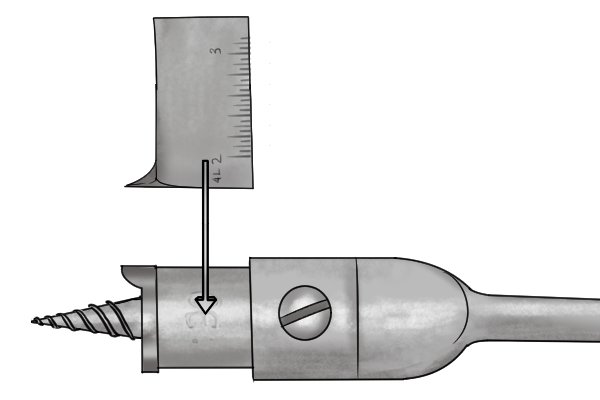 |
Replace it with the second cutter, sliding it into position and securing it with the lock screw as per steps two and three above. | |||


