How to use a woodturning chisel? |
||||
| Shop for Wood Turning Chisels | ||||
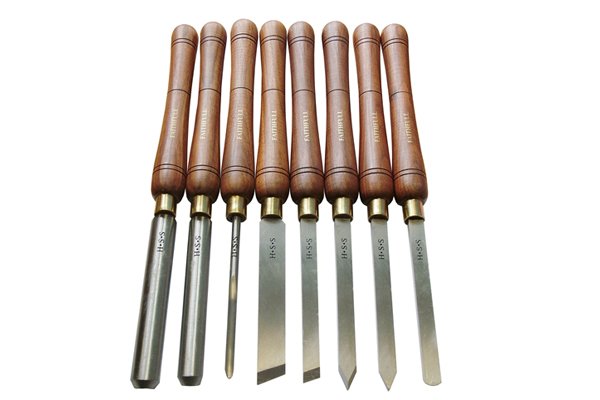 |
Using a woodturning chisel for the first time can be a daunting task. Follow this step-by-step guide to help get you started. | |||
Spindle turning |
||||
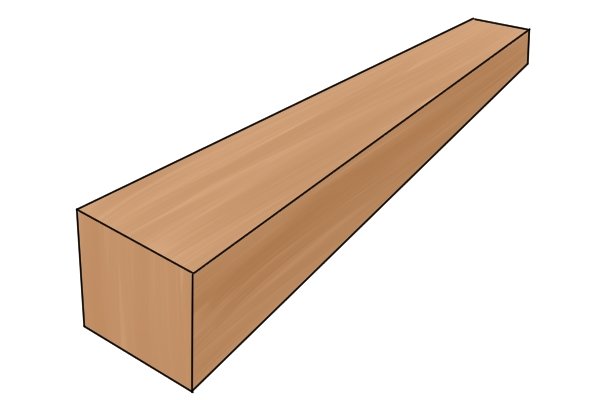 |
Step 1 – Select a blank workpieceWhen selecting a workpiece for spindle turning try to use a blank that has a straight grain and try to avoid using a piece of wood that has knots and other defects. |
|||
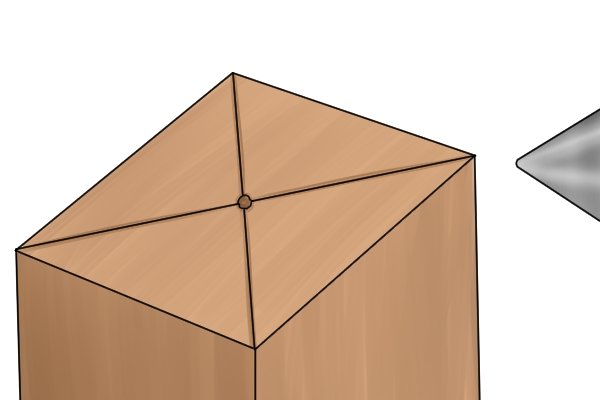 |
Step 2 – Mark centre pointUsing a centre-finder, mark a central point on each end of the workpiece. By doing this you are ensuring that the workpiece spins around it central axis. |
|||
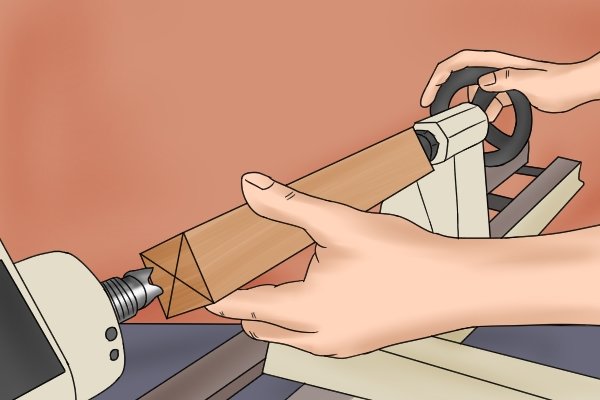 |
Step 3 – Secure workpiece in latheAlign your workpiece between the lathe’s headstock and tailstock, using the newly marked centre-points to make sure it is central. Secure the workpiece by adjusting the position of the tailstock quill. |
|||
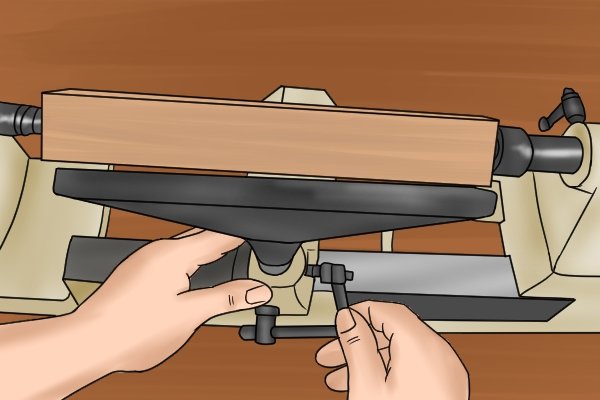 |
Step 4 – Position tool restLoosening the tool rest’s banjo will allow you slide the rest to and fro along the length of the lathe. Position and set the tool rest so that it sits alongside and parallel to the part of the workpiece you are cutting into. The tool rest should be as close as possible without interfering with the workpiece as it spins. A clearance of ¼” is acceptable. |
|||
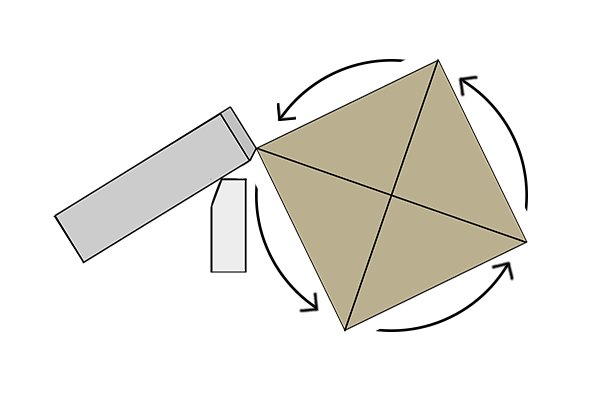 |
Step 5 – Start spinningTurn the lathe on and start your workpiece spinning. |
|||
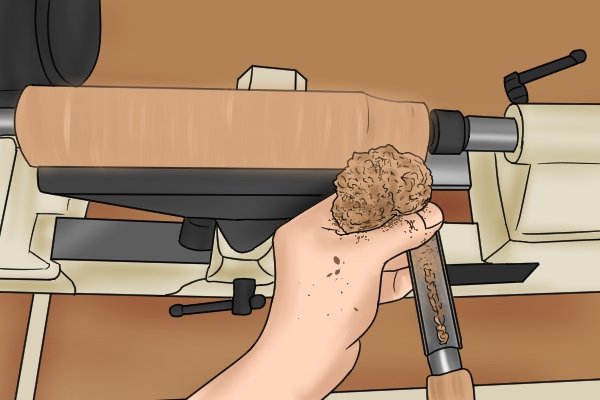 |
Step 6 – Begin roughing outTo take your square stock down to a cylinder you’ll need to first use a roughing gouge. Starting at one end, and keeping your tool in contact with the tool rest at all times, introduce the cutting edge to the spinning workpiece and move slowly along the length of your workpiece. |
|||
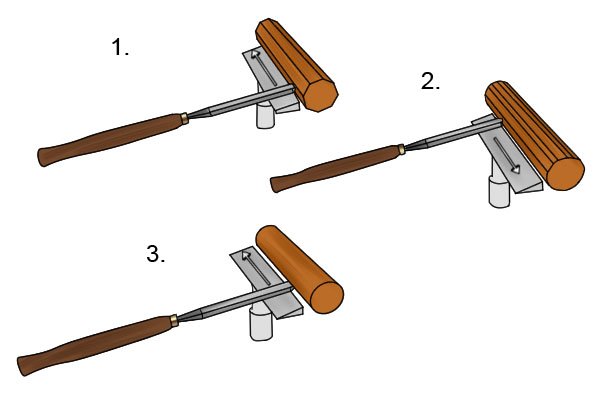 |
Step 7 – Repeat until cylindricalMove the roughing gouge slowly back and forth along the workpiece (keeping contact with the tool rest). In this fashion, the roughing gouge will remove a little more material with each passing until the square stock is rounded off and cylindrical. |
|||
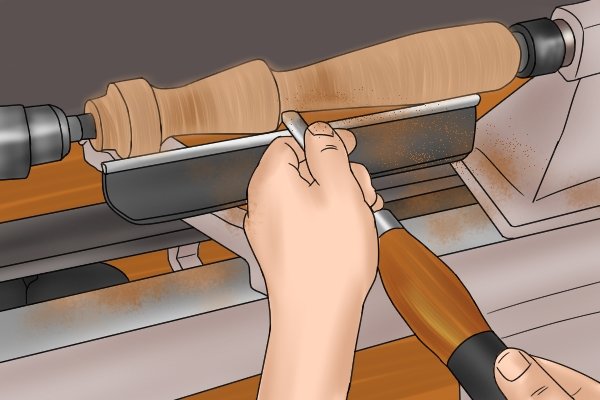 |
Step 8 – Impart your designOnce your workpiece is rounded off, you can impart your design. This may involve use of any (or all) of the woodturning chisels mentioned previously in this project. For more information on the types of cuts and how to make them, see What types of woodturning cuts are there? |
|||
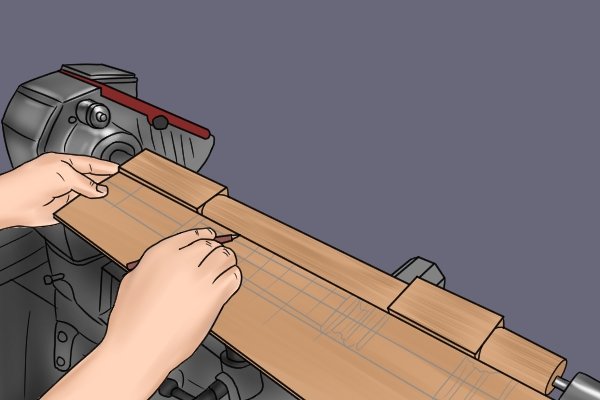 |
Story stickA story stick is a piece of wood onto which a design is laid so that you can easily transfer the design to multiple workpieces (for example: table legs). Using a story stick promotes accuracy of repeated design patterns. |
|||
| Images on this page are used with the kind permission of Brian Clifford at www.turningtools.co.uk | ||||


