How to sharpen a shovel |
||||
 |
A blunt shovel tip is like a blunt knife, greater pressure will be needed to slice through stubborn roots or heavy clays and, just like a blunt knife, this extra force could lead to an injury.
Even your snow shovel will need sharpening as digging with a sharp blade requires less effort. Don’t waste your time and energy with a blunt blade; sharpening the blade of a shovel is not a complicated task. |
|||
 |
||||
 |
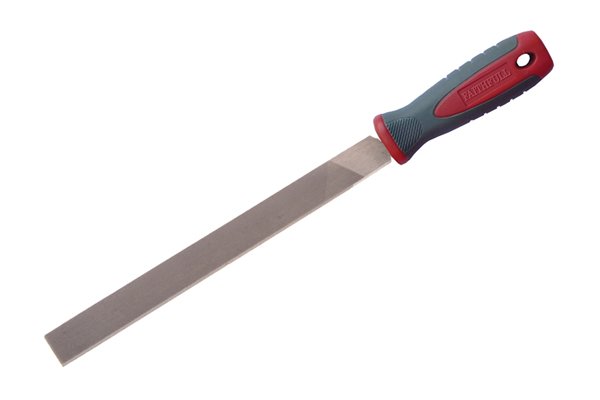
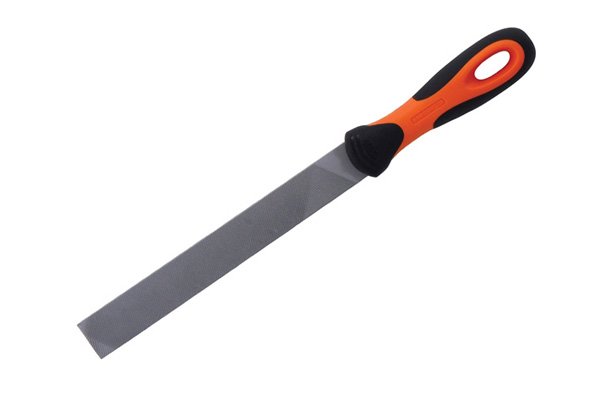
All that is required is a flat metal file.
Either an 8, 10 or 12 inch file will suffice. Try to use one that has a handle to avoid potential injury from the rows of teeth. |
|||
 |
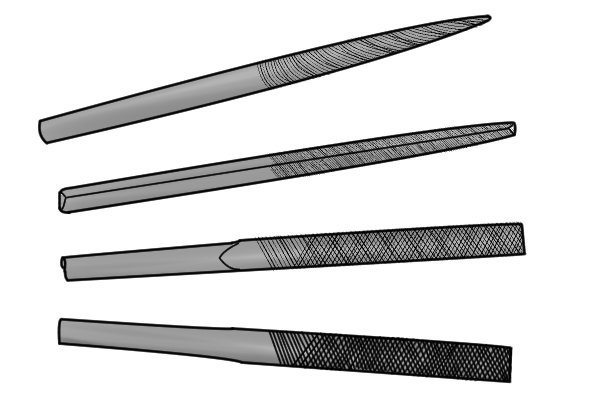
A double-cut flat file is a coarse grade file, which will remove a lot of material for creating an edge. You will need this if your shovel is particularly blunt. | |||
|
A single-cut mill file is a finer grade file used for sharpening and finishing the edge. | |||
|
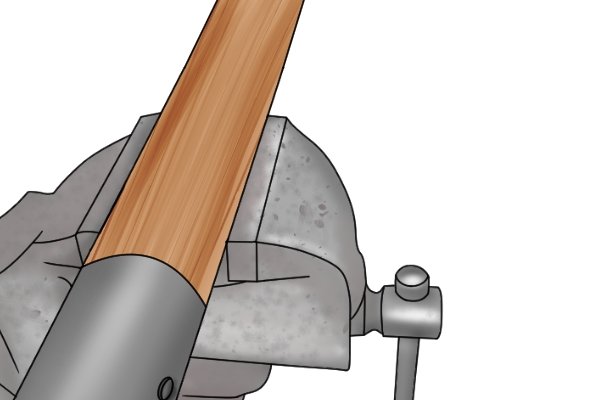
Step 1 – Secure the shovelClamp the shovel, blade up, in a bench vice if you have one. If not, ask someone to hold the shovel for you. Place it horizontally on the ground, blade up, and put a foot firmly behind the socket (where the blade meets the shaft) to secure the shovel. |
|||
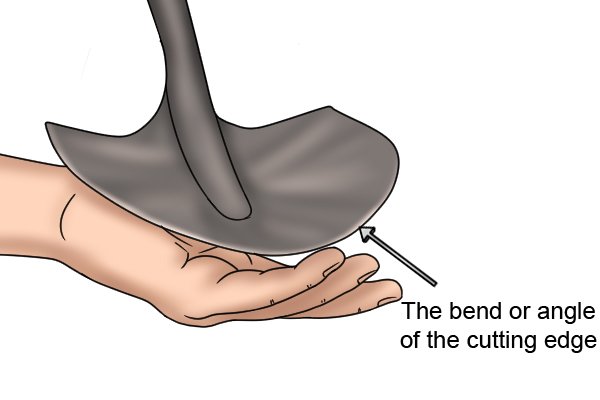 |
Step 2 – Check the sloping angleBefore you begin to sharpen any hand tools, it is important to be aware of the correct bevel angle for specific tools. First, observe the original bevel of the blade before you sharpen to maintain the correct angle. |
|||
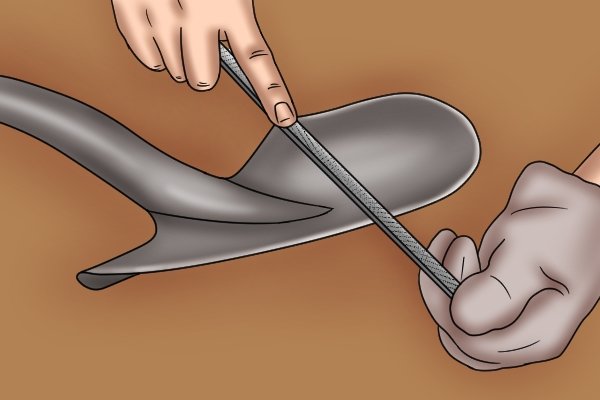 |
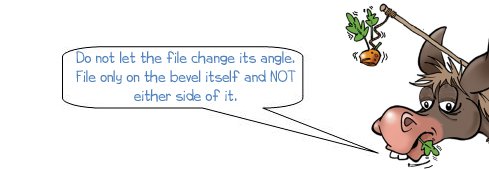
If the original angle of the edge is visible…Position a single-cut file at this same angle. Press the file firmly against the angle, cutting teeth face down and use forward, steady strokes. Do not bring the file back across the blade. Work your way in one direction along the whole length of the cutting edge. Check the sharpness of the blade after a few strokes. Repeat as necessary. |
|||
 |
||||
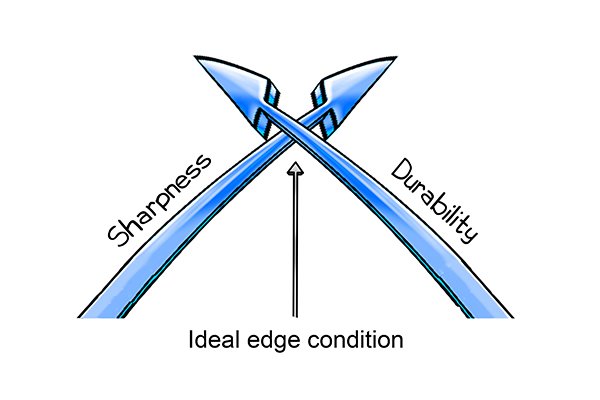 |
If the original angle of the edge is not visible…You will need to shape the angle yourself. Sharpness and durability are the two factors to consider when deciding on the angle of an edge. |
|||
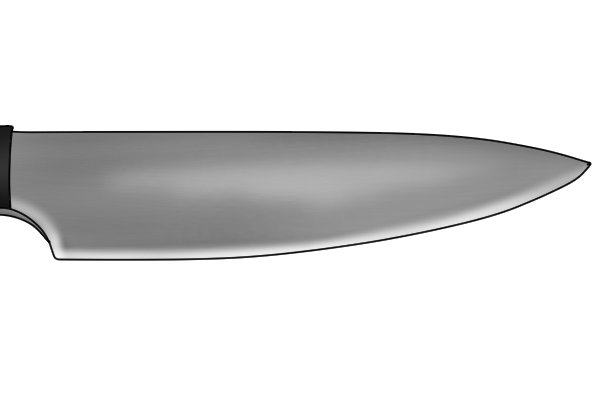 |
The lower the angle, the sharper the edge. However, this means the cutting edge will be brittle and, therefore, less durable. A small paring knife used for peeling and chopping, for example, will have a low bevel angle of around 15 degrees. | |||
 |
The higher the angle, the more durable the edge. Since we’re sharpening a blade that may have to cut through tough roots or rocky soil, a tougher edge is required. A bevel of 45 degrees is the right balance between sharpness and durability. | |||
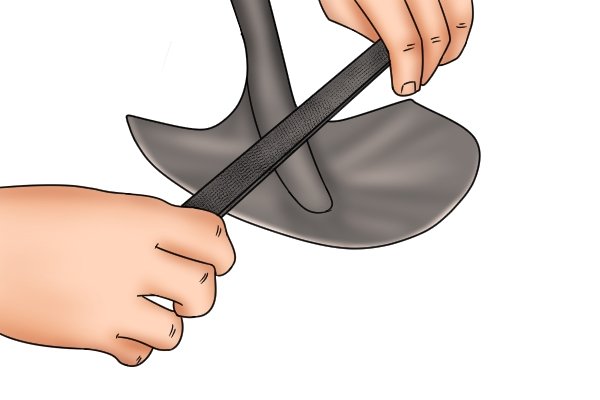 |
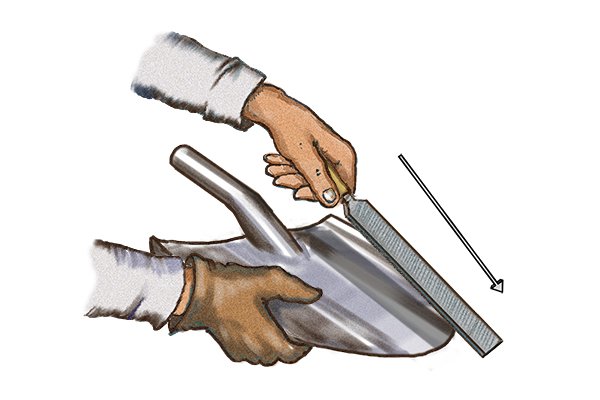
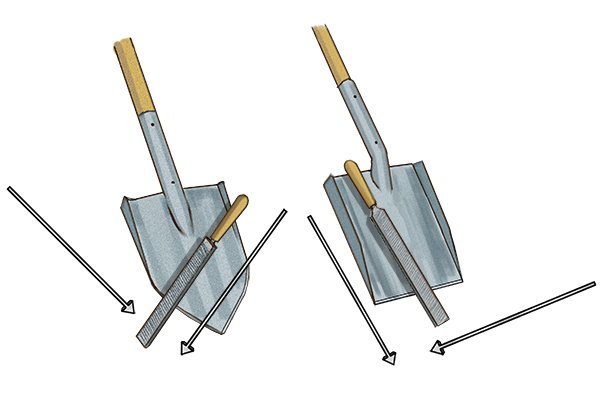
First, use a double cut file to shape the edge. Position the file at a 45 degree angle to the front of the blade and push down against the edge, using the length of the file to avoid wearing down a particular area of teeth.
Continue these forward strokes across the entire length of cutting edge and maintain an angle of 45 degrees. Do not bring the file back across the blade. When the shovel’s bevelled edge is roughly formed, use the single-cut file to fine tune, maintaining the same angle. |
|||
|
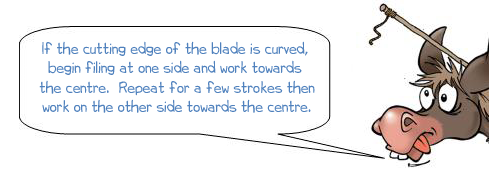
It is not necessary to file along the entire blade as most of the cutting is achieved within a few inches each side of the tip. | |||
 |
||||
So how do you know when it’s sharp enough? |
||||
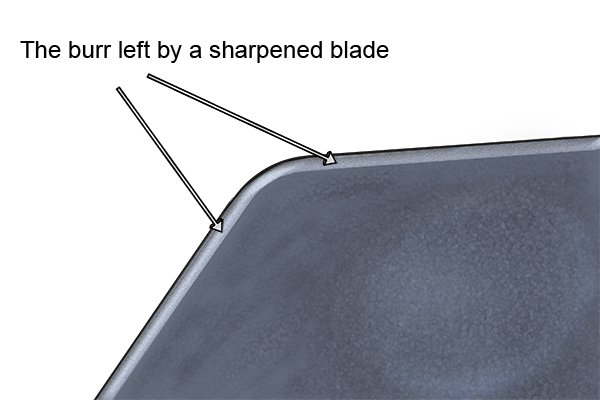 |
You will be able to feel a slightly raised edge when you run your finger ALL along the underside of the bevel.
This is known as the burr (can also be referred to as a feather or wire edge) and is an indication that sharpening is almost complete. |
|||
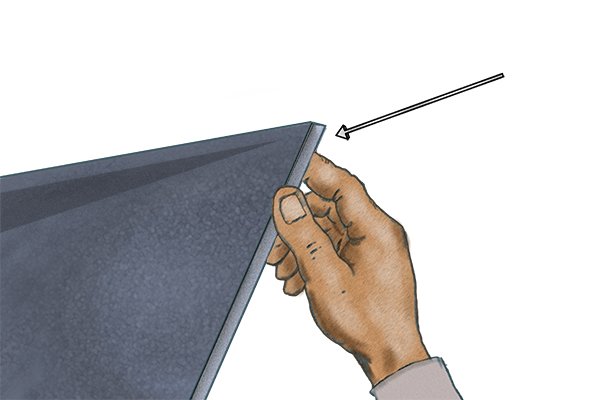 |
The burr is formed when the edge gets so thin that it is unable to withstand the tension from the file so it curls over to the other side.
The trick is to remove the burr yourself before it breaks off. If you allow the burr to separate, the bevel will become blunt. |
|||
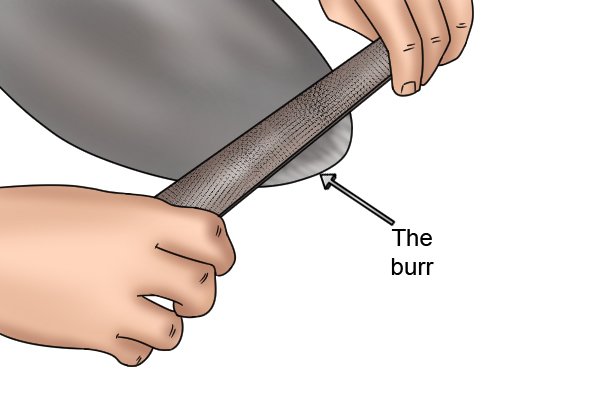 |
To remove it, turn over the blade to its backside and run your file flush (level) along the underside of the new bevel. Do not tilt the file. The burr should separate after a few strokes.
To finish, turn the blade over again and gently run the file across the new bevel to remove any burr which may have been pushed back. |
|||
 |
Once you’re satisfied with your newly honed blade, treat it to a bit of TLC and apply a coat of anti-corrosion oil. Please see our section: Care and maintenance
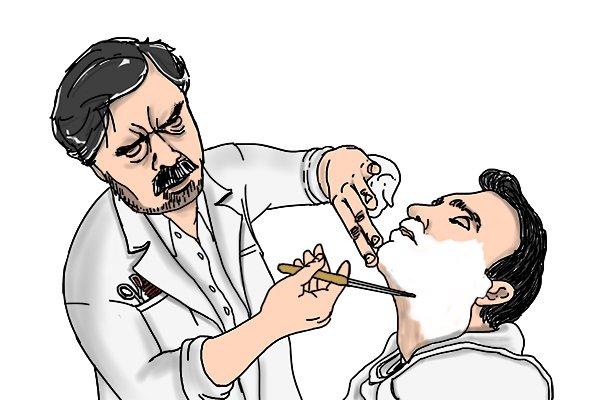
Now your shovel will be able to give a double edge razor a run for its money… |
|||
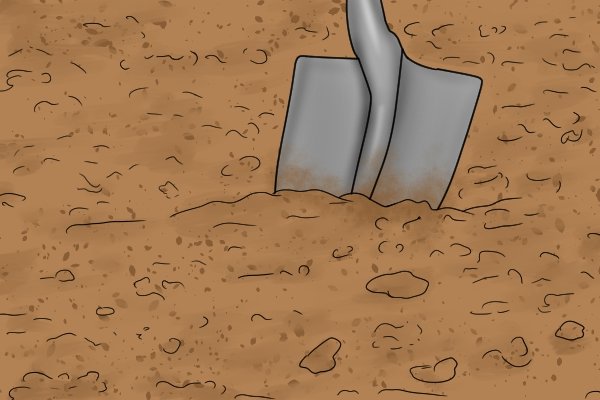 |
If you are using your shovel with stony or compacted soils or using it extensively, this sharpening process may need repeating during the season. | |||


