What are the parts of a manual swaging tool? |
||||
 |
||||
Manual swaging tool jaws |
||||
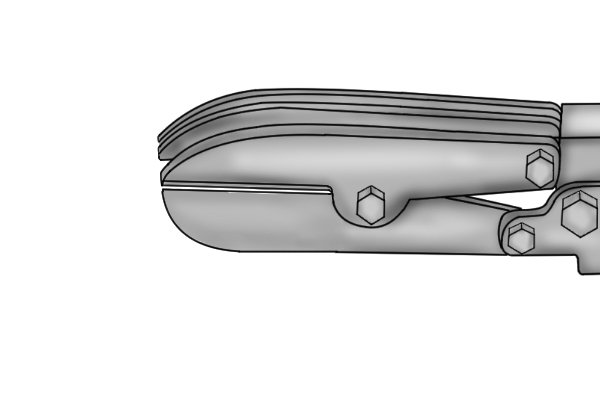 |
The jaws are the parts of a manual swaging tool that compress the pipe wall into the desired shape, thus decreasing the diameter (see: How do standard and ergonomic swaging tools work?)
In the case of a standard or ergonomic manual swaging tool, the jaws may incorporate either three or five blades, which are divided between the upper and lower jaw so that they interlock. |
|||
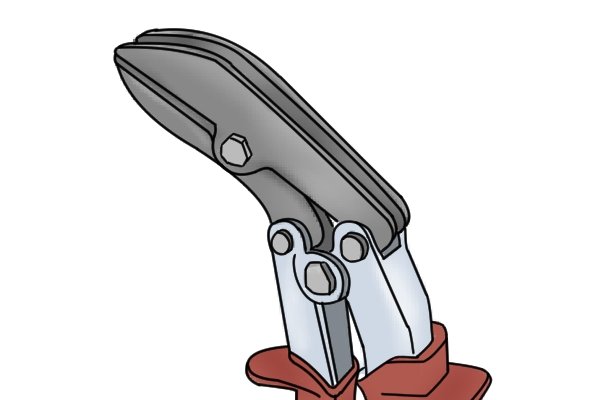 |
Ergonomic manual swaging tool jawsThe jaws on an ergonomic manual swaging tool are fixed at a 50 degree angle to the handles, making it easier to swage in tight spaces or at awkward angles, without the need to bend the wrist uncomfortably. |
|||
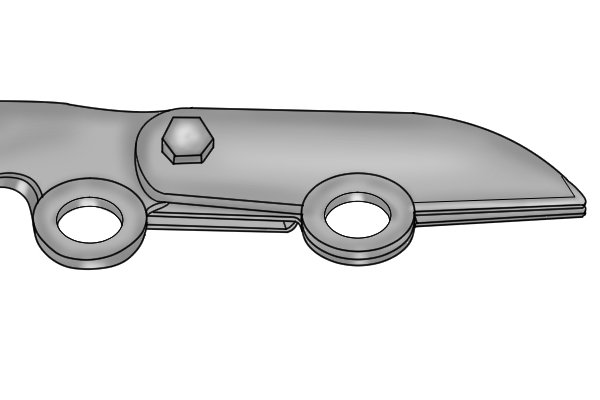 |
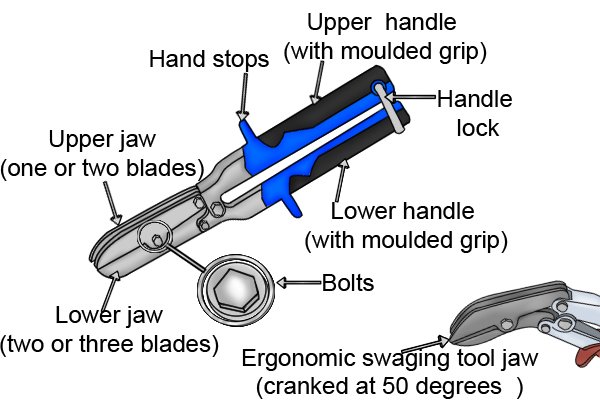
Upper jawThe upper jaw on a manual swaging tool provides the downward force required to create the recesses in the swage form during use. Depending on the total number of blades (three or five), the upper jaw may incorporate either one or two blades. |
|||
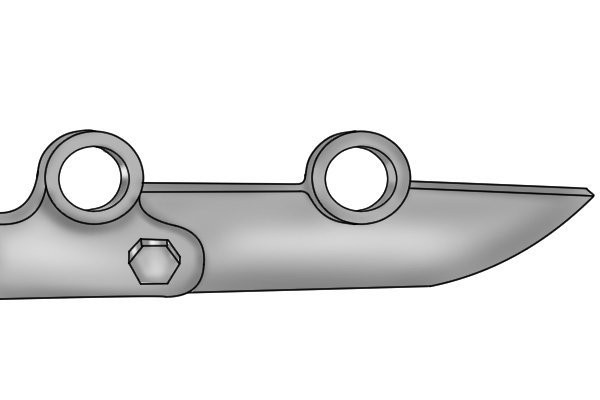 |
Lower jawThe lower jaw on a manual swaging tool provides resistance against the downward force of the upper jaw, thus creating the ridges in the swage form. Depending on the total number of blades (three or five), the lower jaw may incorporate either two or three blades. |
|||
Manual swaging tool blades |
||||
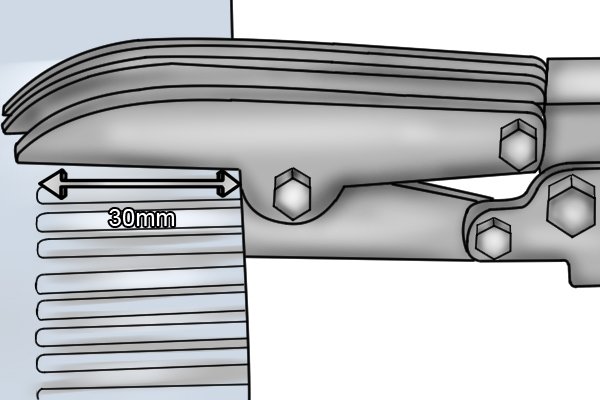 |
The blades on a standard manual swaging tool can swage lengths up to 30mm (1.18in). | |||
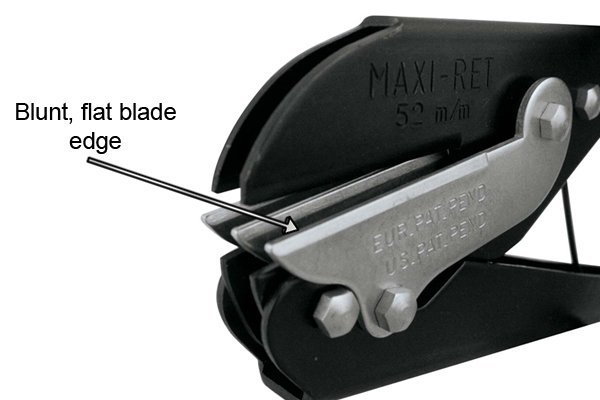 |
Though they are capable of applying considerable force to a section of pipe wall, these blades are not intended to cut, but simply to deform. For this reason, they incorporate a flattened, blunt blade edge, rather than a fine or sharp one. | |||
Manual swaging tool handles |
||||
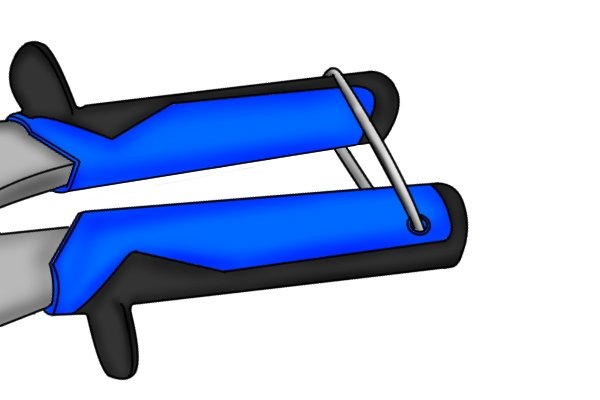 |
Opening and closing the handles on a manual swaging tool operates the jaws. | |||
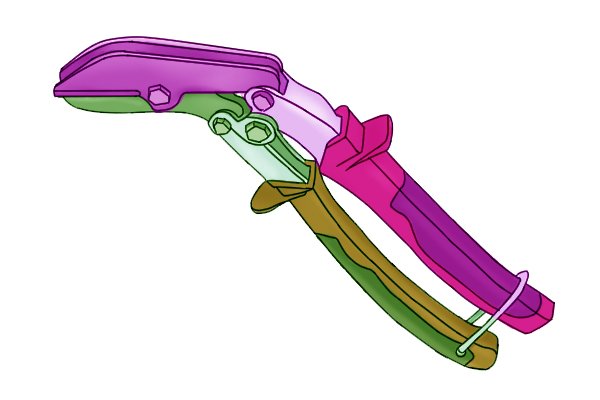 |
Each handle operates the corresponding half of the jaw; i.e., the upper handle operates the upper jaw, and the lower handle operates the lower jaw. This means that both hands will be required to open the jaws. | |||
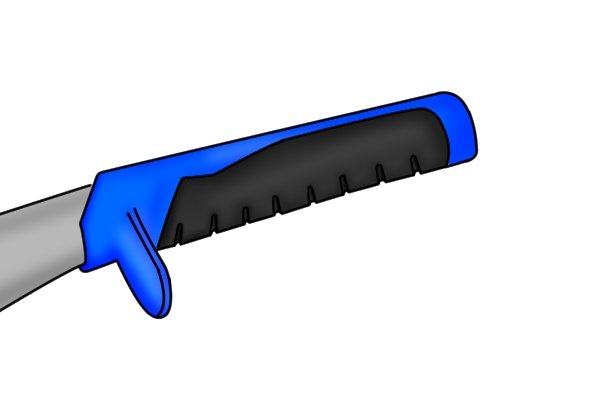 |
Moulded gripEach of the handles on a manual swaging tool incorporates a moulded grip. This is manufactured from plastic or rubber, and moulded to provide ergonomic grip and comfort during use. |
|||
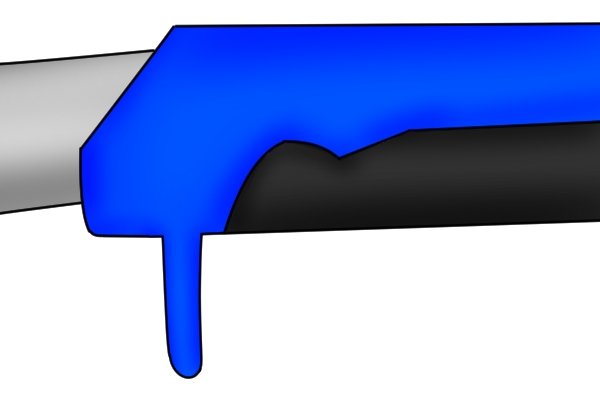 |
Hand stopsBoth moulded handle grips incorporate a hand stop. This feature ensures that the user’s hand does not slip off the handle in the direction of the blades. As the blades on a manual swaging tool are not dangerous, this is likely to prevent slippage, rather than protect the hand itself. |
|||
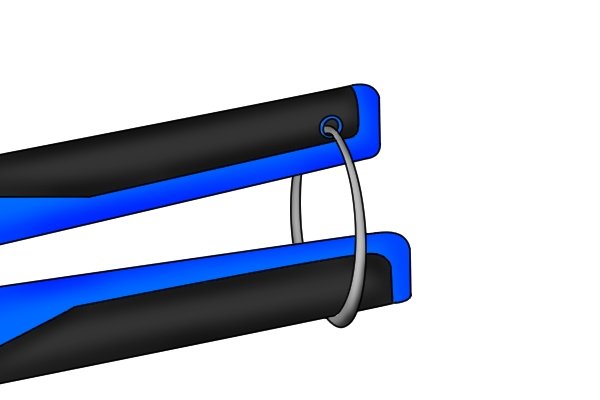 |
Handle lockThis metal ring is attached to the upper handle, and can be hooked around the end of the lower handle when the tool is not in use. This prevents the tool’s handles – and therefore jaws – from falling open as they are carried by the user when not in use. |
|||
Manual swaging tool pivot bolts |
||||
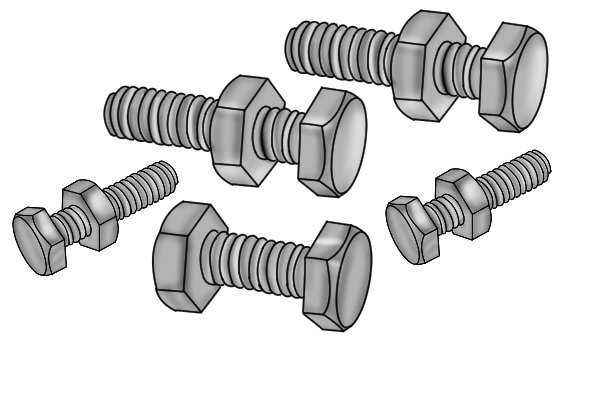 |
The types of bolt which are used to fix the parts of a manual swaging tool together depend on the model. | |||
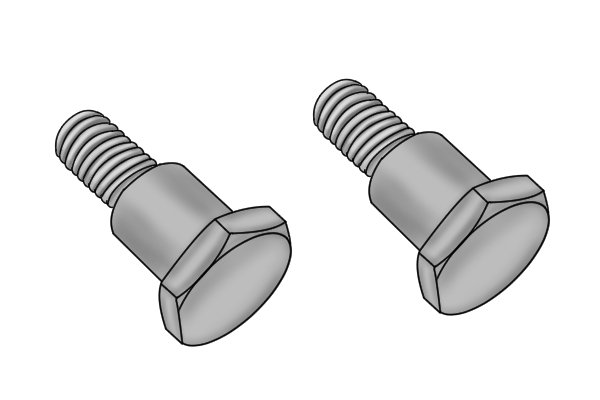 |
Less expensive models will be fixed using simple pivot bolts, nuts and washers. | |||
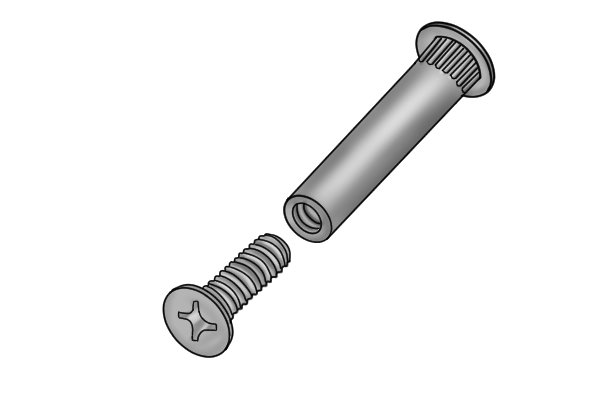 |
More expensive models will incorporate sex bolts – ideal for tools with a pivoting mechanism (parts which are fixed but rotate around one another, such as the jaws and handles on a manual swaging tool).
The primary benefit of using sex bolts on a manual swaging tool is aesthetic; on both sides of the tool, identical bolt heads will be visible, as opposed to an exposed bolt end and nut. |
|||
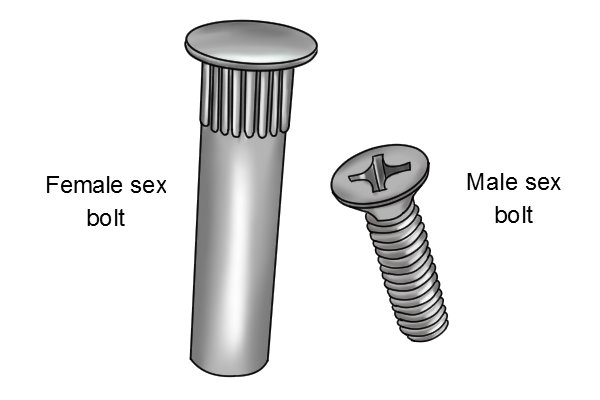 |
What is a sex bolt?A sex bolt is a type of bolt which pairs ‘male’ and ‘female’ components. |
|||
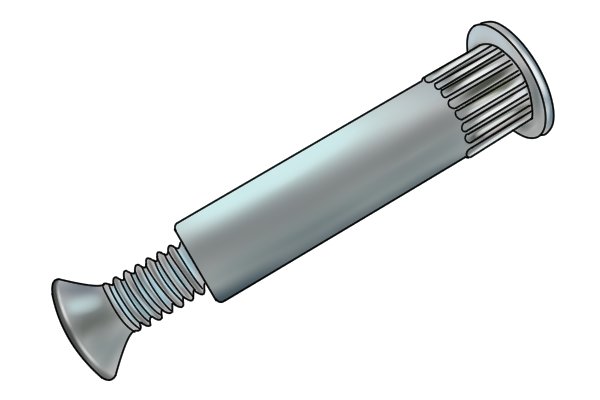 |
The shank on a female bolt is hollow, and allows the shank of the male bolt to be inserted into it.
This means that neither bolt end will be visible, as the female bolt end will be covered by the male bolt’s shank, and the male bolt end will be concealed within the female bolt’s hollow shank. |
|||


