What are the parts of an
|
||||
 |
||||
Immersion heater spanner handle |
||||
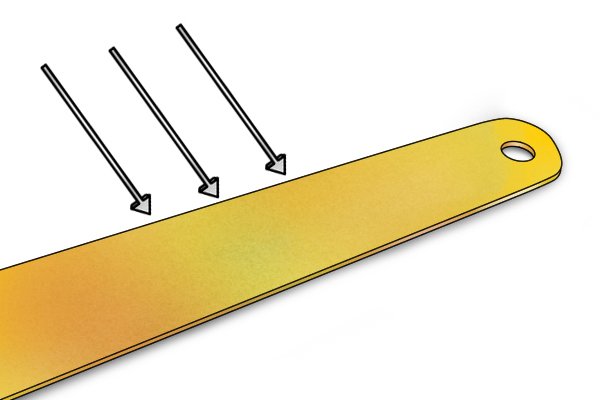 |
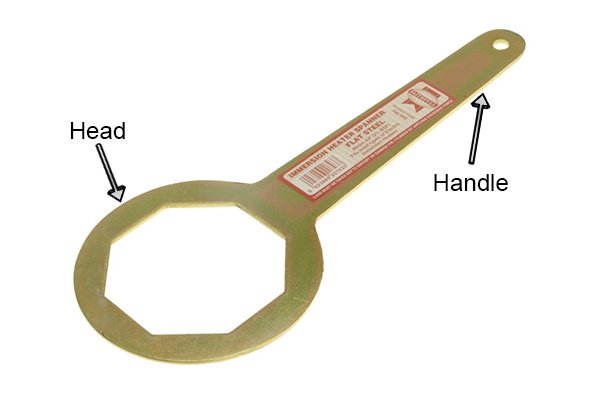
The handle is the part of the tool held by the user. It acts as a lever which magnifies the force applied by the user, making it much easier to loosen and tighten stiff elements. | |||
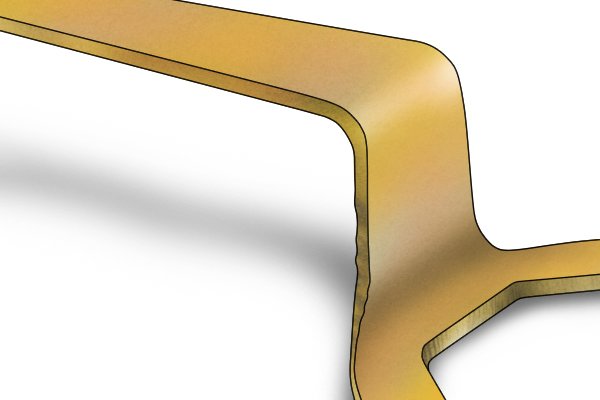 |
Some handles are ‘cranked’, meaning there is a bend in the spanner handle. This allows you to fit the spanner into tight or narrow places without having to worry if the handle will fit or if there will be room to turn it. | |||
Immersion heater spanner head |
||||
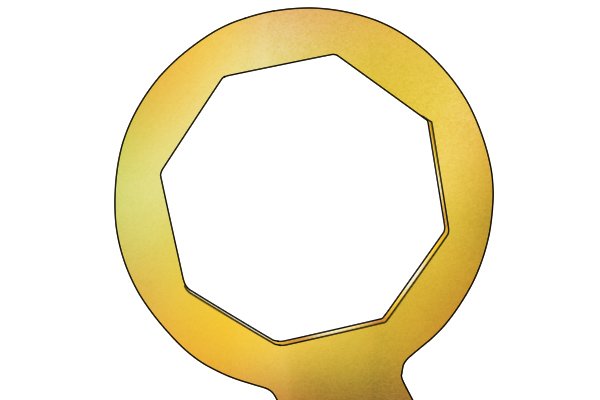 |
The head provides a firm grip on the immersion heater element and converts force applied to the handle into torque, which results in a screwing or unscrewing motion.
There are two different sizes of immersion heater spanner: 86mm (3 3/8“) A/F and 50mm (2”) A/F. |
|||
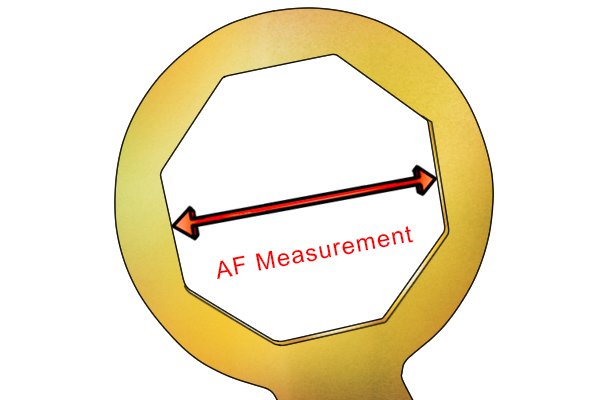 |
An A/F (across flats) measurement is made across the distance between two parallel edges of a shape. In this case, it’s an octagon.
For more on immersion heater spanner sizes, see What immersion heater spanners are available? |
|||
Immersion heater spanner tommy bar |
||||
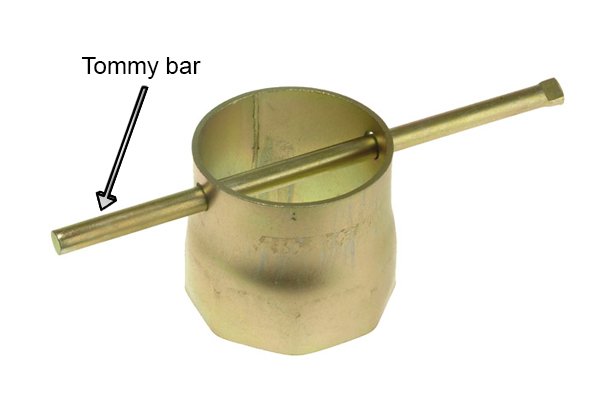 |
Some types of immersion heater spanner are roughly cylindrical in shape (known as box spanners). This type of spanner is turned by using a tommy bar, also known as a T-handle or wrench lever. | |||
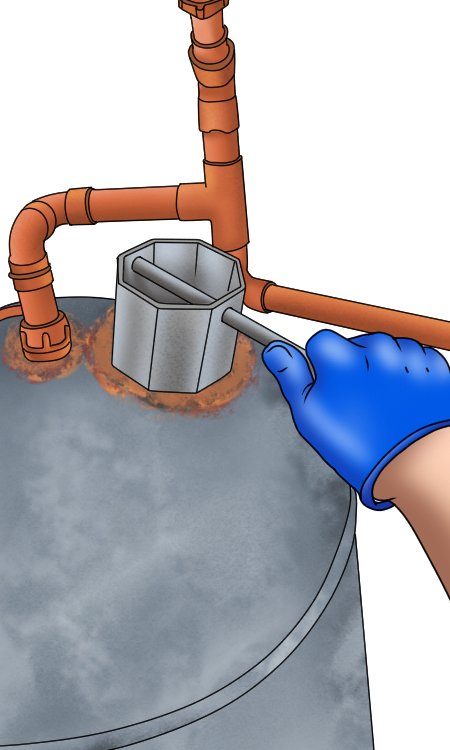 |
The tommy bar provides better grip to the user, as it is inserted through the whole tool, and provides the same function as the handle on a flat spanner.
Box spanners are explained in more detail under What are the different types of immersion heater spanner? |
|||


