


How to correct an engineer’s square that is not square?
How to correct an engineer’s square
|
||||
|
|
||||
 |
If you have an engineer’s square you have checked and found it is not in fact square, the following method can be used to correct it: | |||
Other equipment you will need: |
||||
 |
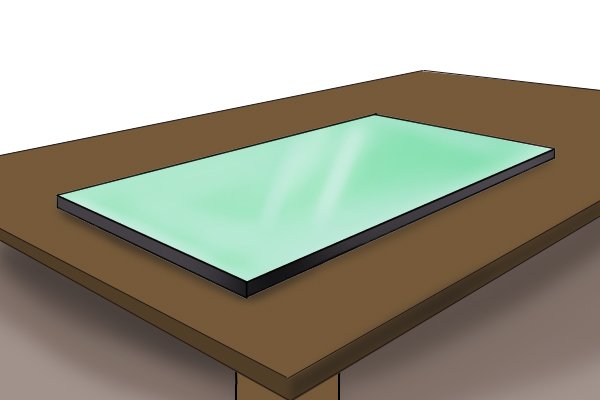
Sheet of float glassThis is glass that has been formed by molten glass being floated over a surface of molten metal (usually tin). This process imparts a very accurate and flat surface, which is needed to provide a reliable flat surface to sand your engineer’s square on. |
|||
 |
||||
 |
Emery cloth or wet and dry paperYou will need a selection of different grit size emery cloths or wet and dry paper to remove material from the blade and stock. |
|||
Begin work |
||||
 |
Please note: Whilst this method is useful for correcting a square used for woodworking, you do not know what degree of accuracy you have achieved, so if you are doing more precise work, you should have your engineer’s square calibrated or corrected by a UKAS accredited company. | |||
 |
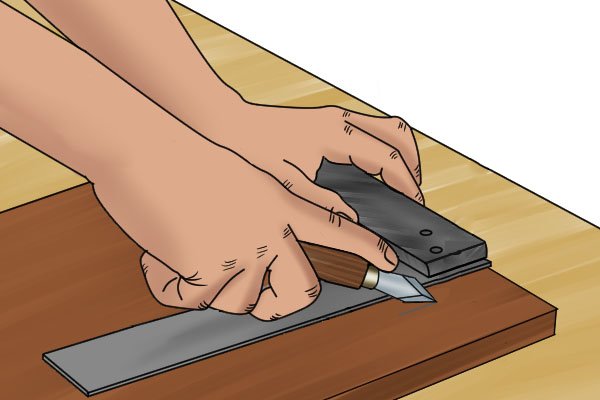
Step 1 – Tape emery cloth to float glassPlace the sheet of float glass on your workbench and tape a sheet of emery cloth or wet and dry paper to it. Start off with the coarser grit paper; this can then be changed for finer grit paper as you get closer to having a correct edge on your engineer’s square. |
|||
 |
Step 2 – Rub blade over emery clothNext, take your engineer’s square and rub the outer edge of the blade on the paper you have taped to the glass. Place more pressure on either the tip end or stock end of the blade, depending on which side needs more material removing in order to correct the square. |
|||
 |
||||
|
Step 3 – Repeat with inner edgeOnce you have the outer edge of the blade square to the inner edge of the stock, you will need to carry out this process again for the inner edge of the blade. To do this, it’s best to have the float glass placed right up to the edge of your workbench. This will enable you to have the inner edge of the blade flat on the emery cloth and the stock hanging down over the edge of the glass and bench. |
|||
 |
Repeat the process of sanding down the edge and checking the squareness of the blade on the inside edge, reducing the grit size of the paper as you go. | |||
 |
Once you have done this, you will know your engineer’s square is square between the inside of the blade and inside of the stock (angle shown in red), as well as the outside of the blade and inside of the stock (angle shown in green).
If your square is square between both these positions, then you will also know that the inside and outside of the blade are parallel to one another. |
|||
 |
You can now check the outer edge of the blade to the outer edge of the stock is square using a known square block of wood. | |||
 |
Step 4 – Repeat process with stockIf this is not square, you can repeat the previous method with the outside edge of the stock, placing more pressure on the end of the stock that needs material removing to make it square. |
|||
 |
Once you have completed this, your engineer’s square should be square between all its edges, as well as having parallel outer and inner edges on the stock and blade. | |||
