How to use a wood chisel? |
||||
 |
There are several different kinds of cut you can make with a wood chisel, and a particular chisel may be more suited to perform one cut than another. Read the guide below and get in the know. | |||
Chopping cut |
||||
 |
A chopping cut is when you are cutting down into a piece of timber, typically to remove large areas of wood or to mark a shape or scribe a line prior to mortising or paring. This cut is performed by striking the chisel with a mallet. Chisels that you can use to chop include bench, mortise, butt, and firmer. | |||
 |
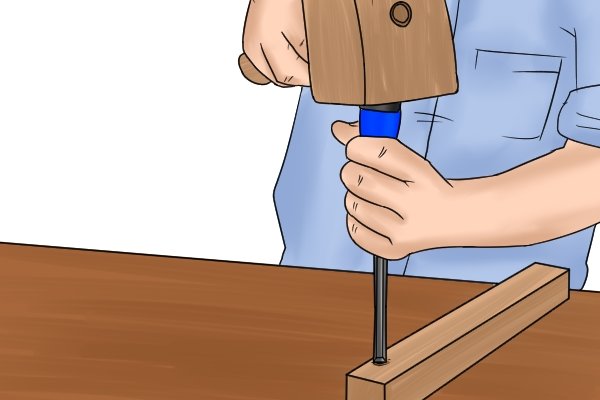
Step 1 – Hold chisel vertical to workpieceTo achieve this cut, hold the chisel vertical and perpendicular to the face of your workpiece with your non-dominant hand. |
|||
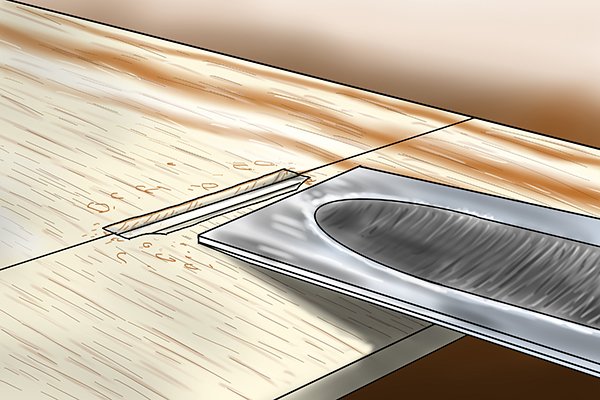 |
Step 2 – Align back of chisel with scribe lineIf you are working to a scribe line, hold the chisel so that its bevelled cutting edge is facing into the wood that will be removed. This will help to keep a sharp outer-edge to your cut. It will also mean that the chisel blade will not stray into and damage the wood you want to keep. |
|||
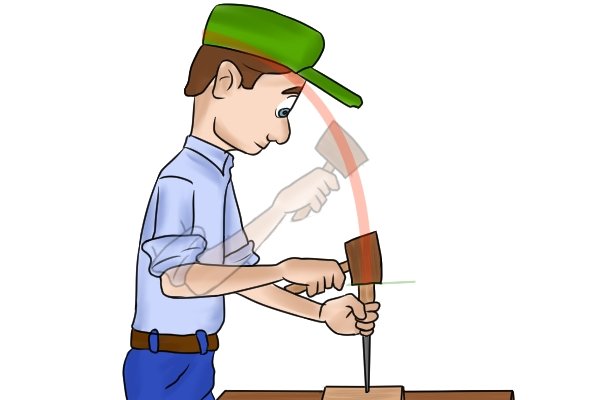 |
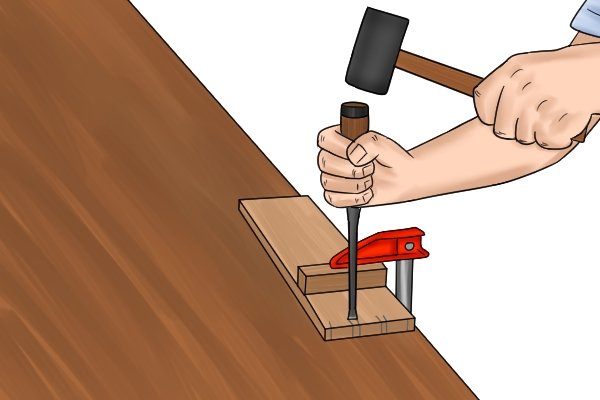
Step 3 – Strike chisel with malletNow that you are in position, strike the top of your chisel with a mallet. The force with which you hit the chisel should be relative to how deep you want to cut down into your workpiece. For very deep cuts several blows will be needed. |
|||
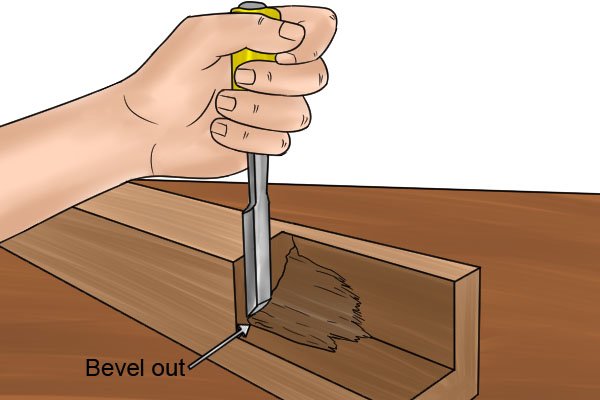 |
Step 4 – Chop down then cut alongIf you are removing a large area of wood and require a very deep cut, it is best to cut down vertically (across the grain) half an inch (2-3cm) or so, then cut horizontally (along the grain) to remove a section of wood. Large areas of wood can be removed in this fashion, bit by bit. Note: if you cut along the grain first, you risk splitting the wood. |
|||
Shallow mortise cut |
||||
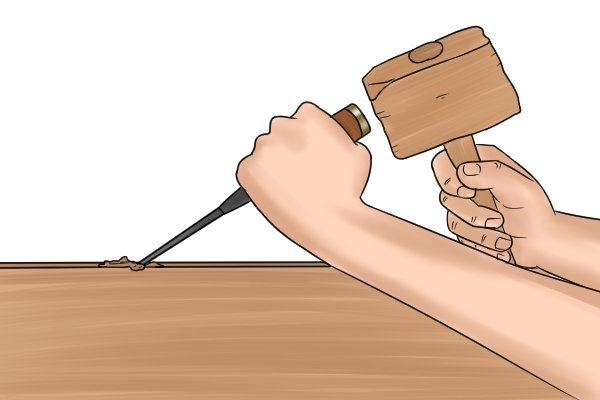 |
A shallow mortise cut is when you are cutting a recess into a workpiece, perhaps for a hinge or other shallow fitting. Chisels you can use to make this cut include bench, mortise, butt and firmer. | |||
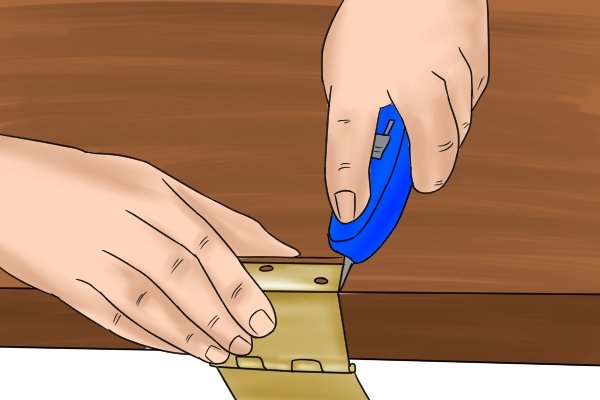 |
Step 1 – Score around hingePlace your hinge (or other fitting) against the wood and score around its edges with a sharp utility knife. |
|||
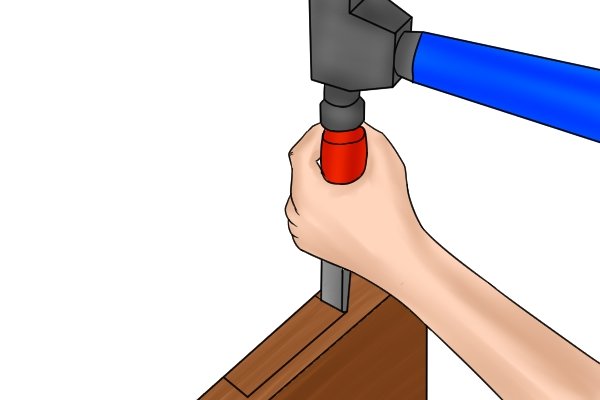 |
Step 2 – Cut across grain at both endsBy cutting down vertically (across the grain) at either end of the area you want to remove, the later horizontal (along the grain) cuts will not stray or split into the rest of the timber. These cuts only need a light tap from the mallet as they are relatively shallow. |
|||
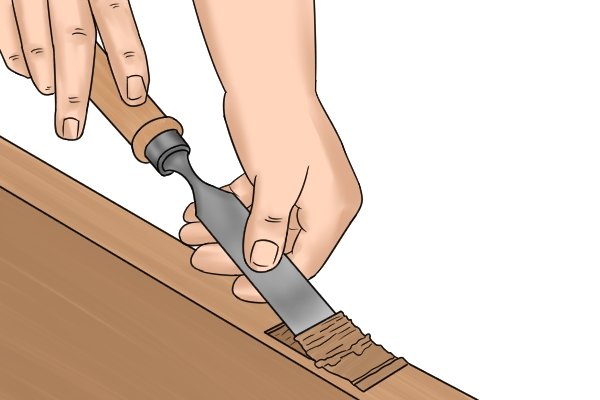 |
Step 3 – Bevel side downStarting at the scored line at one end of the area you wish to remove, lie the blade of your chisel bevel side down on your workpiece. |
|||
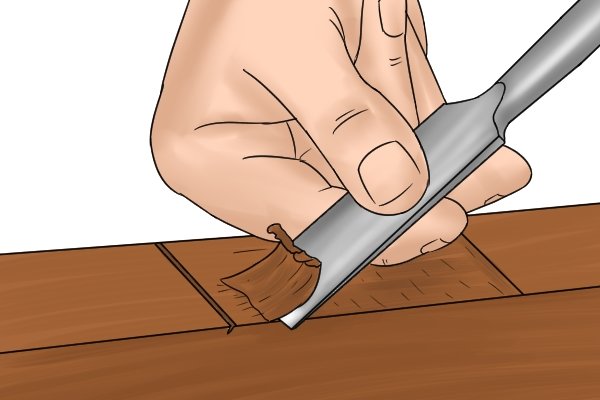 |
Step 4 – Tap lightly with malletTo start the cut, lift the chisel handle a little so that the cutting edge becomes angled into the wood. Lightly tap the end of the chisel with a mallet. The chisel’s blade will begin cutting into the workpiece, lifting up a sliver of wood as it moves along. |
|||
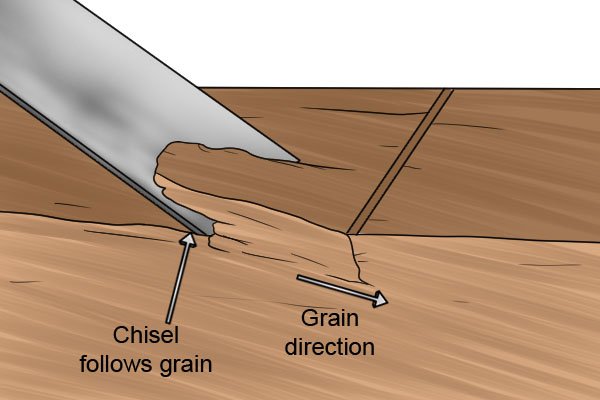 |
Step 5 – Raise angle of blade (if necessary)Raise the angle of the blade to deepen the cut if necessary. Warning: If the grain of the wood runs down into the workpiece, be careful that your chisel does not start to follow the grain because this may lead to you tearing the fibres and cutting deeper than you intended to. If you think this is starting to happen, stop and chisel from the opposite direction. For directions on how to cut deep mortises, see the page entitled: “How to cut a mortise and tenon joint.“ |
|||
Paring cut |
||||
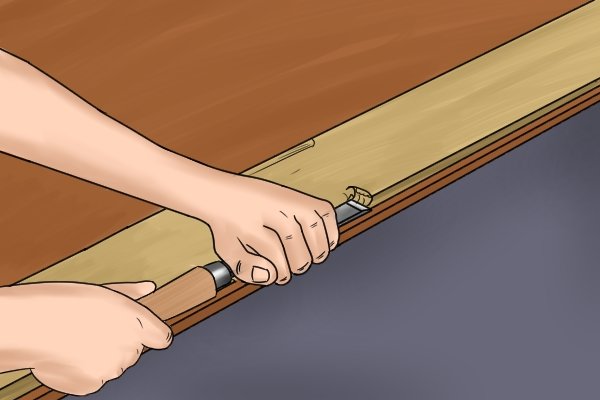 |
A paring cut is when you are flattening or finishing a workpiece by shaving off small amounts of wood. This cut is always manipulated by hand and never struck with a mallet. | |||
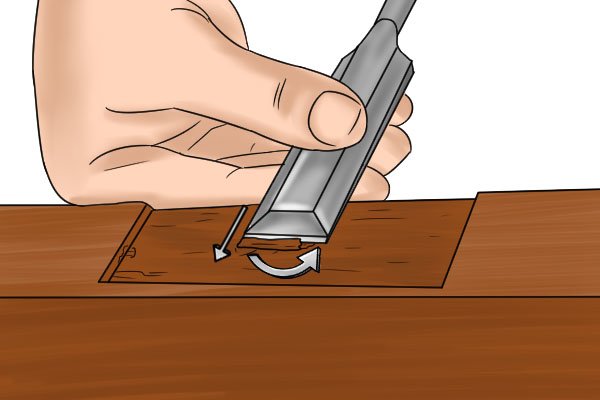 |
To achieve this cut, use an all-purpose bench chisel and lie the blade down flat on the workpiece with the bevel facing upwards. With the back of the blade kept flat on the workpiece, move the blade forwards and to the side in an arcing fashion. This action will pare off thin slices and slivers of wood. Repeat this process until you have your desired finish. Almost any chisel can be used to pare with (providing that it is sharp enough), although the longer paring chisels offer better control. | |||
Chop and pare technique |
||||
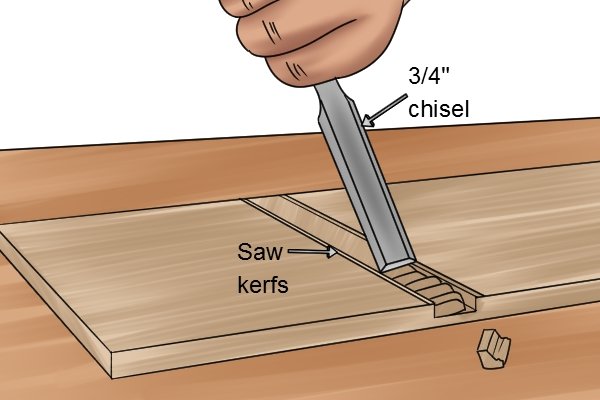 |
The chop and pare technique is very useful for cutting housing joints and channels. Start by sawing across to your desired depth, then chop down into the middle of the wood. Space your chisel cuts roughly 1/2″ (2.5cm) apart. Chopping out the wood bit-by-bit in shallow cuts will reduce the risk of driving the chisel in too deep and splitting the grain. | |||
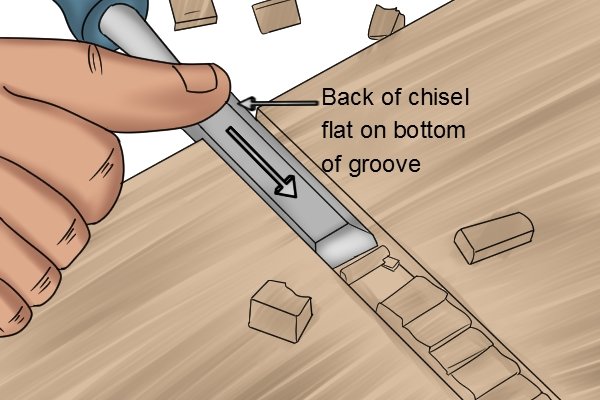 |
Once you have chopped down into the wood in the middle, lay the chisel blade flat in the channel of the workpiece and pare forwards to smooth and flatten the bottom of the channel. This will break off any remaining pieces of wood from the middle. | |||


