How to set up a toolmaker’s clamp? |
||||
| Shop for Toolmakers Clamps | ||||
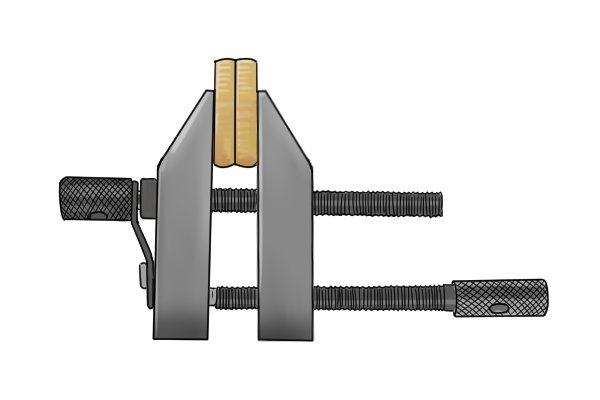 |
Wonkee Donkee has provided the following guidelines to help you set up your toolmaker’s clamp. | |||
Aim for a firm, even grip |
||||
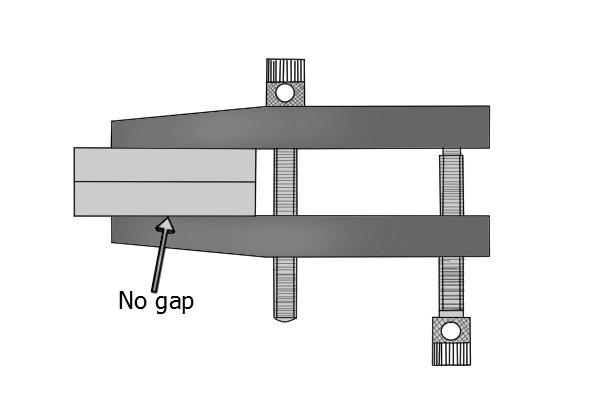 |
Once the clamp is tightened, the grip should be even across the full length of the jaws, with no gap between them and the workpiece. This is the only acceptable method of using the toolmaker’s clamp in a number of cases. | |||
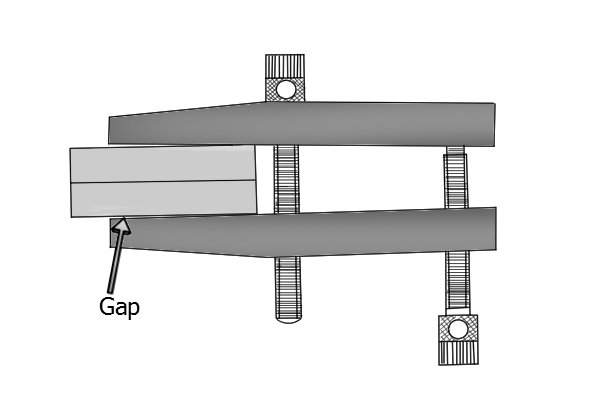 |
Grip not acceptableIf there is a gap at the end of the jaws, the clamp could easily slip off if it is accidently knocked, or vibrations from a machine could cause it to move. If the grip is not even, there only needs to be a small movement for the clamping action to be completely lost. |
|||
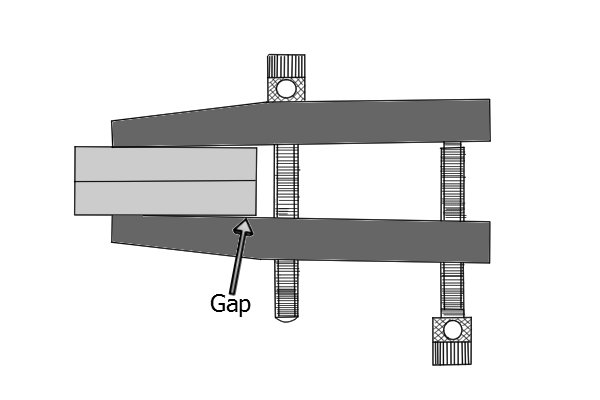 |
Grip not acceptableIf there is a gap towards the centre of the jaws, the clamp could swing from side to side and potentially become a hazard, especially if being used on a machine. |
|||
Keep the workpiece as flat as possible |
||||
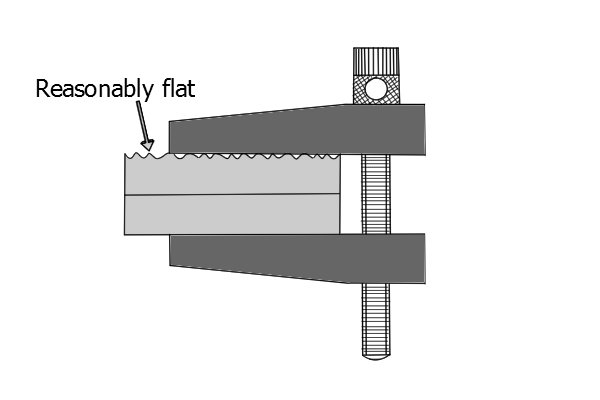 |
If the material is reasonably flat, then with care it may provide a suitable face on which the clamp can sit securely. | |||
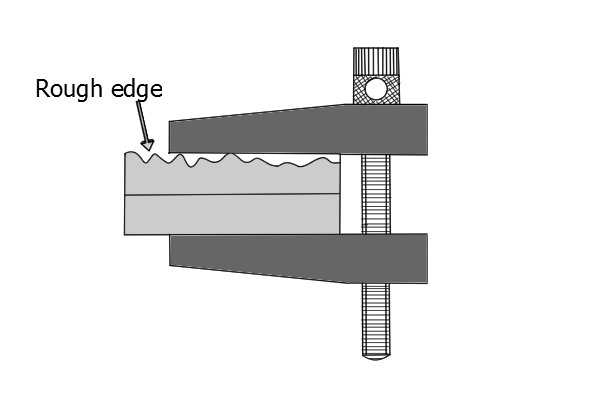 |
Rough edged material not acceptableIf the surface is very rough, problems such as slipping or moving can arise, so it may be best to find an alternative way of clamping this material. |
|||
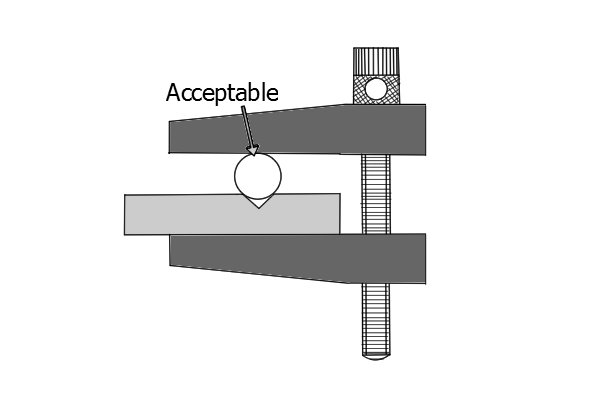 |
Round surface acceptableIf you need to clamp a round object, placing it against a piece of material with a V-shaped groove will allow the jaws to grip it securely. |
|||
 |
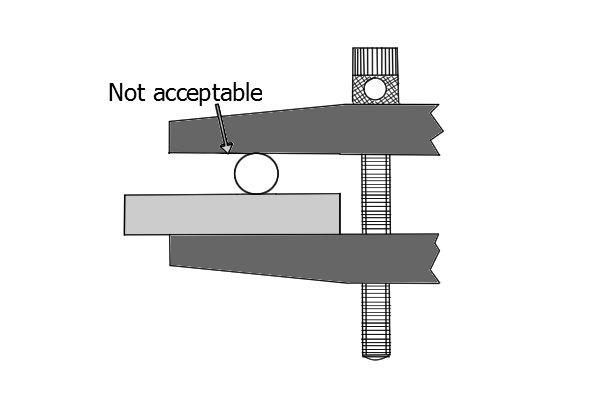
Round surface not acceptableThis would not be a suitable way to clamp a round surface and any knocks or vibrations could easily cause movement. |
|||
 |
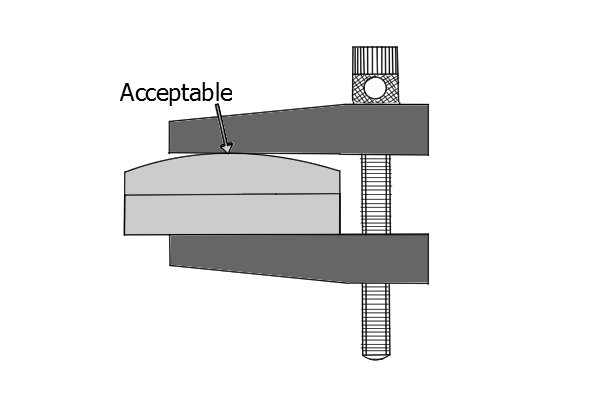
Round surface acceptableAn object with a curved surface and flat underside can be clamped securely as long as pressure is evenly distributed across the surface. |
|||


