How to use a pipe-cleaning brush? |
||||
 |
There are two main ways to use a pipe-cleaning brush: manually or in a power tool. Most jobs can be done manually but using a power tool can increase efficiency and it’s not so tiring either! Power brushes can damage delicate parts so take that into consideration when choosing which method to use. | |||
Manual brushing |
||||
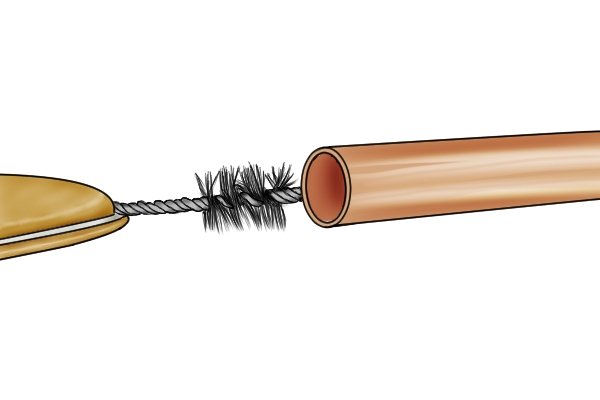 |
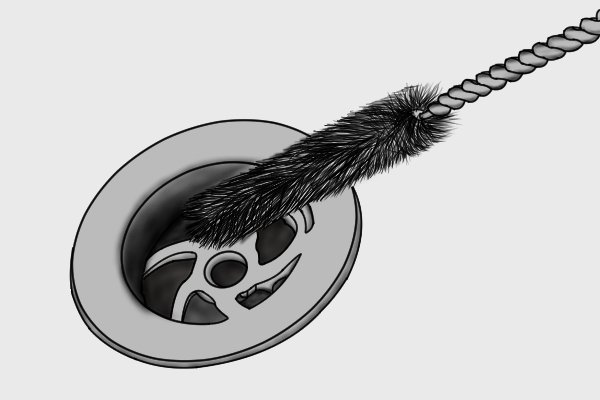
Step 1 – Insert brushOnce you have chosen the right brush for the job (see How to choose a pipe cleaning brush?), take the part you wish to clean and insert the tip of the brush into the opening. It may help if you do this under a good light.
|
|||
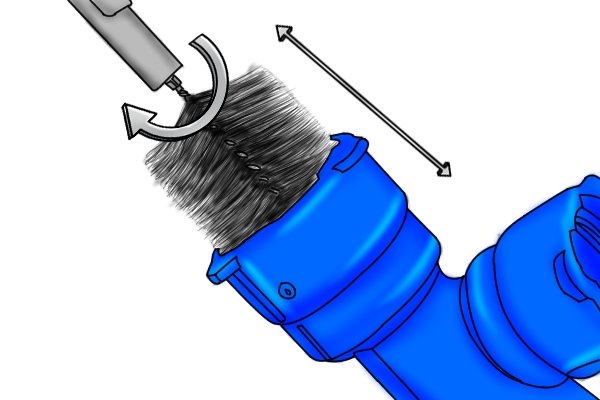 |
Step 2 – Push, pull and twist brushPush, twist and pull the pipe-cleaning brush in and out of the opening, starting gently at first and increasing the speed and pressure if needed. |
|||
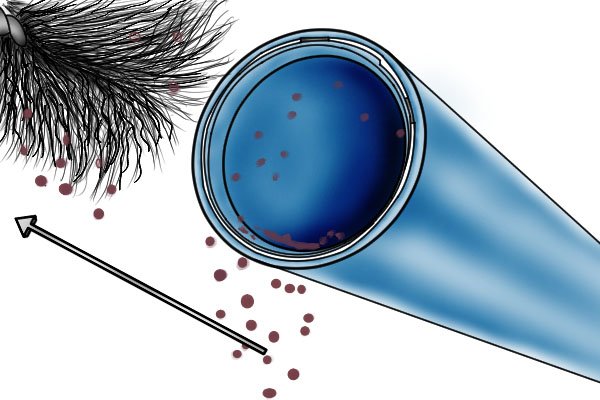 |
Step 3 – Remove brushRemove the pipe-cleaning brush from the part. You should notice that sediment is being removed from the surface you have been cleaning. |
|||
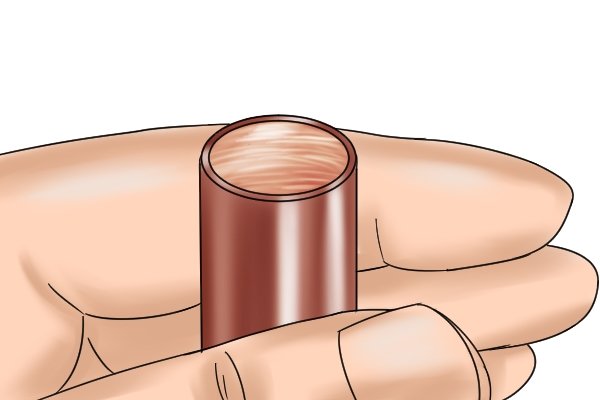 |
If it is a metal surface, the surface may be changing texture. Brush any loose material from the surface. | |||
 |
Step 4 – RepeatRepeat steps 1-4 until the surface is as you need it. You may need to focus your efforts in areas that are harder to reach. Using a smaller brush can help to get into all the nooks and crannies. |
|||
Power brushing |
||||
 |
Step 1 – Check you have the correct power tool for your brushA maximum number of revolutions per minute (RPM) will be stated in the product description of your pipe-cleaning brush. It is essential you do not exceed this limit. Your pipe-cleaning brush will work efficiently at a much lower RPM. Refer to your power tool details for its top speed so you can use the correct tool or setting. |
|||
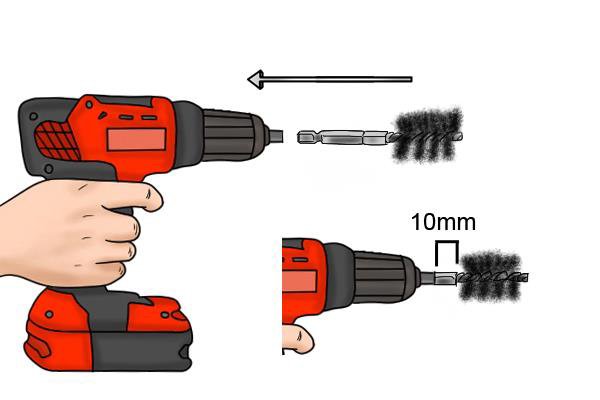 |
Step 2 – Insert the brush into the power toolSet the power tool to spin clockwise as if screwing in a screw. Insert the brush shank into the chuck of the power tool and clamp it in place. The shank of the pipe-cleaning brush must be inserted fully into the power tool with a maximum of 10mm sticking out from the chuck. |
|||
 |
Step 3 – Follow manual brushing stepsFollow steps 1 to 4 of manual brushing (above). You do not need to apply much pressure for a thorough clean and remember that you do not have to twist the brush when it is inserted into the pipe because the power tool does that part for you. |
|||
 |
Step 4 – Cool the brushDo not let the brush get too hot as it won’t be as efficient at cleaning the pipe. Allow time for the brush to cool down between uses. |
|||


