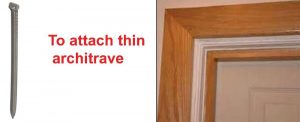
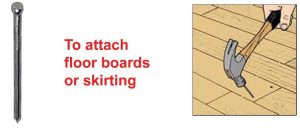
What are Oval and Lost Head Nails?
The world of DIY and construction is filled with a whole range of completely different and unique screws and nails. Sometimes, it’s hard to figure out your clout nails from your countersunk screw. Fear not, at Wonkee Donkee, our team of power tool and DIY experts put together helpful and easy to read guides on everything from screws to table saws.
In this Wonkee Donkee guide, we look at what are oval and lost head nails, comparing the two and telling you when and where to use them.
What is an Oval Nail?

Often referred to as oval wire nails, these are quality nails that are also very discreet. They are typically used in joinery and carpentry where the overall appearance of the finished product is important. The reason oval nails are used is that they can be easily driven into the wood and provide a subtle finish. It is also important to know that oval nails are much less likely to split the wood if you drive them in with the longer sides parallel to the grain. Their ability to be driven in without splitting wood is another reason they are favoured for carpentry projects over other nails such as round wire nails. Oval head nails are also available in a whole range of sizes, with lengths varying from 12-150mm (0.5-6 inches).
What is a Lost Head Nail?

If you thought that oval nails and lost head nails are similar then you would not be wrong, as they do share many similar characteristics. The key difference between these two commonly used nails is when they are used. As we mentioned in the previous section, oval nails are best suited to carpentry projects where a smooth finish is required. Lost head nails are also suited to projects where a smooth or concealed finish is required, but they are more commonly used with larger carpentry projects such as flooring and skirting boards.
Saying this, lost head nails are more than suitable to be used on smaller carpentry tasks and by some carpenters they are favoured over any other type of nail. Lost head nails are much less likely to split the wood then round head nails. They also hammer straight into the wood discreetly and give a flush finish which means that they don’t snag on objects that brush against them such as clothing.
Lost head nails have a small head which is easily hammered into wood using a regular hammer. As always, at Wonkee Donkee we recommend that you take your time when completing nailing tasks and start by applying gentle blows to nails before building up force if needed. This helps ensure that you do not apply too much force in a single blow and split the wood you are working on.
How to remove Lost Head Nails?
The reason why lost head nails are used so commonly is the clean finish they provide and the lack of visibility of the nails that hold the structure together or an item in place. However, what happens if you misplace a lost head nail or you want to remove a lost head nail? This can be extremely difficult to do; however, our teams of tool experts at Wonkee Donkee tools have created a helpful guide for you to try. This process can also work with normal nails with broken heads too.
Firstly, you will need to place a sturdy block or piece of wood next to the nail. This will provide you with leverage for when you use the hammer whilst also protecting the material in which the broken or finishing nail lies.
Next, grab a hammer or a prybar from your toolbox and place it around the nail.
Finally, use pliers (preferably clamping pliers) to grab hold of the nail end and pull back the hammer or prybar and this should remove the nail.


