Our other sites:

How to replace a magnet’s rubber coating?

How to replace a magnet's rubber coating?

Replacing the rubber coating on a magnet

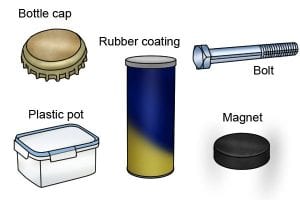
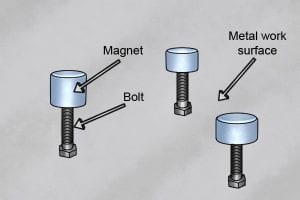
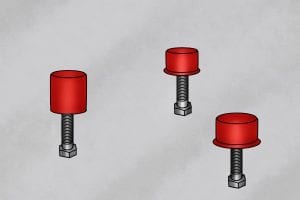
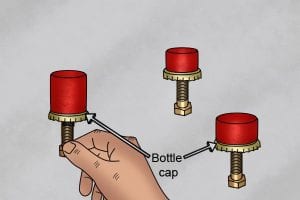
Most magnets can be coated in rubber, (except for the magnetic sweeper due to its size), to protect them from the weather or from damage caused by contact with other magnets and hard surfaces.


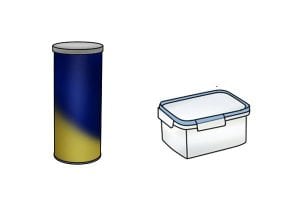
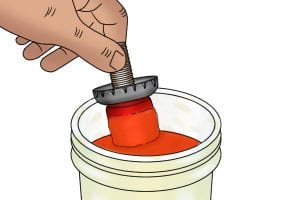
For example, a magnetic mounting pad, when used to hold a car sign, may be exposed to cold temperatures, causing the rubber to crack and peel off. To coat a magnet in rubber, you will need to do the following:

Tools for Replacing a Magnet's Rubber Coating

Equipment needed to change the rubber on a magnet

Any magnet


Non-ferromagnetic resealable container (e.g. a glass jar or plastic pot)


Flat metal surface (a table with a sheet of steel would be ideal)


19mm (0.75″) to 38mm (1.5″) bolts Metal bottle cap


Rubber coating

Step 1 - Pour rubber into container

Pour new rubber into container

Pour the rubber coating into the non-ferromagnetic container. This will make the dipping process a lot cleaner, as many rubber coatings come in a metal tin, which, if used, would attract the magnet and make quite a lot of mess!

Step 2 - Position bolt

Illustration of the magnet bolts required position.

A bolt is used as a handle to dip the magnet into the coating. The size of the bolt depends on the size of the magnet you are dipping; the larger the magnet, the larger the bolt needs to be.


If you are dipping a particularly large magnet, you may need to use two bolts as it may be too large to be held up by a single bolt. Stand the bolt upright on a metal surface with the magnet placed on one end. 

Step 3 - Dip magnet

Example of how to dip the magnet into the rubber.

Dip the magnet into the rubber coating with the help of the bolt as a handle. Lower the magnet into the container slowly until the liquid reaches about 1.5mm (0.063″) to 3.2mm (0.125″) from the top of the magnet.


Hold the magnet above the pot to allow the excess rubber to drip back into the container. Turning the magnet slowly whilst the rubber is dripping will help to keep an even coat on the magnet.

Step 4 - Leave to dry

Leave the new rubber seal on the magnet to dry.

Place the bolt, with the magnet attached, back onto the metal surface so that the metal does not touch the magnet. If you are dipping a group of magnets at the same time, keep them a reasonable distance apart to stop the likelihood of the magnets attracting themselves to each other.

Step 5 - Attach bottle cap

After allowing the rubber to dry attach a metal cap.

When the magnet is dry, place a metal bottle cap onto the already-coated end and place both onto the bolt. This will help to prevent any marks being left on the new coating.

Step 6 - Dip magnet again

Example of dipping a magnet a second time to replace the rubber coating.

Lower the uncoated end of the magnet into the rubber coating until it reaches about 1.5mm (0.063″) to 3.2mm (0.125″) from the edge of the face the bolt and the bottle cap are attached to.


Repeat steps 5 and 6 until the desired thickness has been achieved, this could take anywhere between 4 and 8 coats per side of the magnet. 

Wonkee Donkee Tools
Logo