How to use a tack lifter? |
||||
| Shop for Tack Lifters | ||||
Removing upholstery tacks |
||||
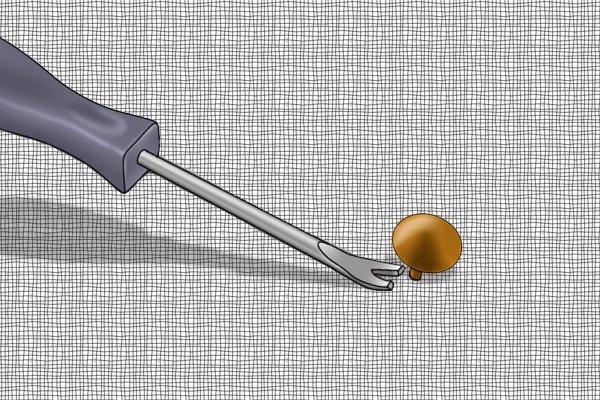 |
Step 1 – Align tack lifter with tackAlign the “V” shaped forked blade of your tack lifter tool with the tack you wish to remove. |
|||
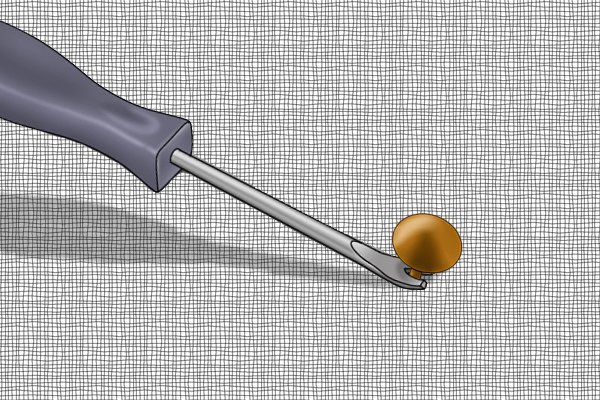 |
Step 2 – Slip tack lifter under tack headThe forked blade of the tack lifter tool should fit either side and underneath the head of the upholstery tack. |
|||
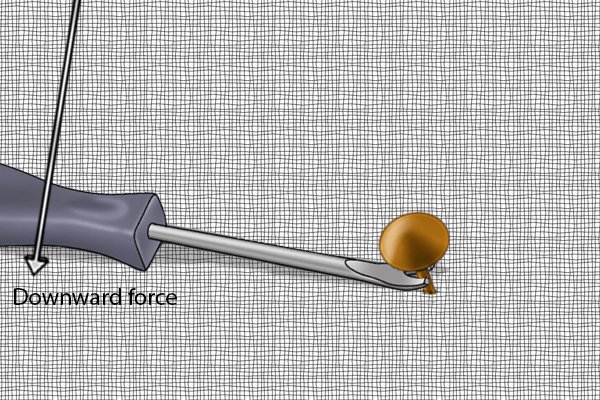 |
Step 3 – Apply leverageOnce you have the tack lifter underneath the head of the tack, applying downwards force to the handle will impart leverage and lift the upholstery tack up out of the material it is embedded in. Repeat this process until you have removed all the tacks. |
|||
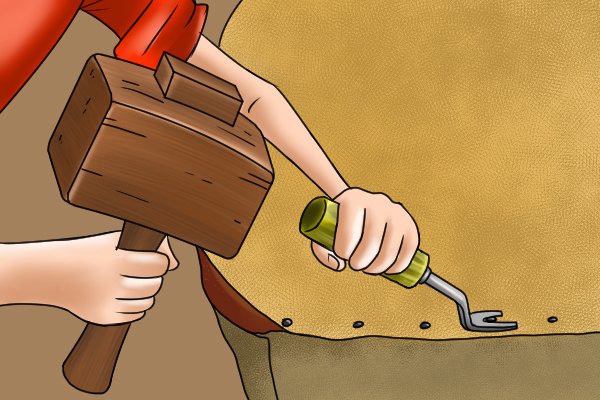 |
Top tipIf you are having trouble with a particularly stubborn tack, then use your tack lifter in conjunction with a hammer or mallet to make the job a little easier. Align the tack lifter with the head of the tack as usual, then give it a tap on the end of the handle with your hammer or mallet. This will help to get the blade underneath the tack head and loosen it enough to lift it out. |
|||
Removing carpet tacks |
||||
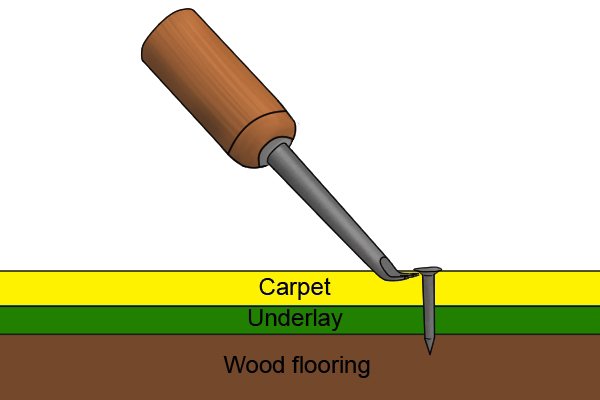 |
Step 1 – Align forked blade with carpet tackPosition your tack lifter tool so that its forked blade is in line with the tack you wish to remove. |
|||
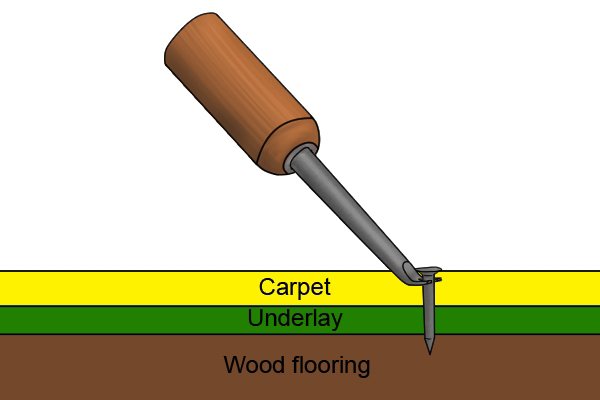 |
Step 2 – Slide under head of tackSlide the forked blade underneath the tack’s head (this may require a little jiggling). |
|||
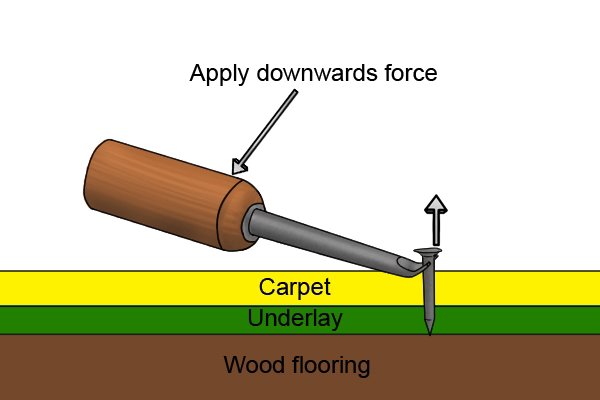 |
Step 3 – Apply downwards forceOnce the forked blade of the tack lifter is underneath the tack’s head, apply downwards force to the handle and the leverage created by the 45° angle will begin to lift the tack out of the flooring and carpet. |
|||
 |
||||
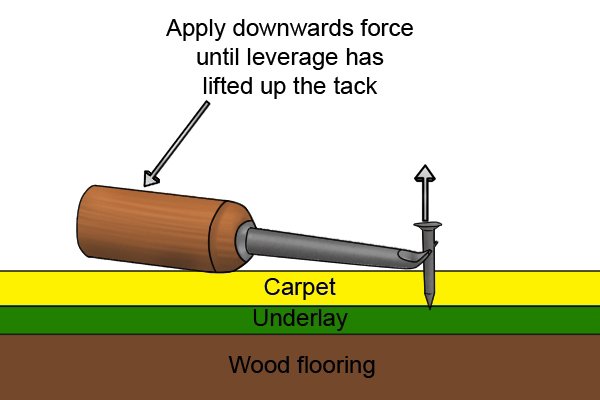 |
Step 4 – Remove tackComplete the lever motion until the tack is lifted out entirely. Repeat this process with all tacks you wish to remove. |
|||
Removing staples |
||||
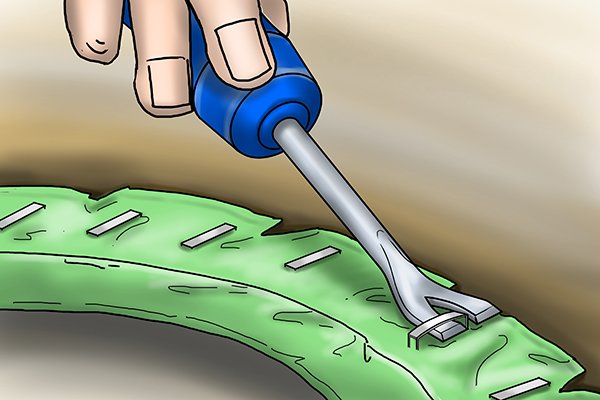 |
Step 1 – Slip prong under stapleTo remove a staple from a piece of furniture or material, slip one of the pointed prongs underneath the staple (this may require a little digging into the material, so be careful if you do not want to damage the furniture). |
|||
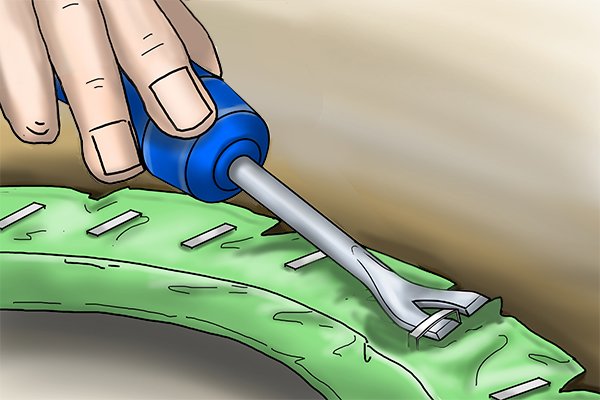 |
Step 2 – Loosen stapleOnce you have one prong underneath the staple, you can loosen it a little by rocking the prongs back and forth. |
|||
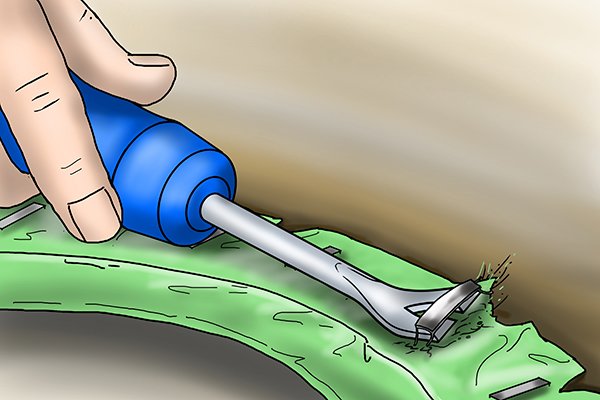 |
Step 3 – Lift stapleApply downwards pressure to the handle and the leverage created by the staple remover’s cranked blade will allow you to lift the staple out of the material. Repeat this process until you have removed all the staples you need to. |
|||


