How to test continuity with a multimeter |
||||
| Shop for Multimeters | ||||
 |
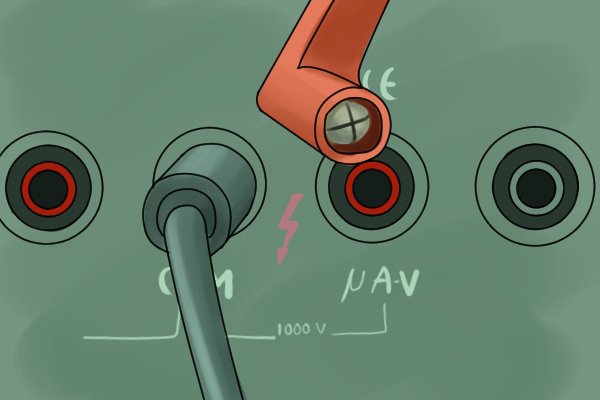
Step 1 – Plug in cablesTo test continuity, insert the black cable into the common socket and the red cable into the volts socket. |
|||
 |
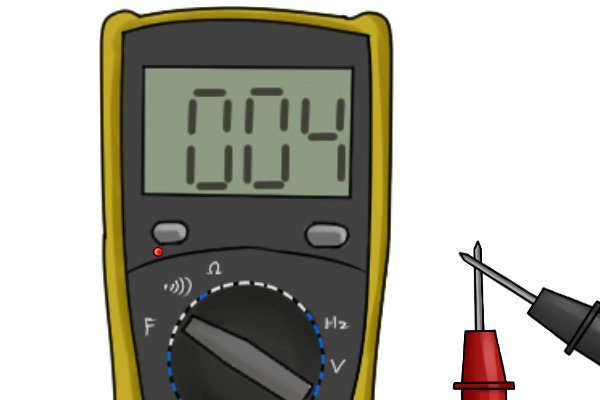
Step 2 – Set multimeterRotate the dial to the continuity position – that is, the sound wave symbol.
Continuity may not be the default setting for this position and in that case, the shift / mode button should be pressed until the continuity symbol also appears on the display. |
|||
 |
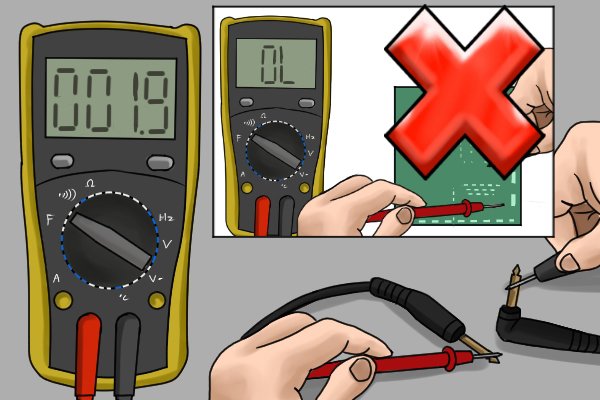
Step 3 – Test probesTo ensure the multimeter is working correctly, touch the probes together. This should illicit a beep that signifies continuity. If it does not, try wiping the probes or changing the battery or fuse in the multimeter. |
|||
 |
Step 4 – Test continuityPlace a probe at both end-points of the circuit you wish to test for continuity. If the beep sounds, there is continuity, and if it does not, there isn’t. You may also notice the screen displays OL (open loop) if there is no continuity. |
|||


