How to remove wheel nuts or lug nuts using a pneumatic impact wrench? |
||||
|
|
||||
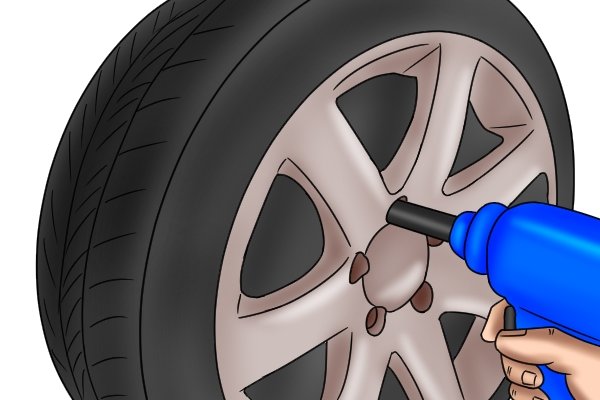 |
One of the most common uses for impact sockets is removing the wheel nuts or lug nuts from a car’s wheels. | |||
Equipment you will need: |
||||
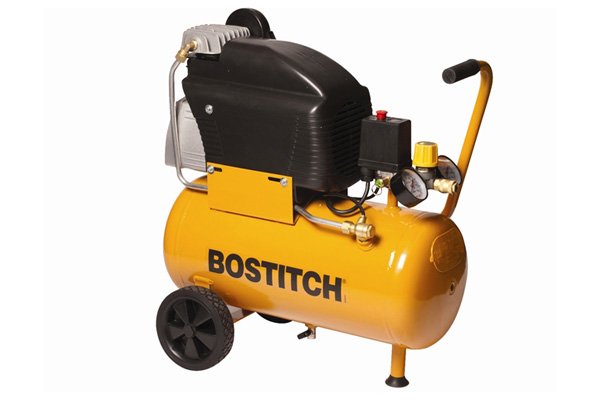 |
Air compressorAn air compressor is needed to provide the supply of compressed air to power the pneumatic (air powered) impact wrench. Pneumatic impact wrenches require a large supply of compressed air, so you will need a compressor that is capable of delivering this. |
|||
 |
||||
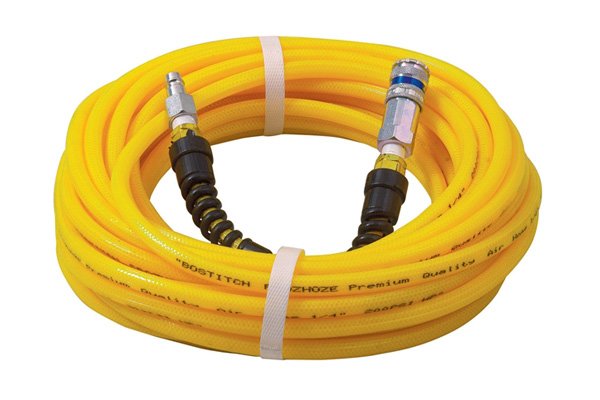 |
Air hose lineYou will need an air hose line to connect your pneumatic impact wrench to the air compressor. |
|||
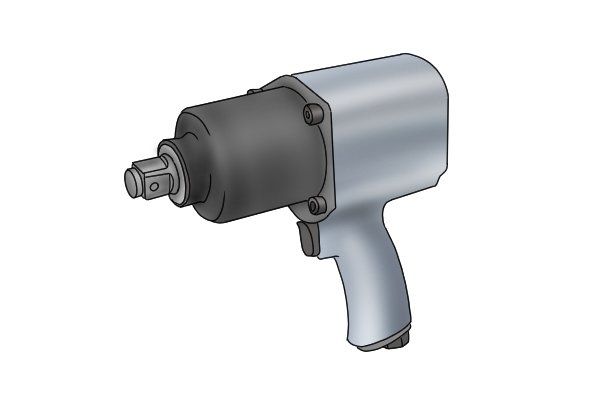 |
Pneumatic impact wrenchA pneumatic impact wrench can provide the high torque required to easily remove car wheel nuts. |
|||
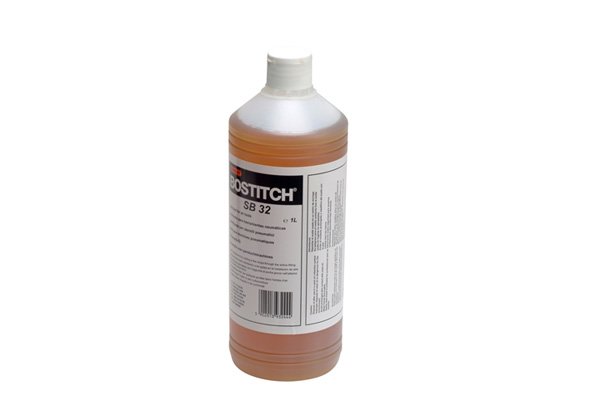 |
Air tool lubricating oilThis is needed to prevent wear to the bearings inside your impact wrench, and prolong its useful lifespan. An in-line oiler can be added for this – either to the tool (between the tool and airline) or at the compressor. |
|||
 |
To prolong the tool’s life – consider fitting an air filter with auto drain (to remove water) and an air lubricator. A pressure regulator should also be fitted, and some units will combine these features. | |||
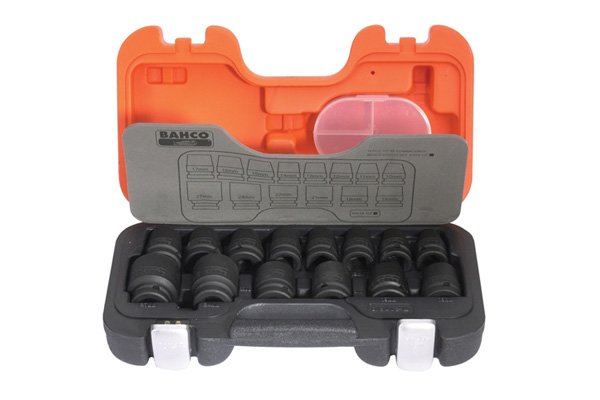 |
Impact socketsYou should only use impact sockets with your impact wrench. Using standard chrome sockets with an impact wrench can damage the impact wrench and can cause the sockets to shatter. |
|||
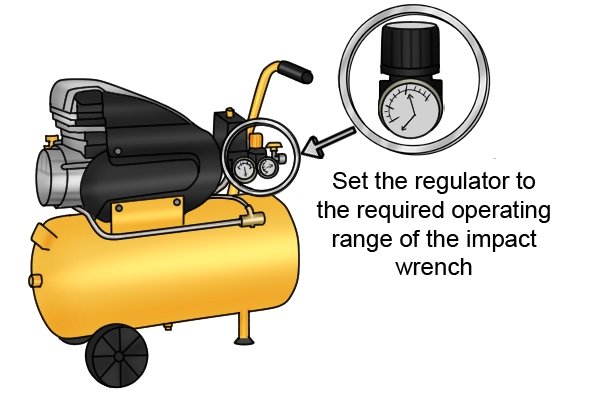 |
Step 1 – Set air compressor regulatorAdjust the regulator on the air compressor to match the required efficient operating range of the pneumatic impact wrench you intend to use. This can be found in the manual for your impact wrench and is usually in the range of 90-100 pounds per square inch (PSI). |
|||
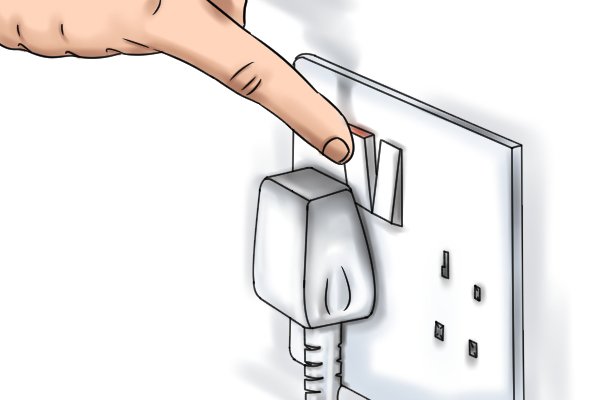 |
Once you have set the regulator, plug the power cord from the compressor into the power supply. | |||
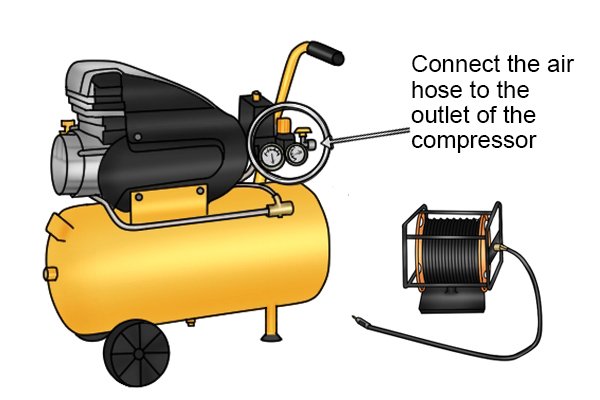 |
Step 2 – Connect air hoseConnect the air hose to the outlet of the air compressor. Make sure there are no kinks or twists in the air hose line, just like with your garden hose, as this will restrict the flow. This could prevent your pneumatic impact wrench from operating properly. |
|||
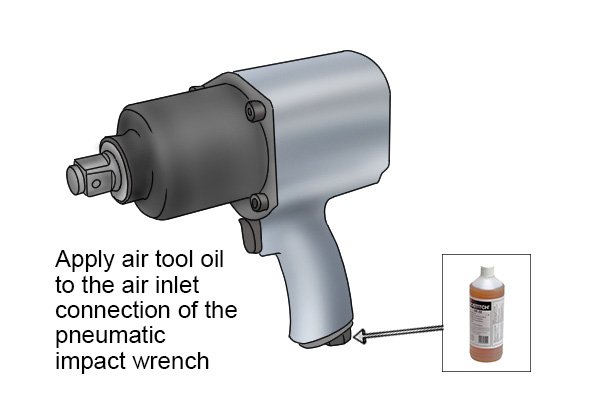 |
Step 3 – Apply lubricating oilAir tools require lubrication, so if your compressor does not have an automatic oiler incorporated within it, you will need to apply a few drops of oil to the air inlet before you first use it, and at regular intervals. This is important to keep the bearings within the impact wrench well lubricated and prevent them failing. |
|||
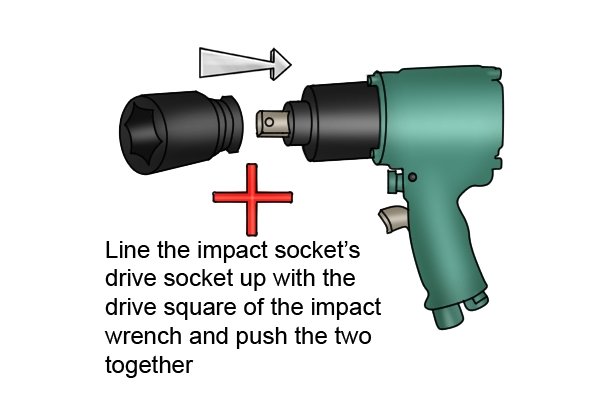 |
Step 4 – Connect impact socket to impact wrenchFirst, select the correct size impact socket for the wheel nuts you wish to remove. Then, line the drive socket up with the drive square of the impact wrench, and push the two together. You should hear a ‘click’ when the impact socket is correctly located on the drive square. |
|||
 |
||||
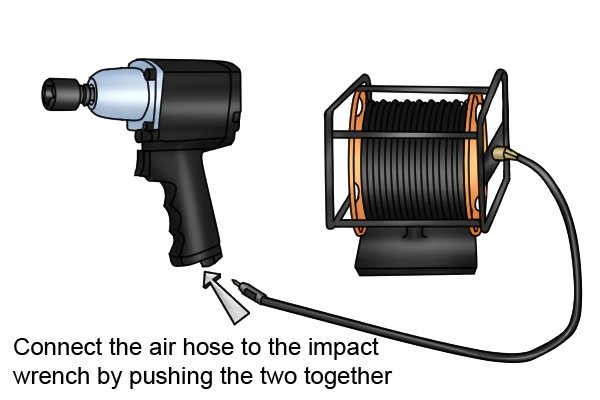 |
Step 5 – Connect air hose to impact wrenchConnect the air hose to the impact wrench by pushing the two together. |
|||
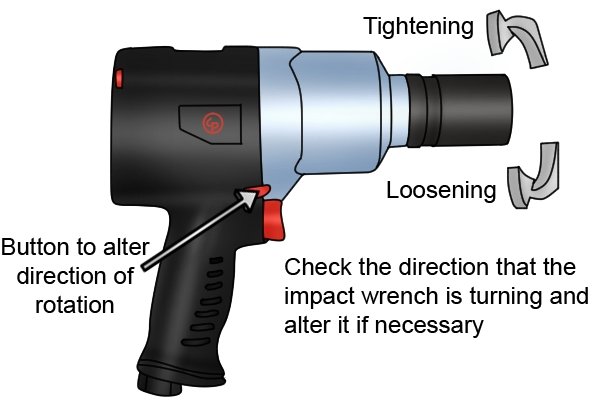 |
Step 6 – Check rotation direction of impact wrenchLightly pull the trigger of the impact wrench to see which way the socket spins. Remember, anti-clockwise will loosen the socket. If the socket rotates in the wrong direction, switch the adjustment lever on the impact wrench (normally located just above the trigger) to the opposite position. |
|||
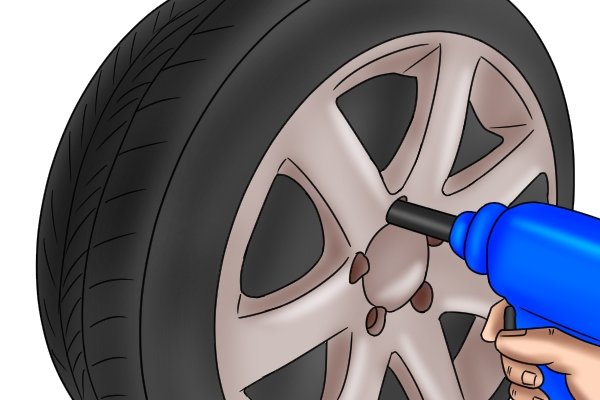 |
Step 7 – Remove wheel nutsLine the impact socket on the end of the impact wrench up with the wheel nut and push the socket onto the nut. Squeeze the trigger on the impact wrench until the wheel nut is removed. |
|||
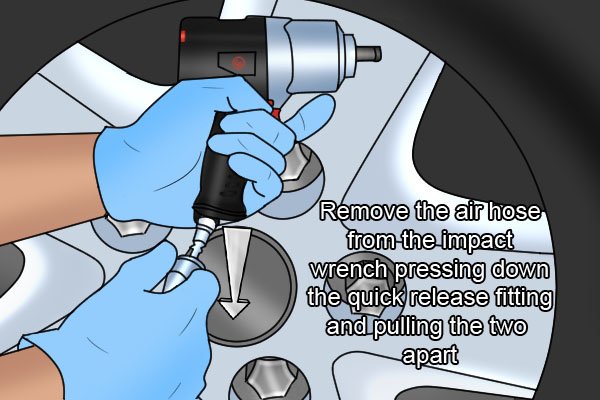 |
Step 8 – Disconnect air hoseDisconnect the air hose from the impact wrench. How you do this will depend on what type of connection you have on your impact driver and air hose. The most common type is a quick release fitted to the end of the air hose. As you push down on the end of the air hose, it is released from the impact wrench. The connector on the hose automatically shuts off the air supply as this is done. |
|||
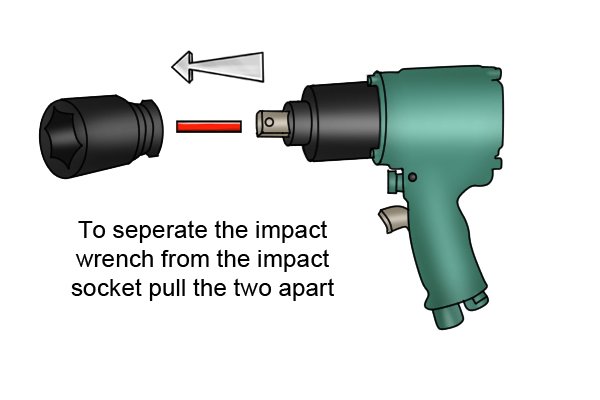 |
Step 9 – Remove impact socket from impact wrenchTo remove the impact socket from the impact wrench, first remove the retaining pin (if fitted), then simply pull the socket from the impact wrench drive square. |
|||
Why shouldn’t you tighten wheel nuts with an impact wrench and impact socket? |
||||
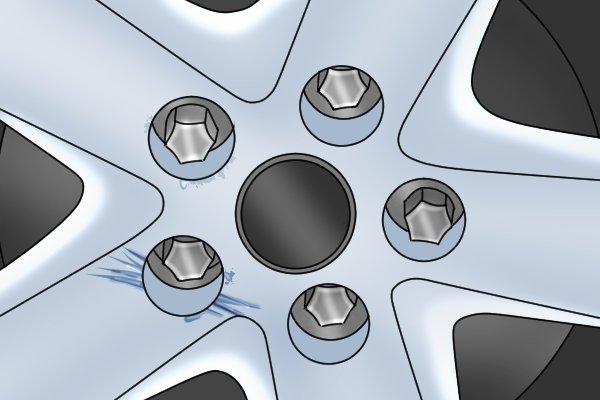 |
There are two main reasons why you should not use an impact wrench to tighten the wheel nuts on your car.
Firstly, it is difficult to control the torque from an impact wrench so they can damage alloy wheels by over tightening the wheel nuts. |
|||
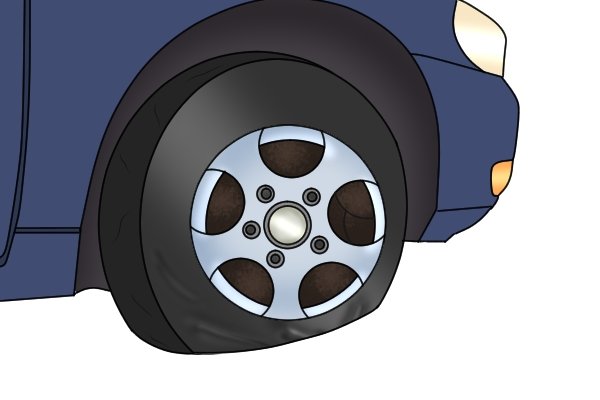 |
Secondly, should you suffer a puncture or blow out of your tyre, you will need to remove the wheel to fit the spare. If you have used an impact wrench to fit the wheel nuts, they will have been fitted with an extremely high torque setting. | |||
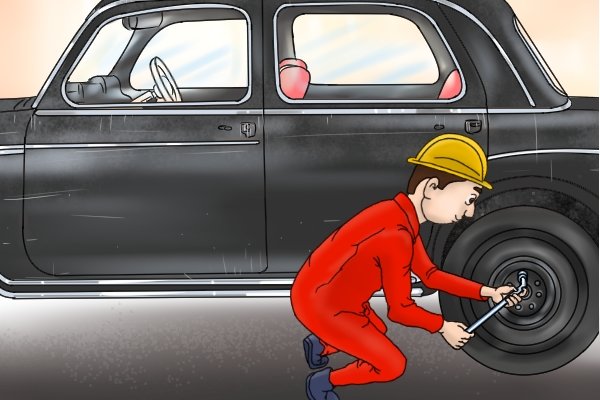 |
You will have to manually remove the wheel nuts, usually with the wheel brace provided with the spare wheel kit, which can sometimes be impossible if the wheel nuts have been over tightened by an impact wrench. | |||
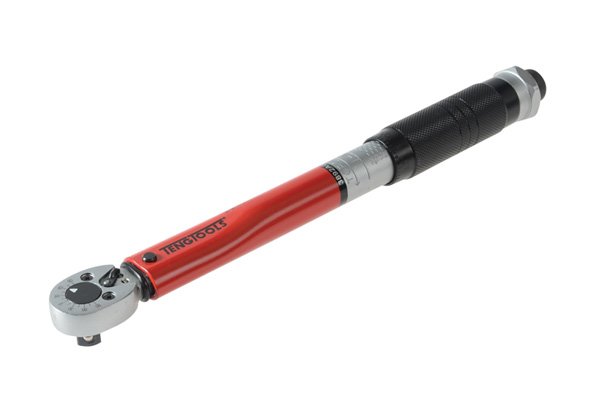 |
What should you use to tighten wheel nuts?To tighten the wheel nuts on your car you should use a torque wrench. You should be able to find the manufacturer’s recommended torque setting for wheel nuts in your car’s owners’ manual. |
|||
 |
Using a torque wrench to tighten the wheel nuts to this setting will ensure that the wheels of your car are firmly secured and yet allow the wheel nuts to be removed manually in the event of a puncture. | |||
How to fit impact sockets with retaining rings and pins |
||||
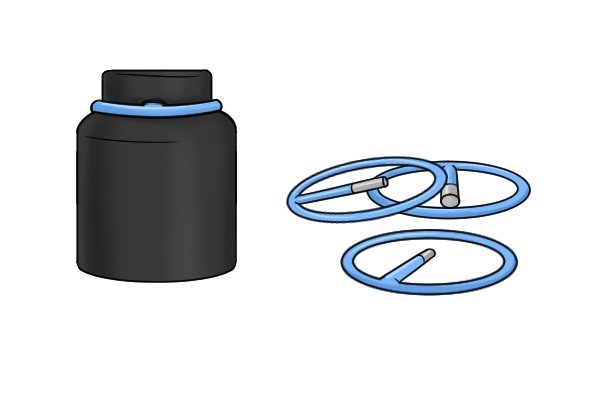 |
Larger impact sockets will sometimes require a retaining ring and pin to secure them adequately to an impact wrench. | |||
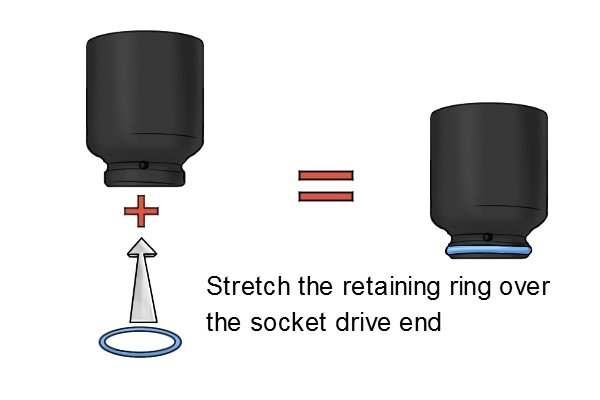 |
Step 1 – Stretch retaining ring over socketBegin by stretching the retaining ring over the drive end of the impact socket you wish to use. |
|||
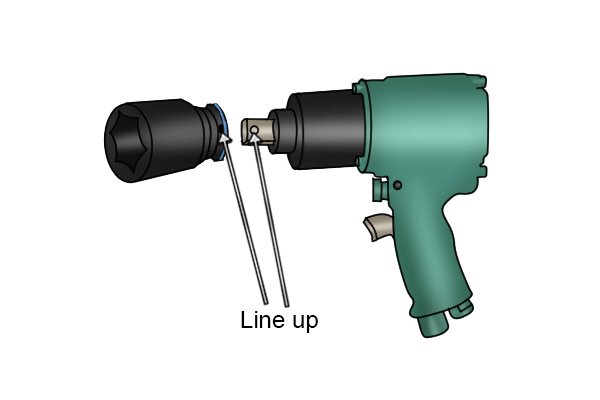 |
Step 2 – Line up socketLine the impact socket up with the drive square on the impact wrench. Make sure that the drive socket side hole also lines up. Once the two are lined up correctly, push the impact socket onto the drive square of the impact wrench. |
|||
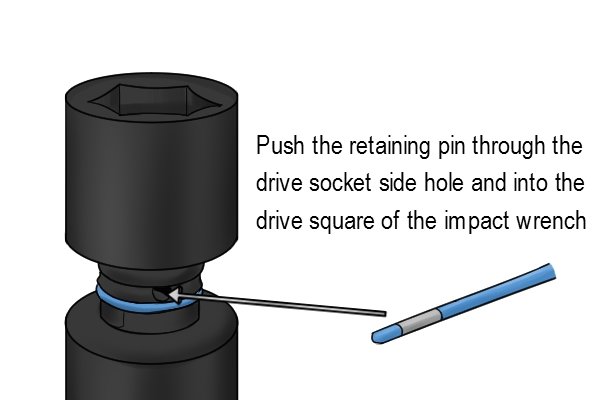 |
Step 3 – Fit retaining pinPush the retaining pin through the drive socket side hole and into the drive square of the impact wrench. |
|||
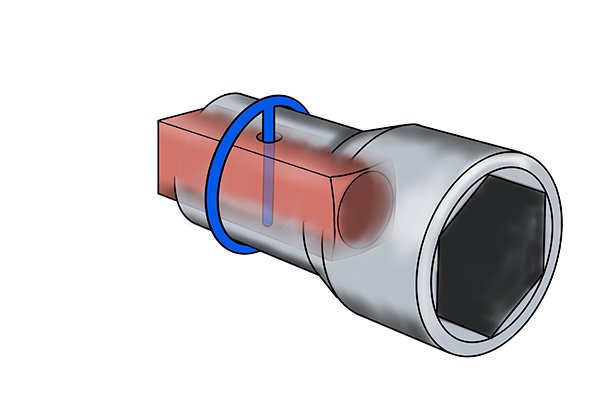 |
Step 4 – Secure retaining pinTo secure the retaining pin in place, pull the retaining ring down the drive end of the socket until it locates into the groove on the outside of the socket’s drive end. At this point, the retaining ring should be covering over the drive socket side hole, thus preventing the retaining pin from falling out. |
|||


